DARKEDEN RAOHM

World and maps

RAOHM FIELD GUIDE

World and maps

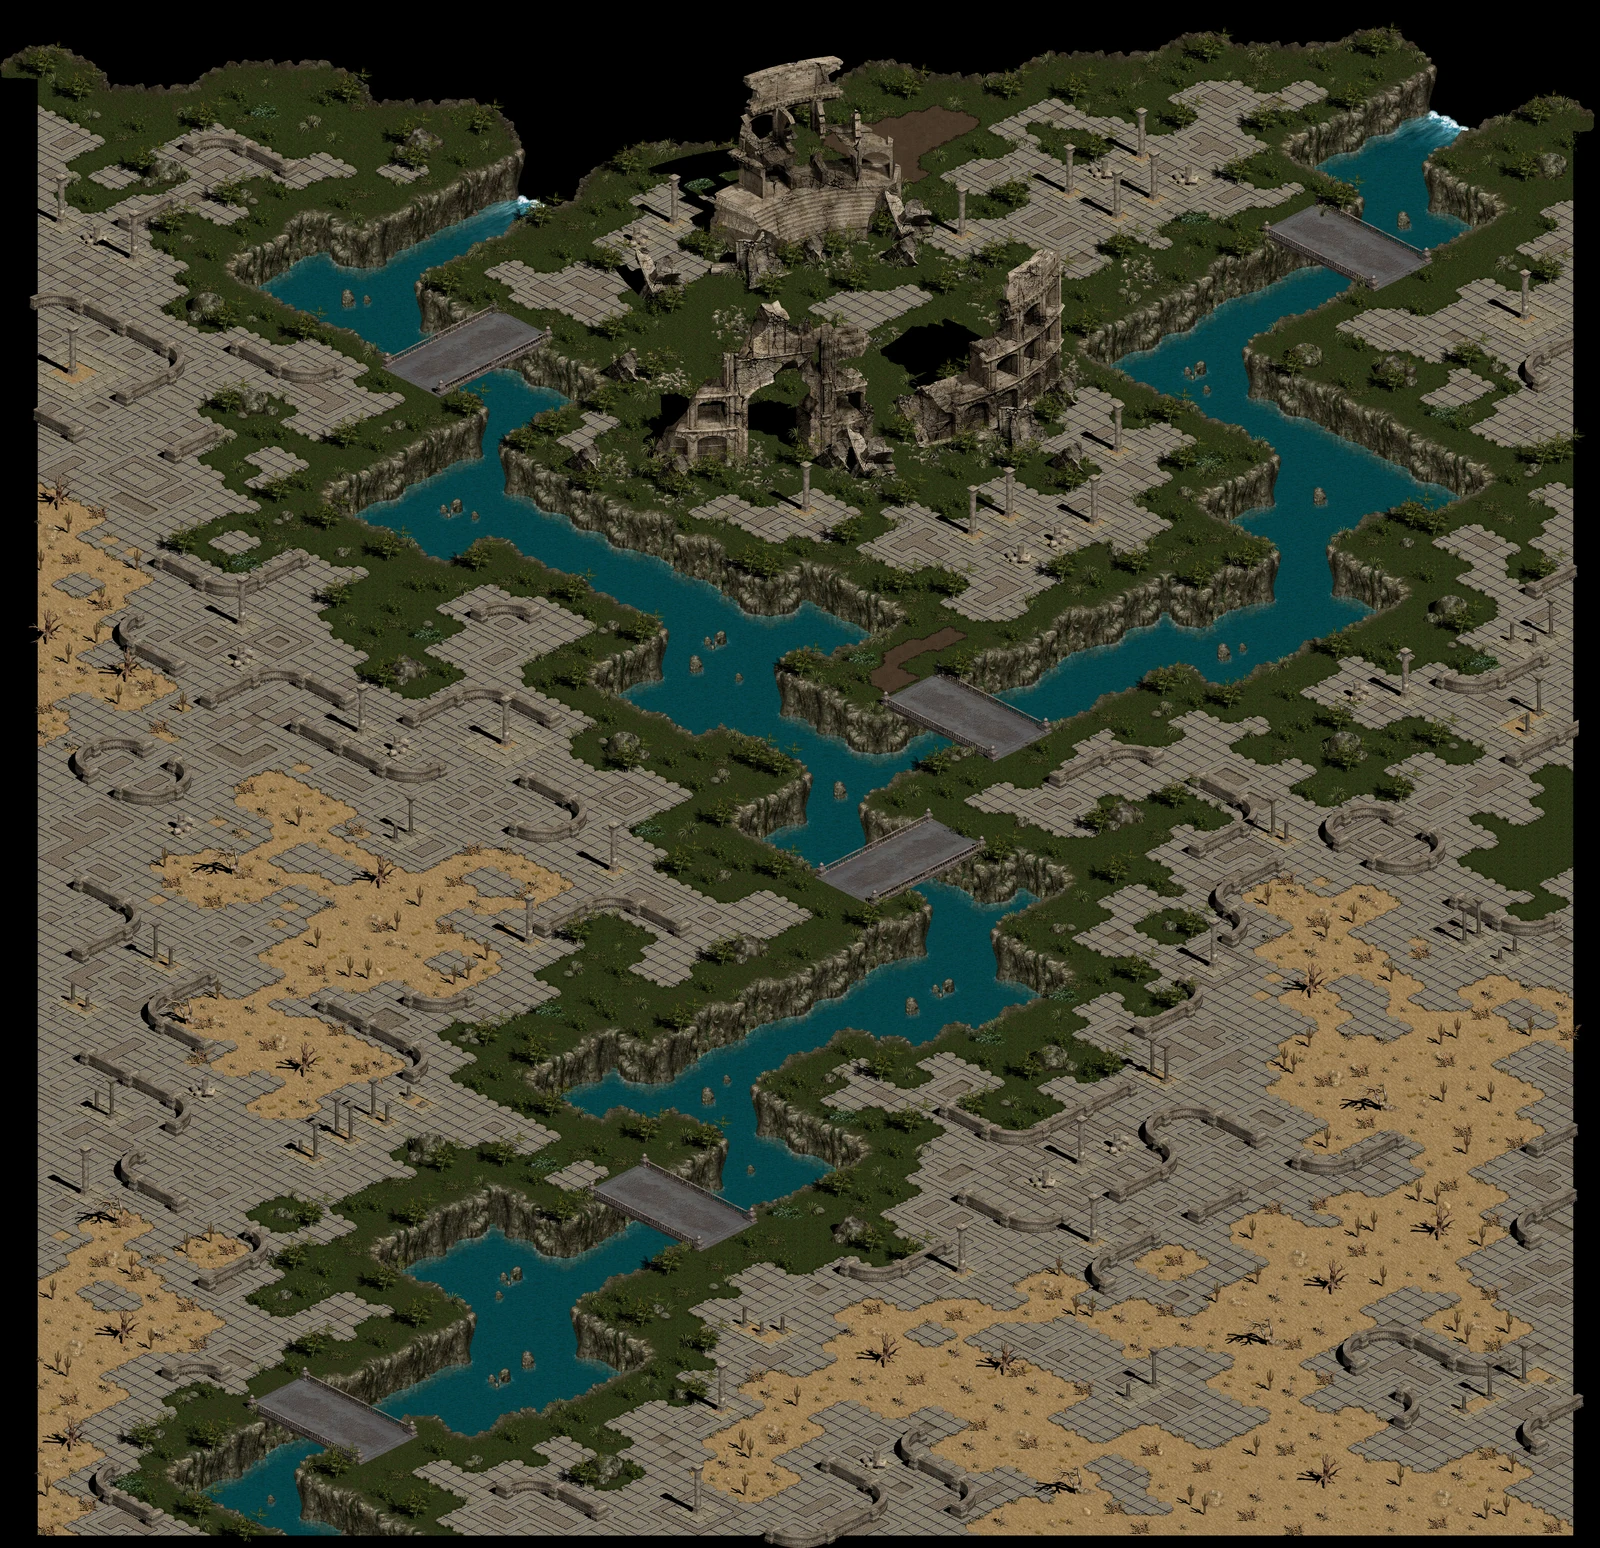
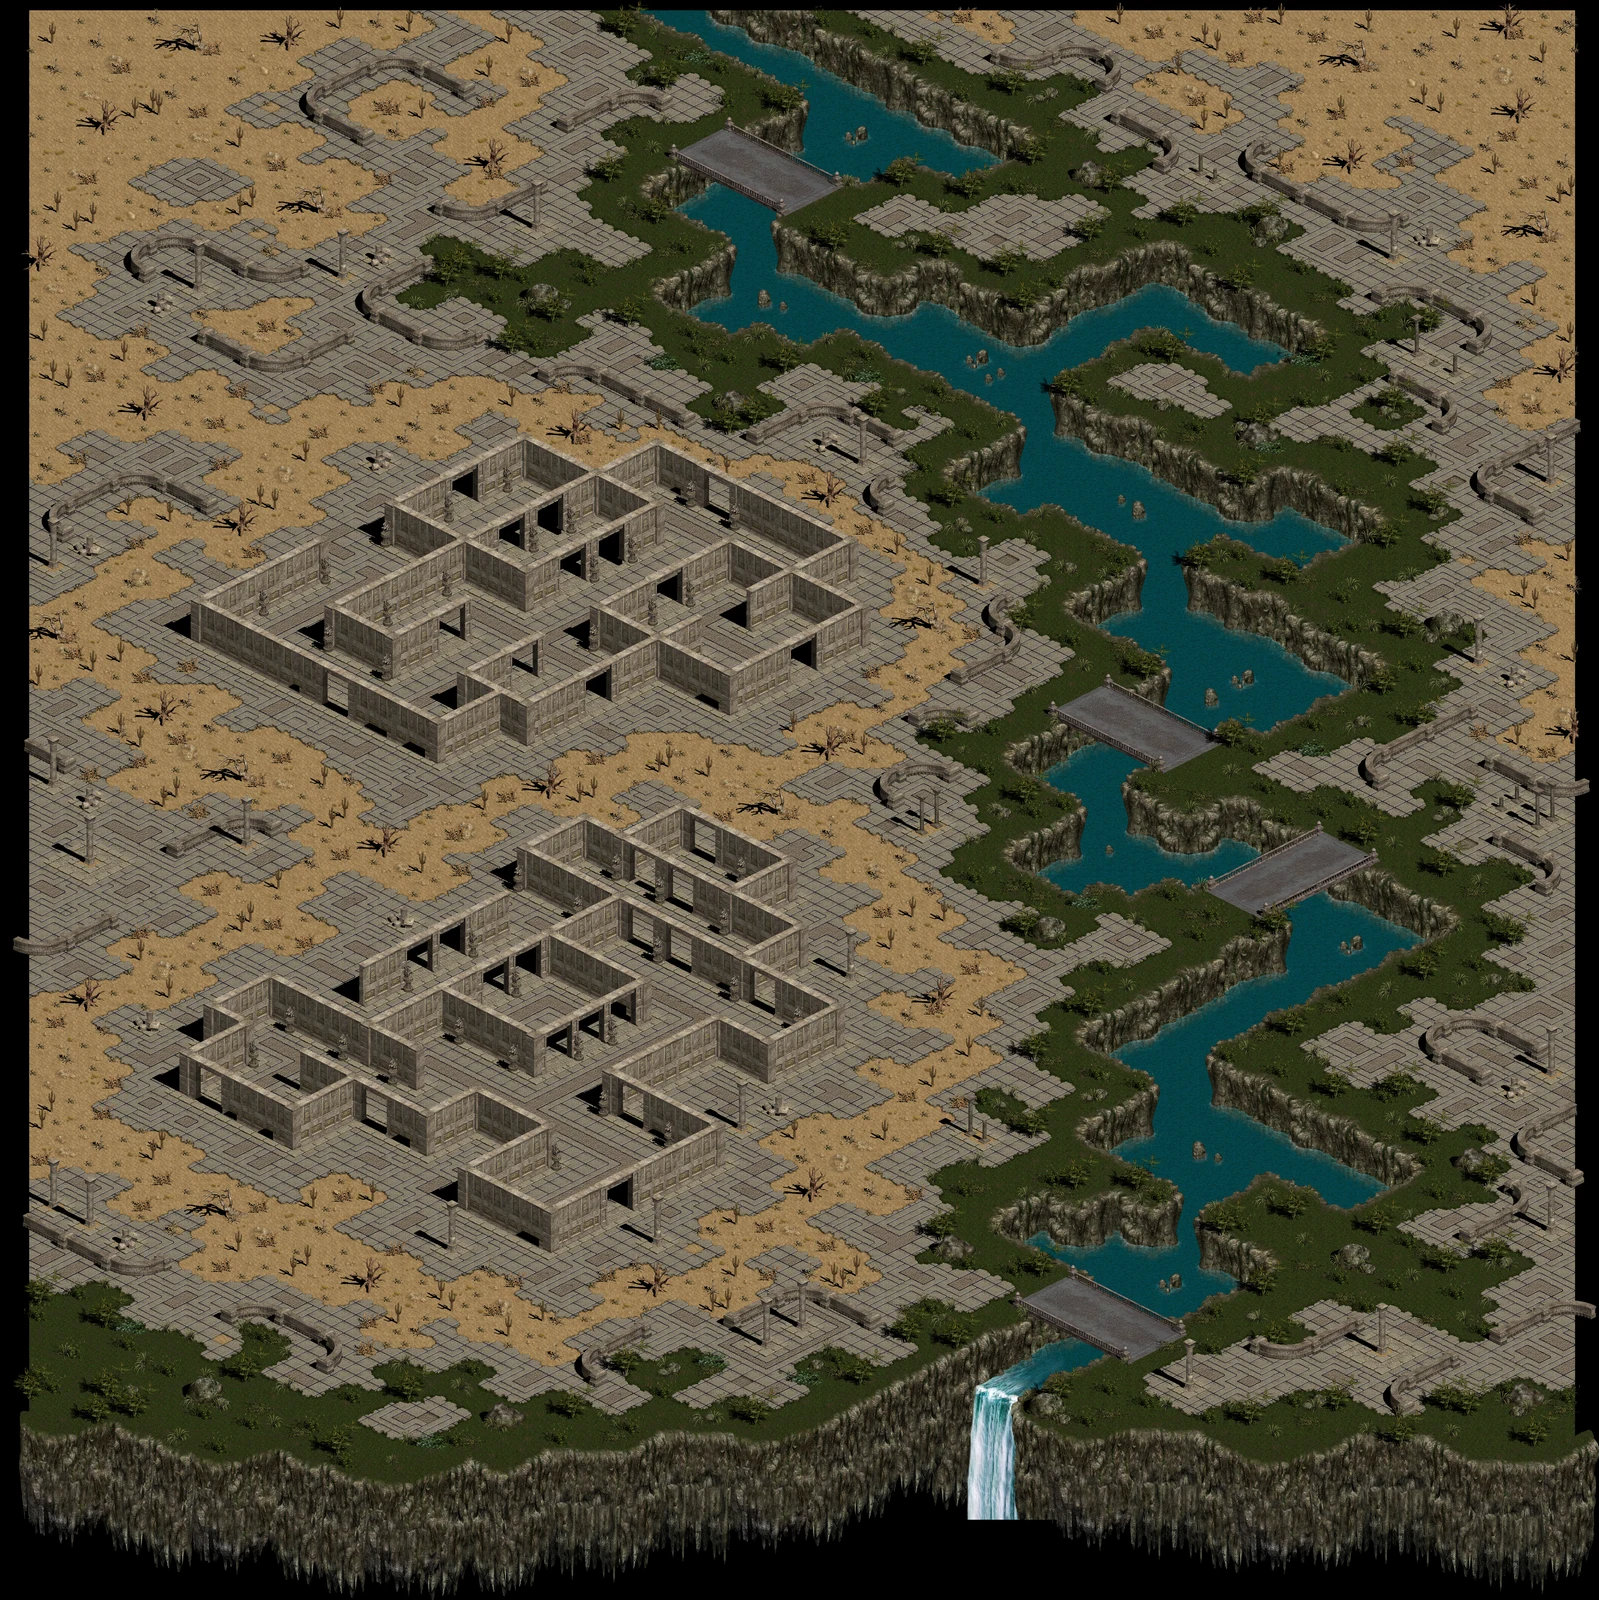
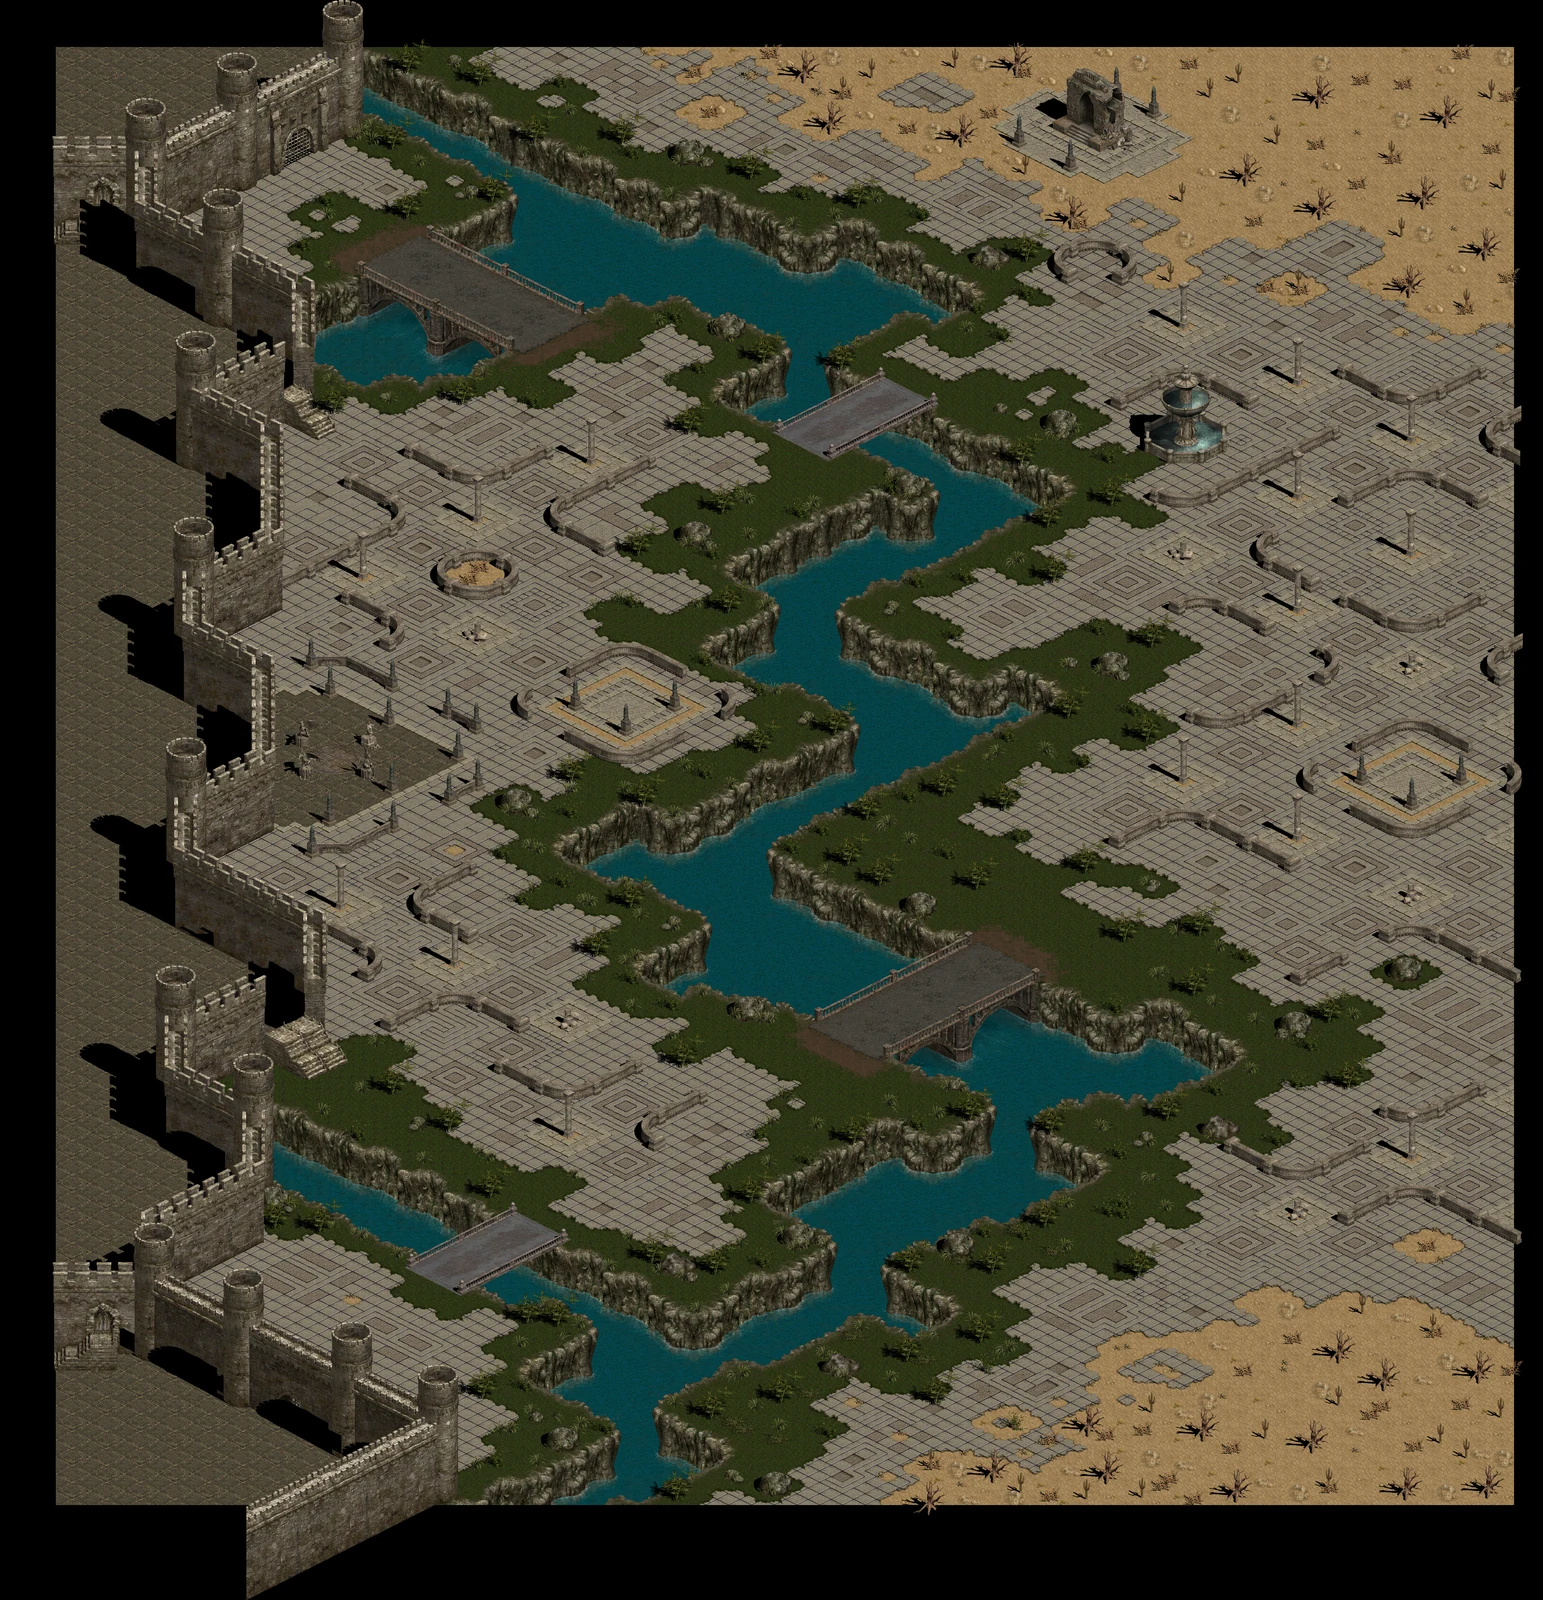
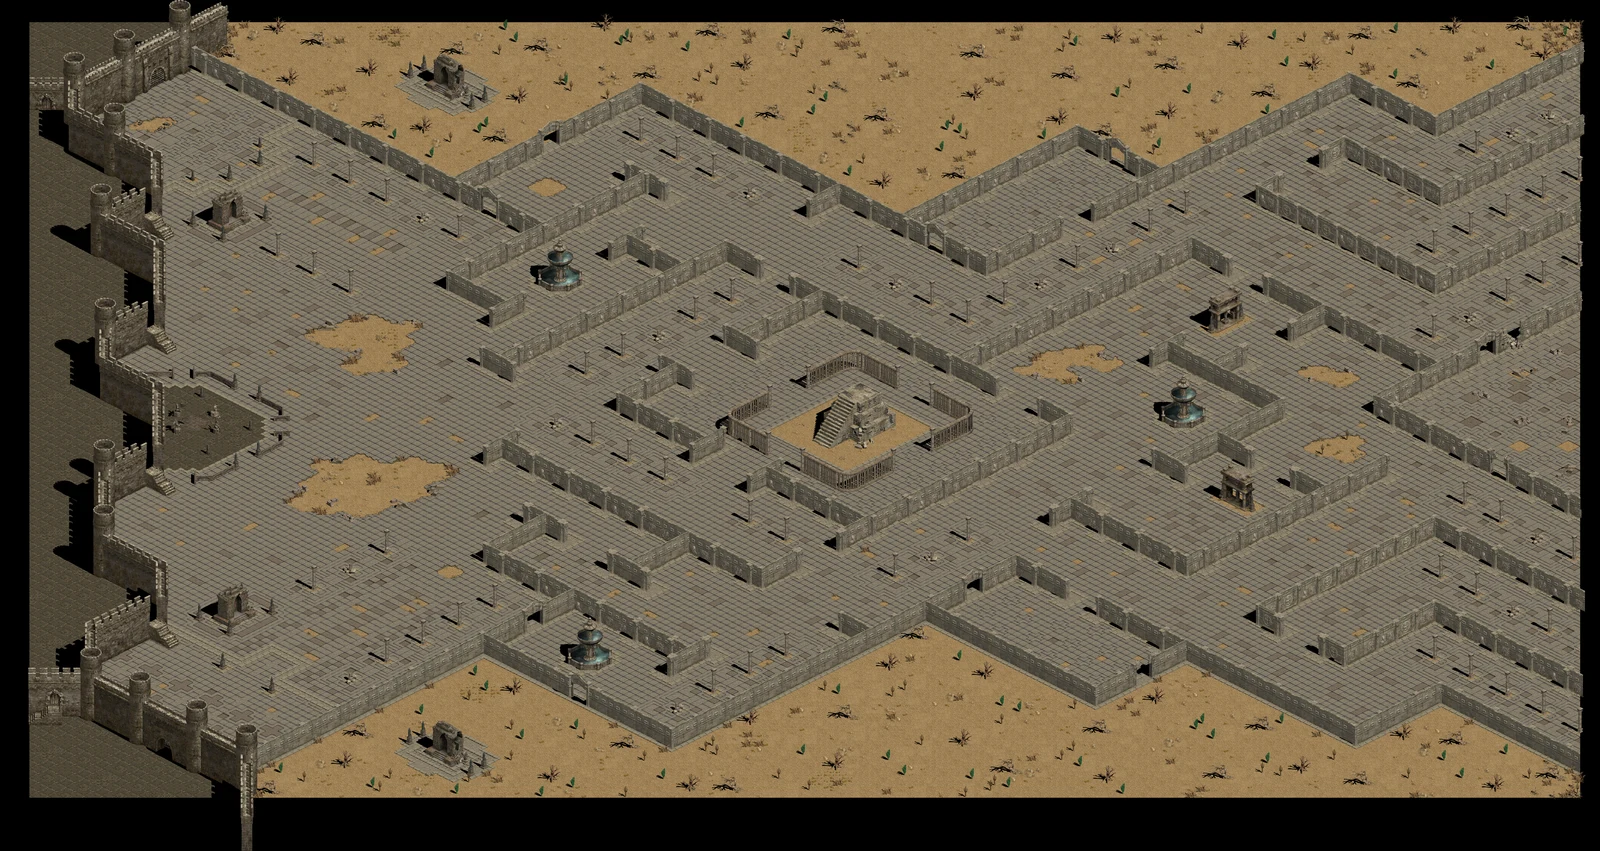
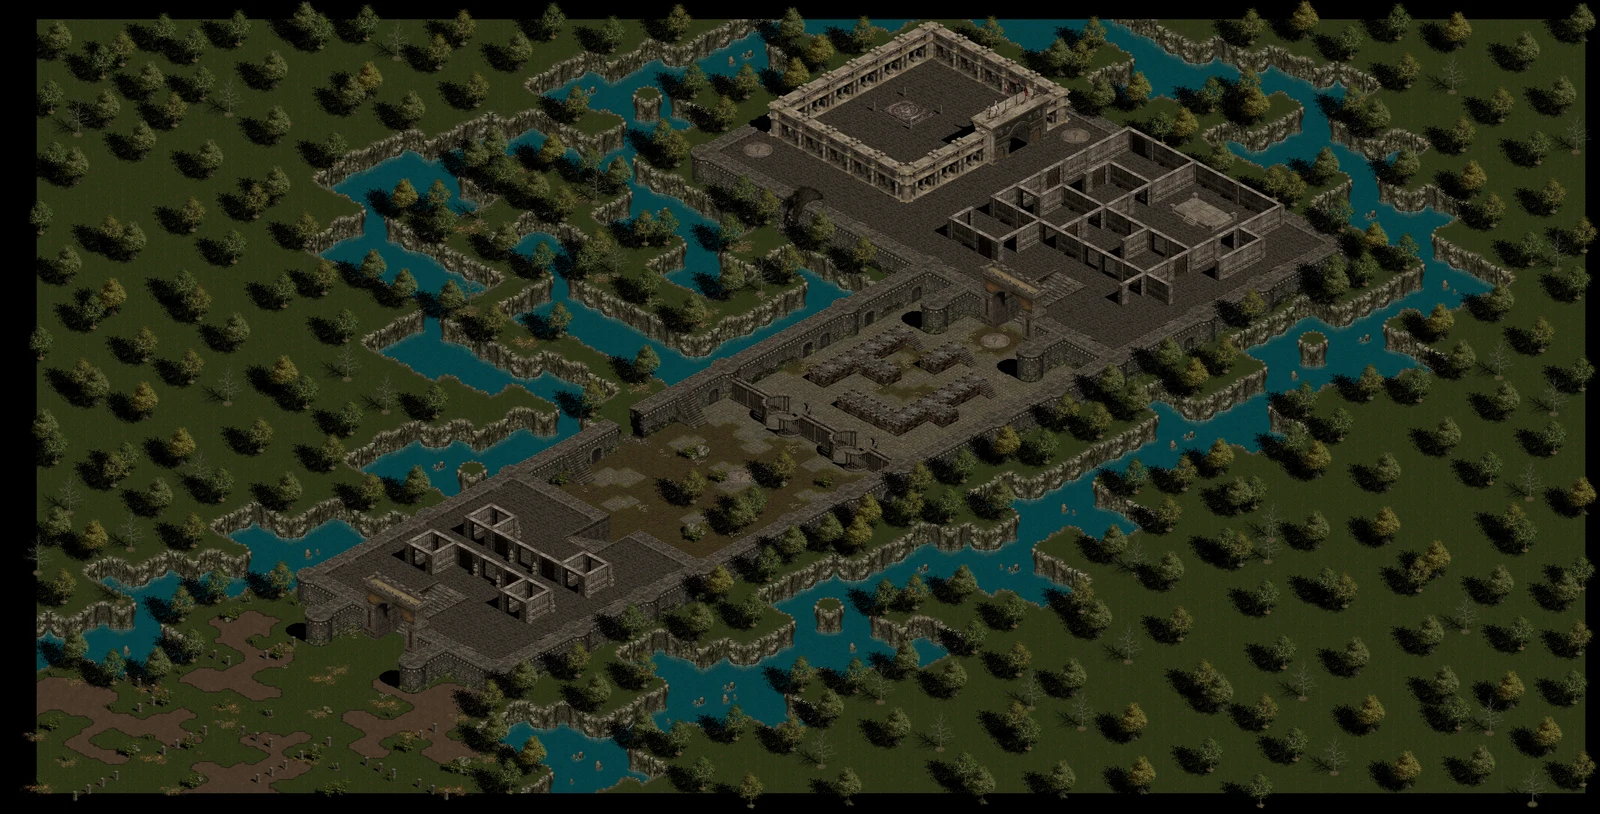
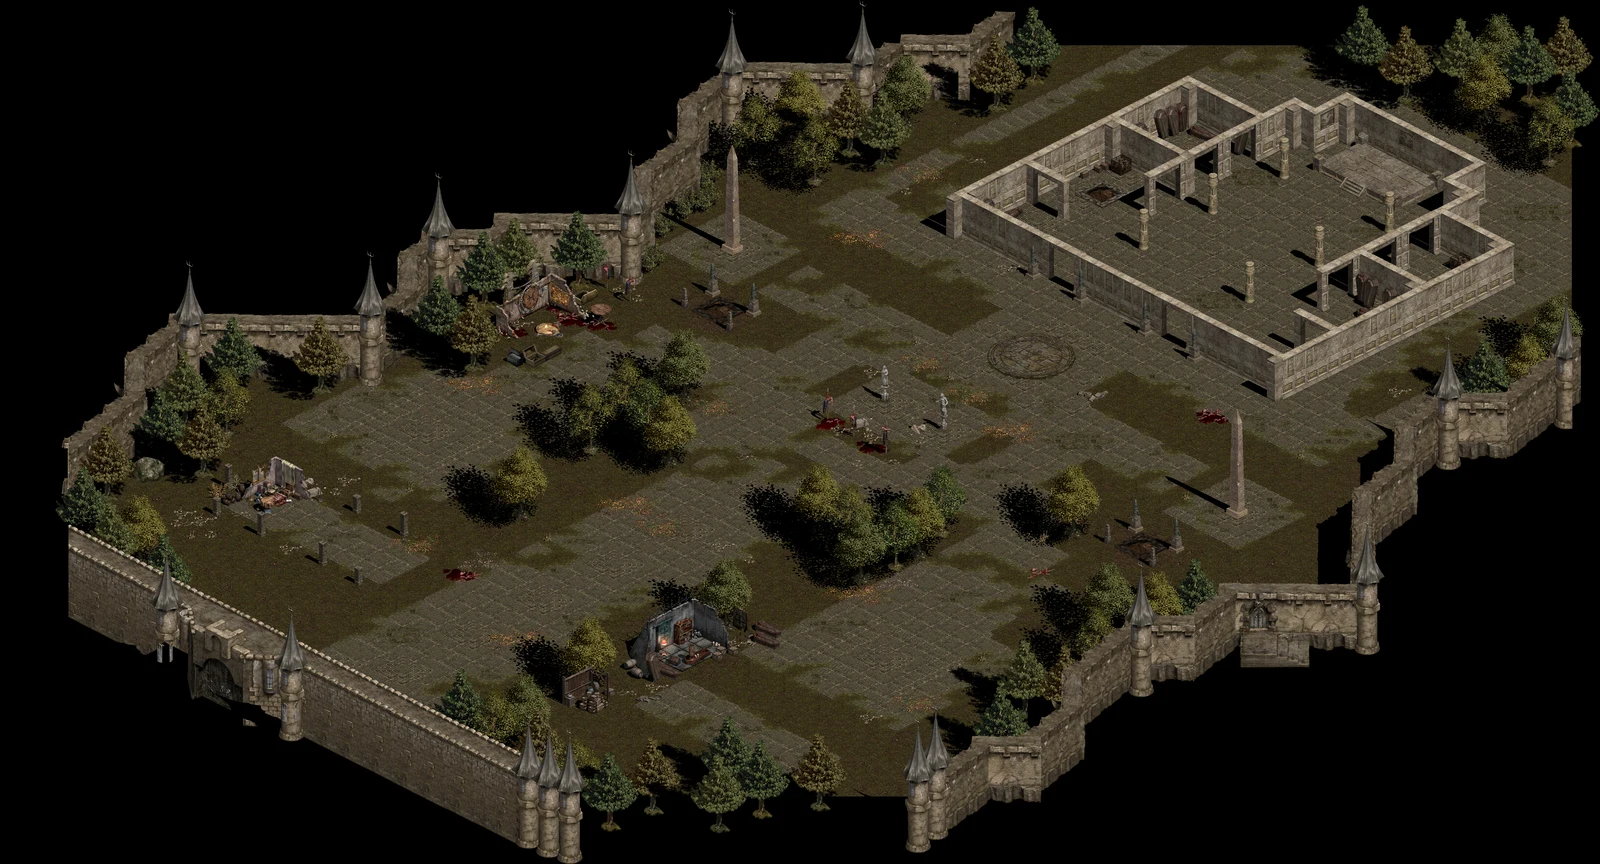
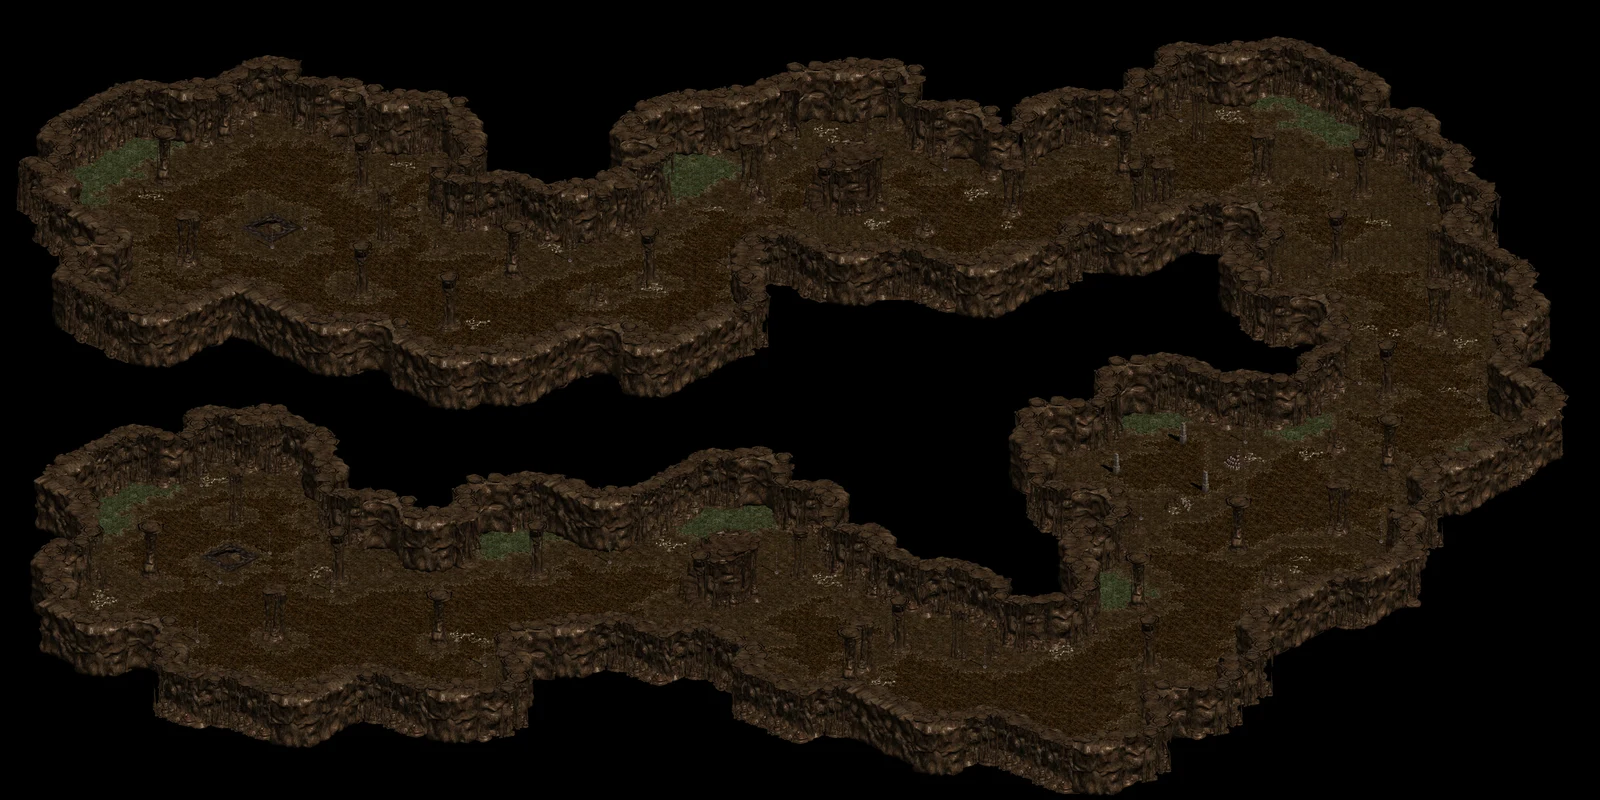
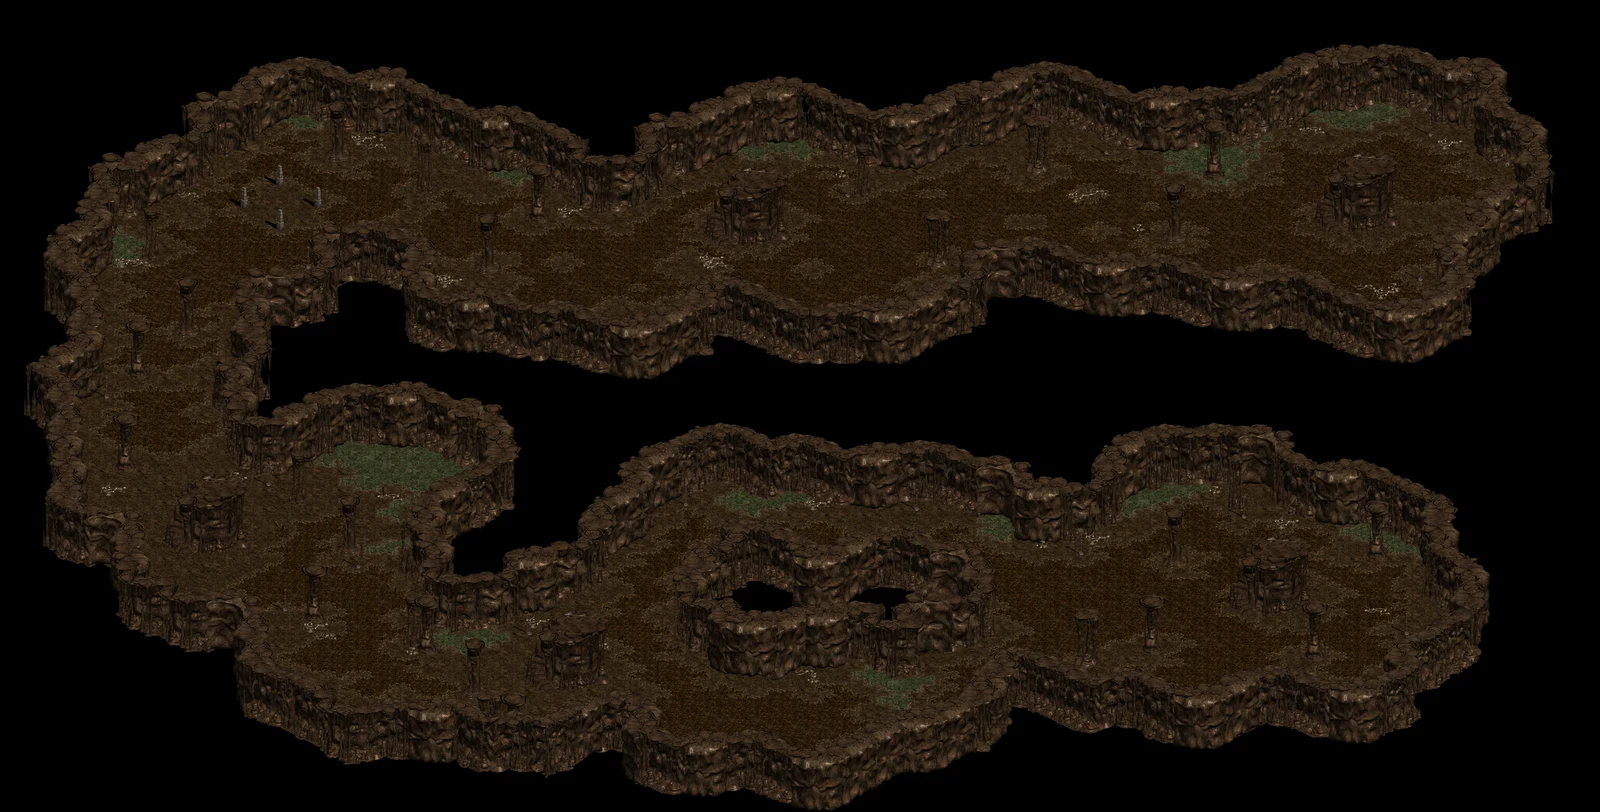
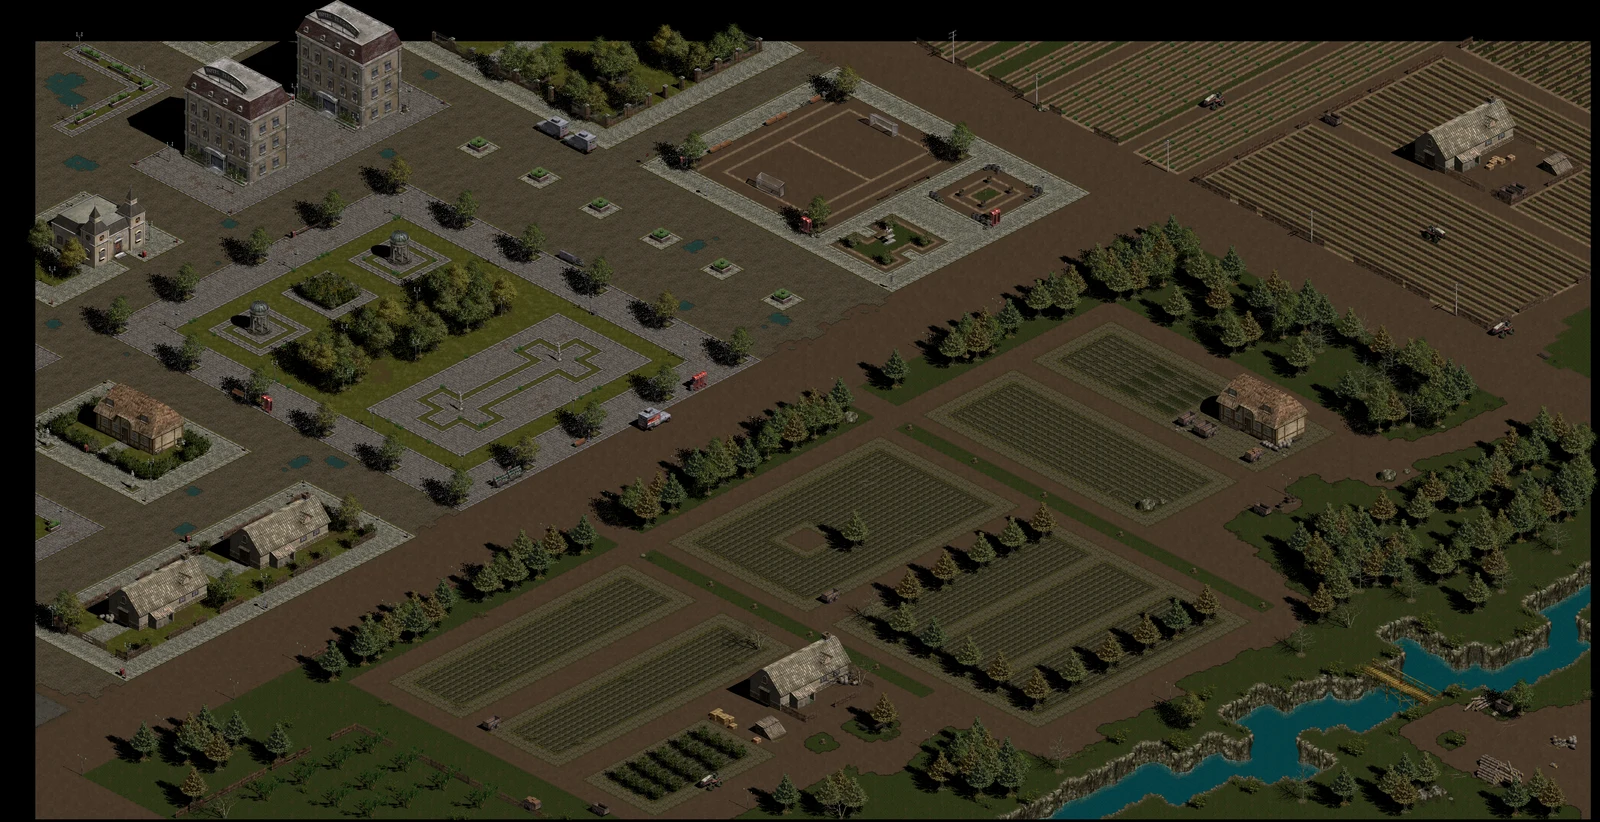
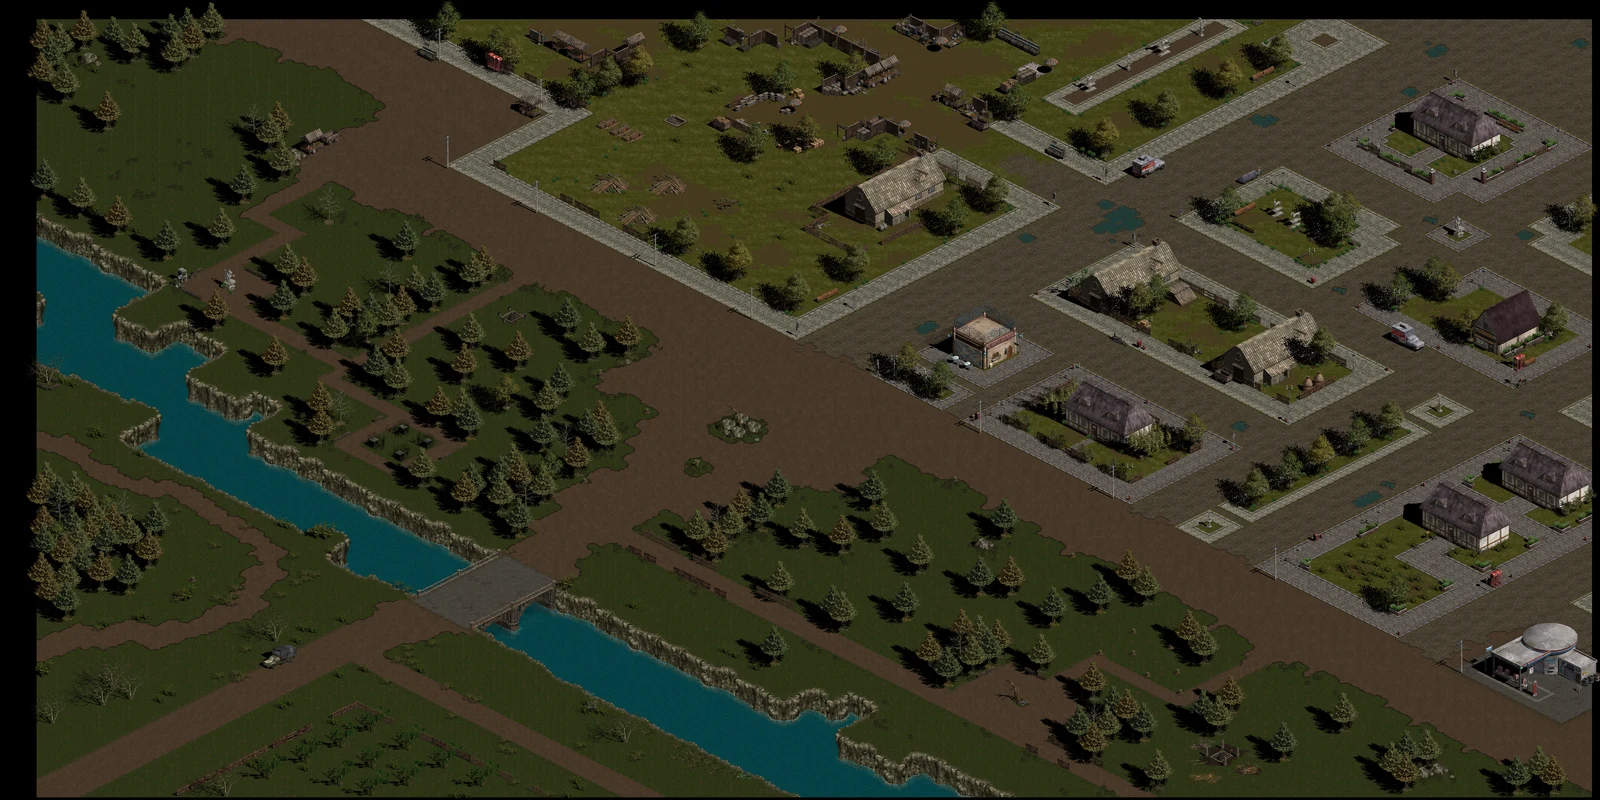
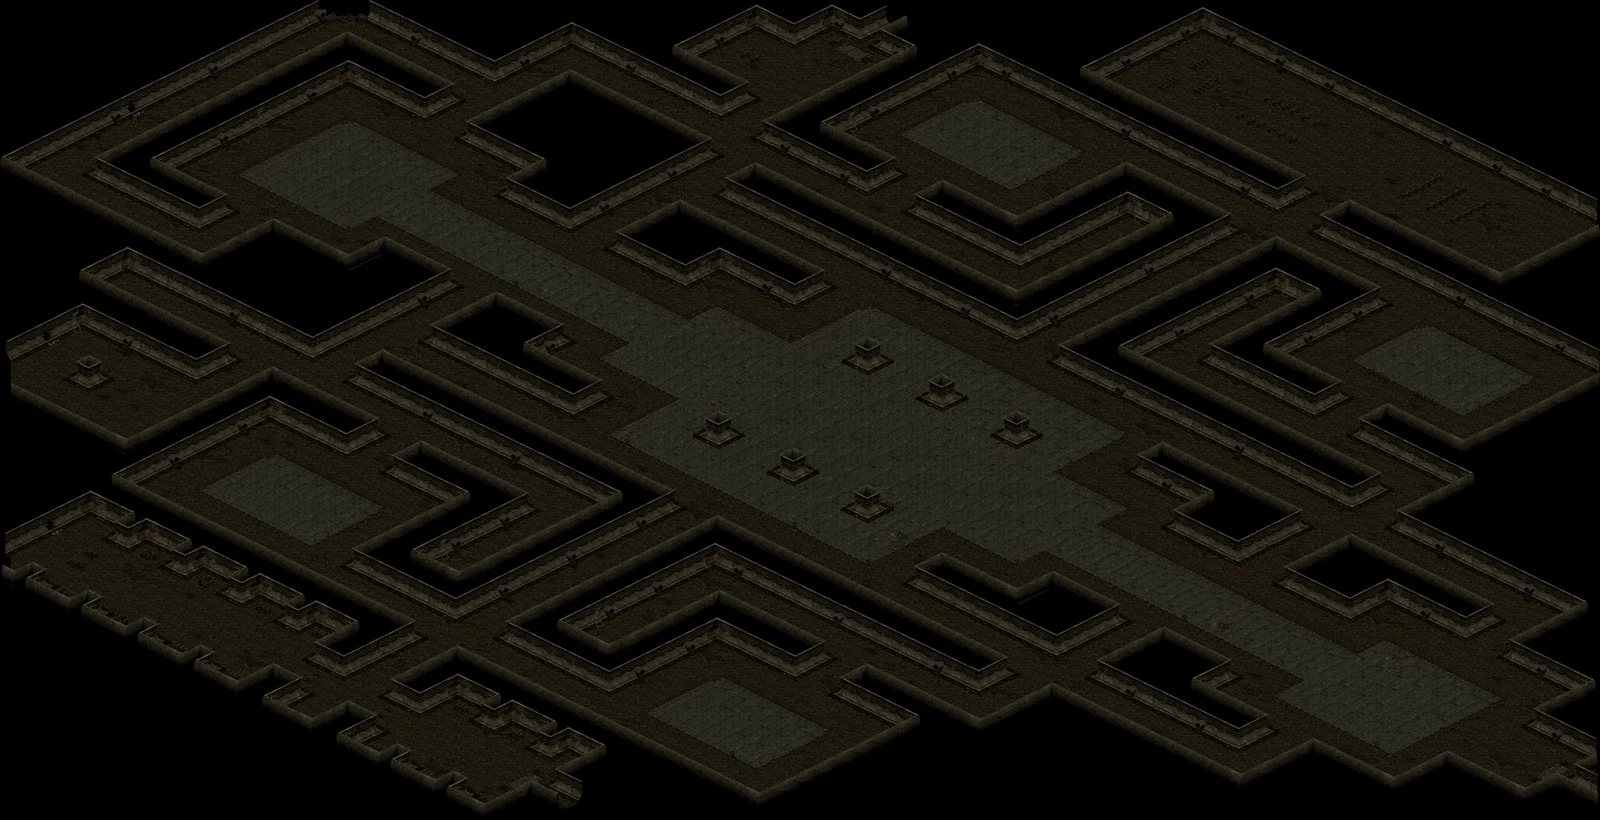
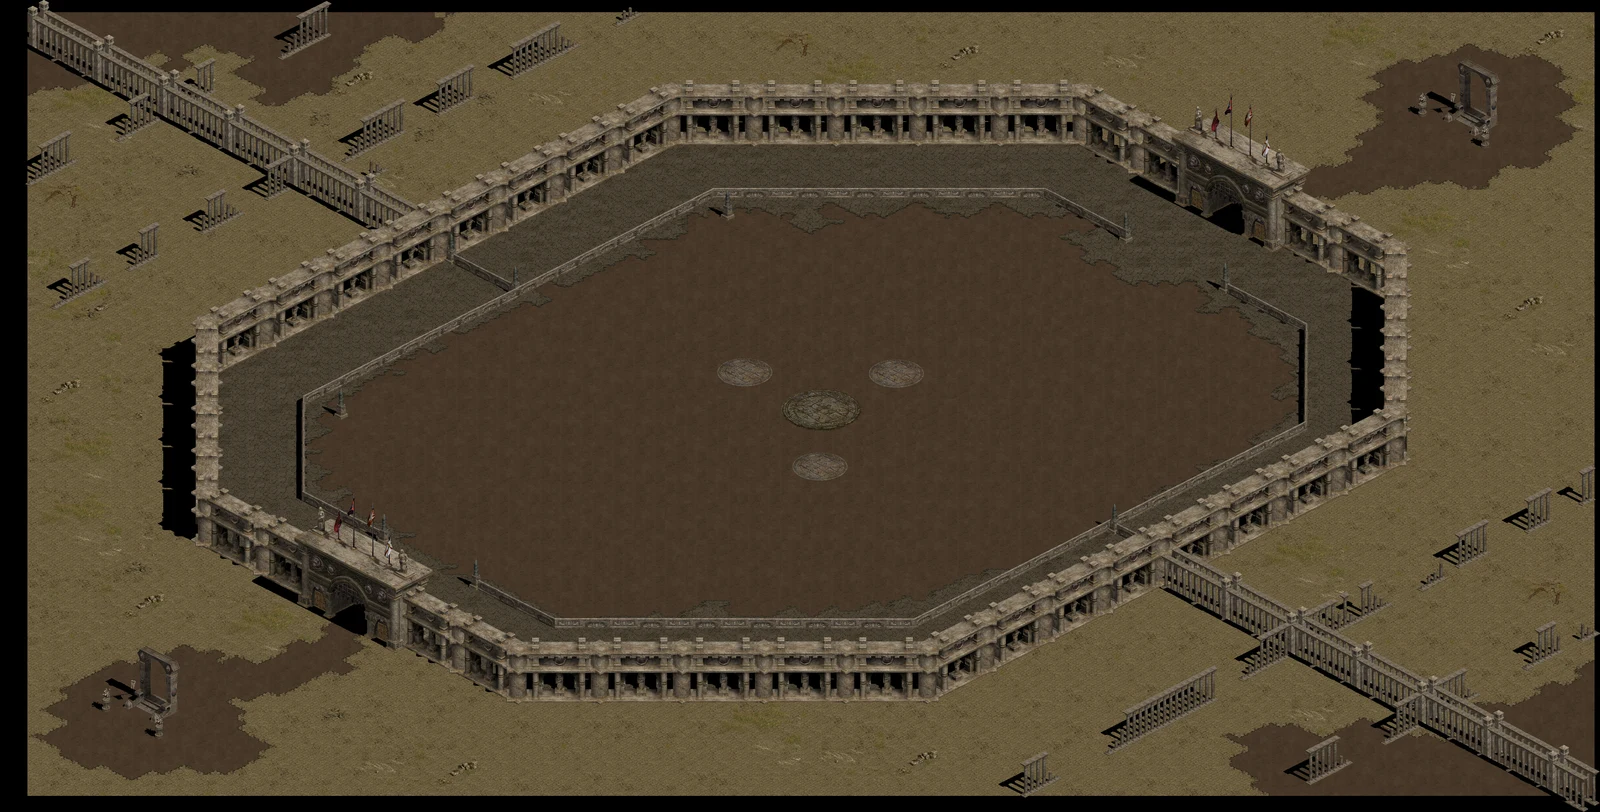
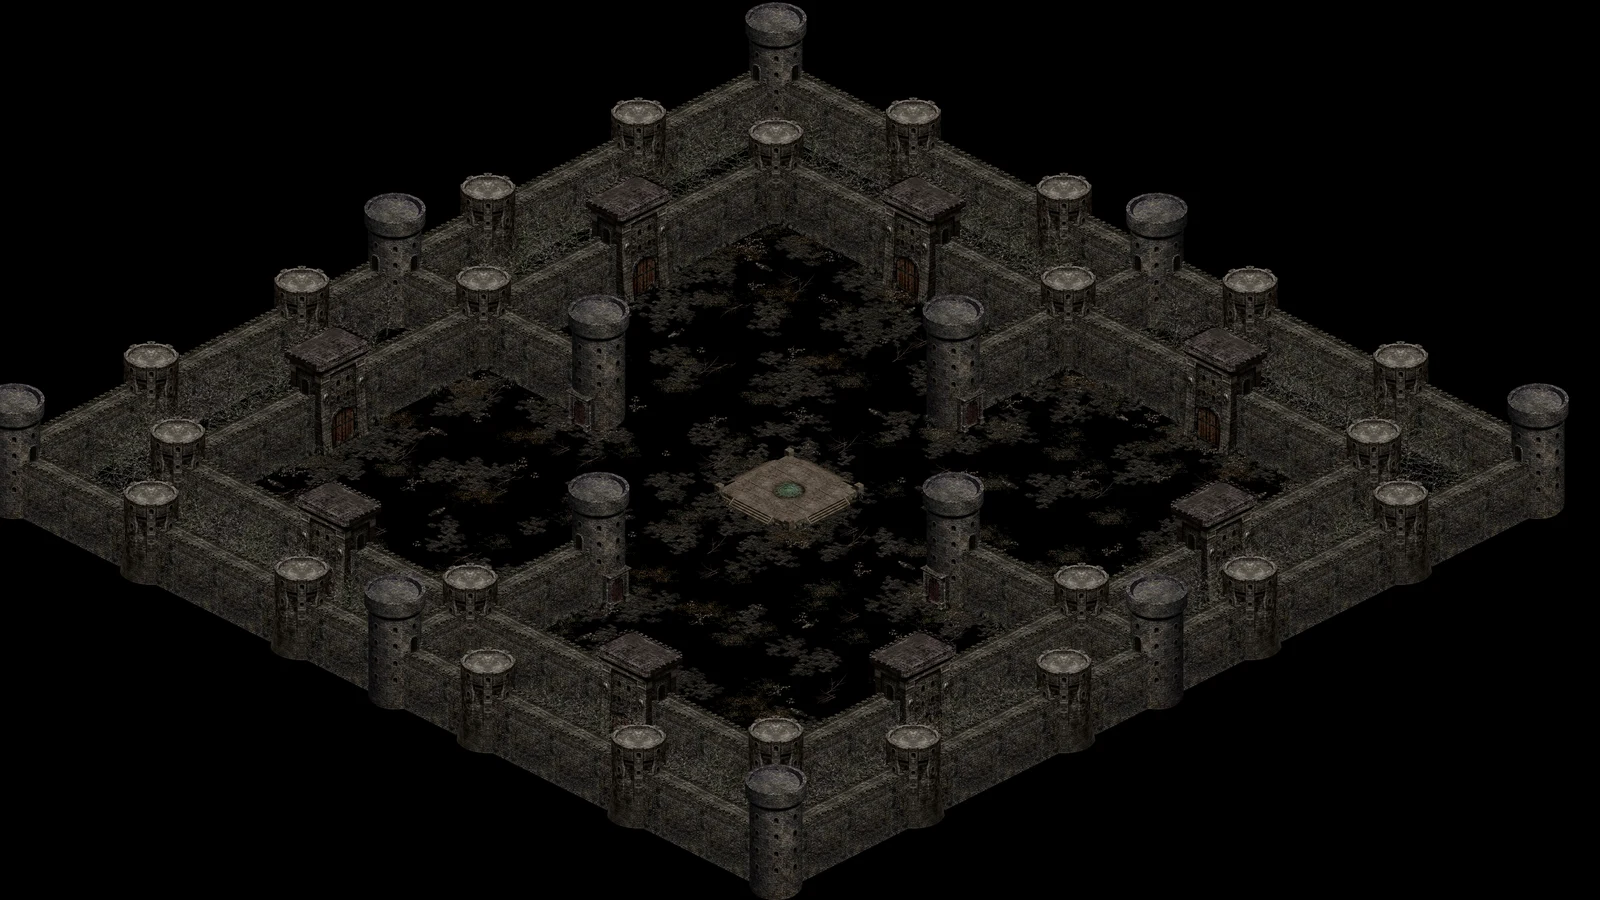
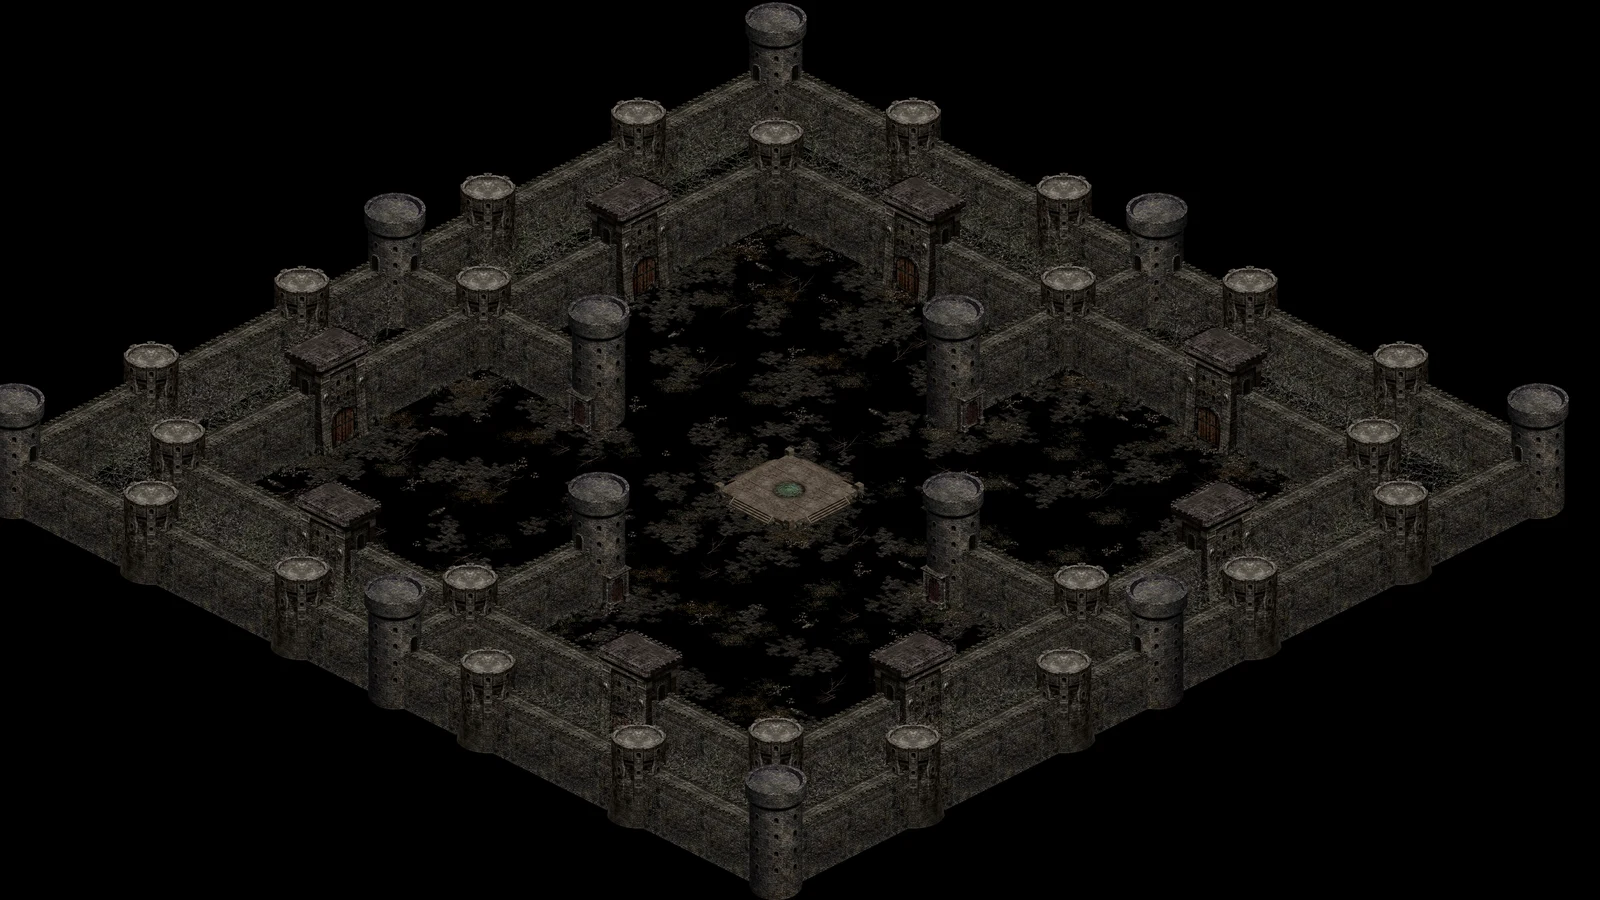
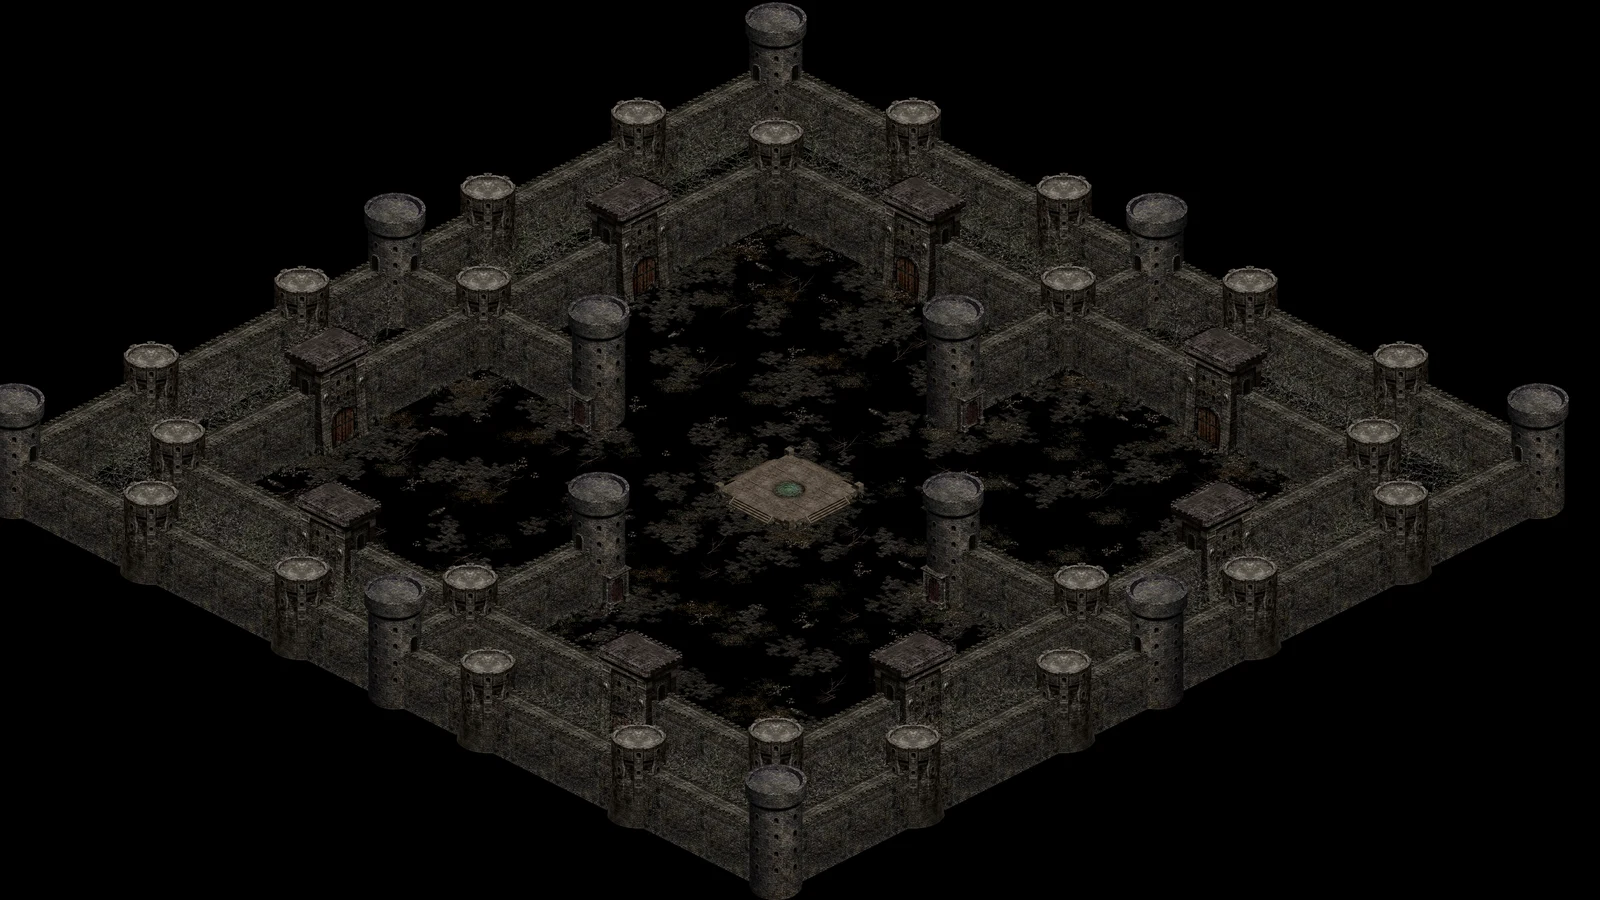
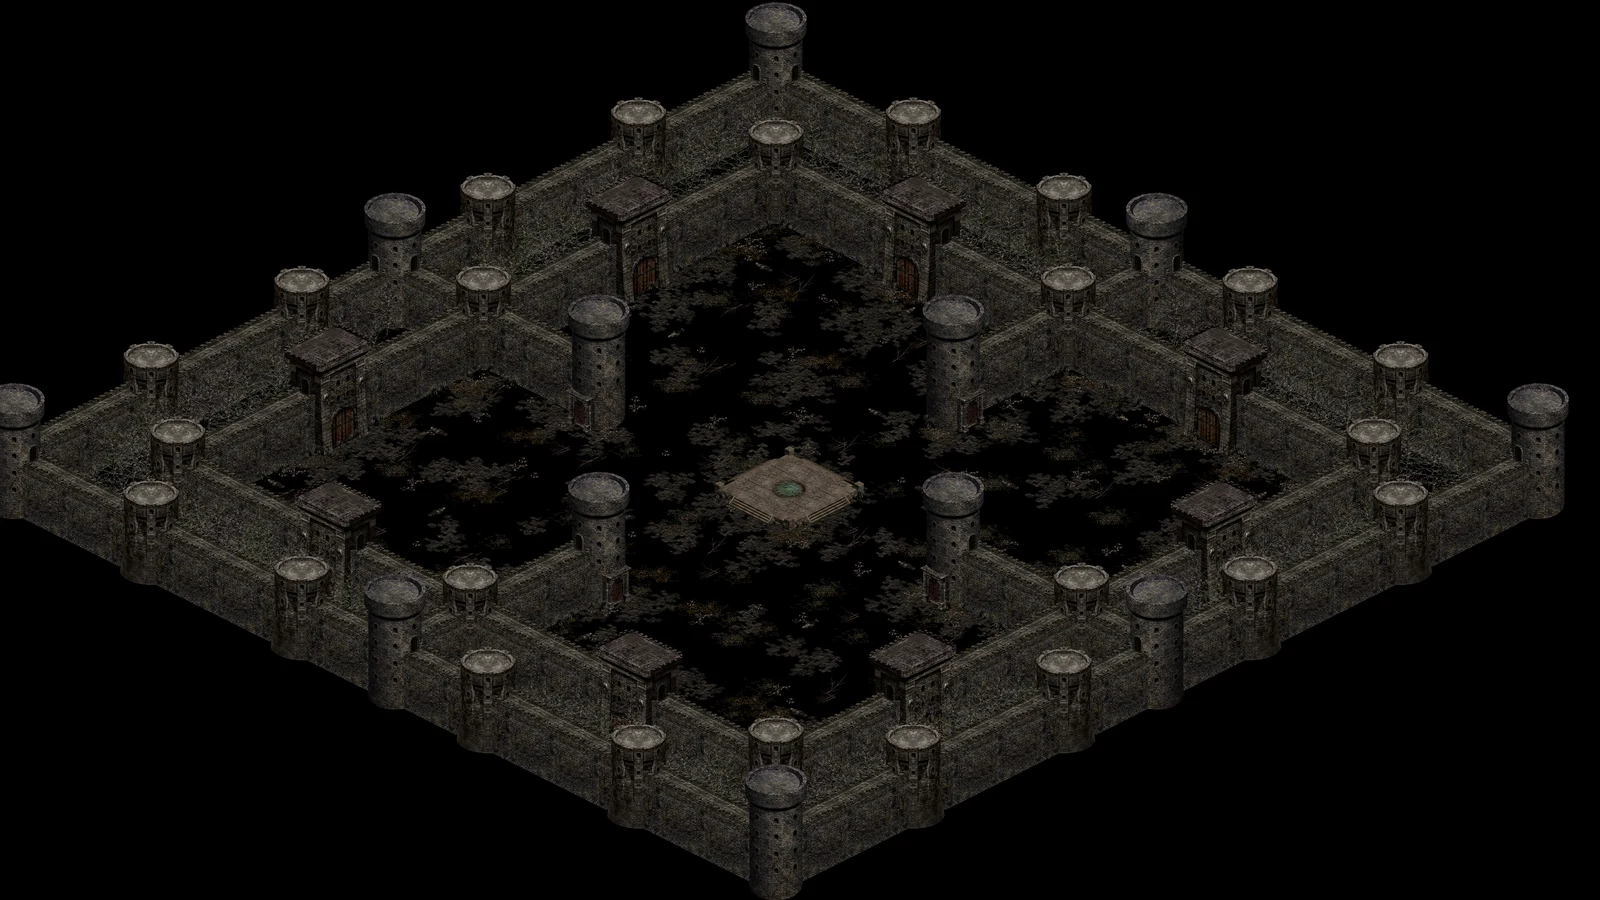
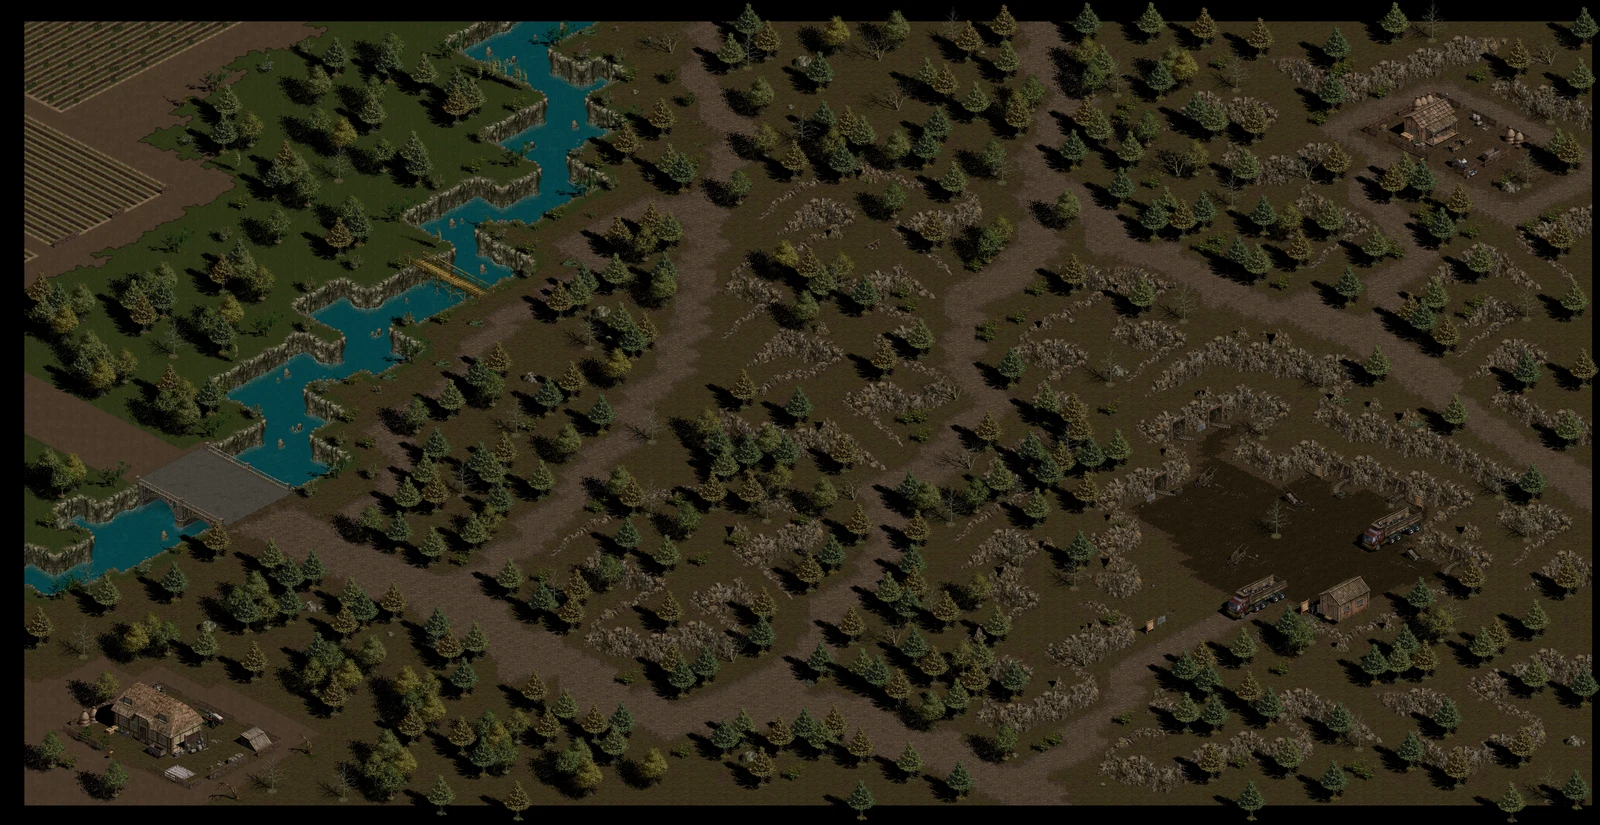
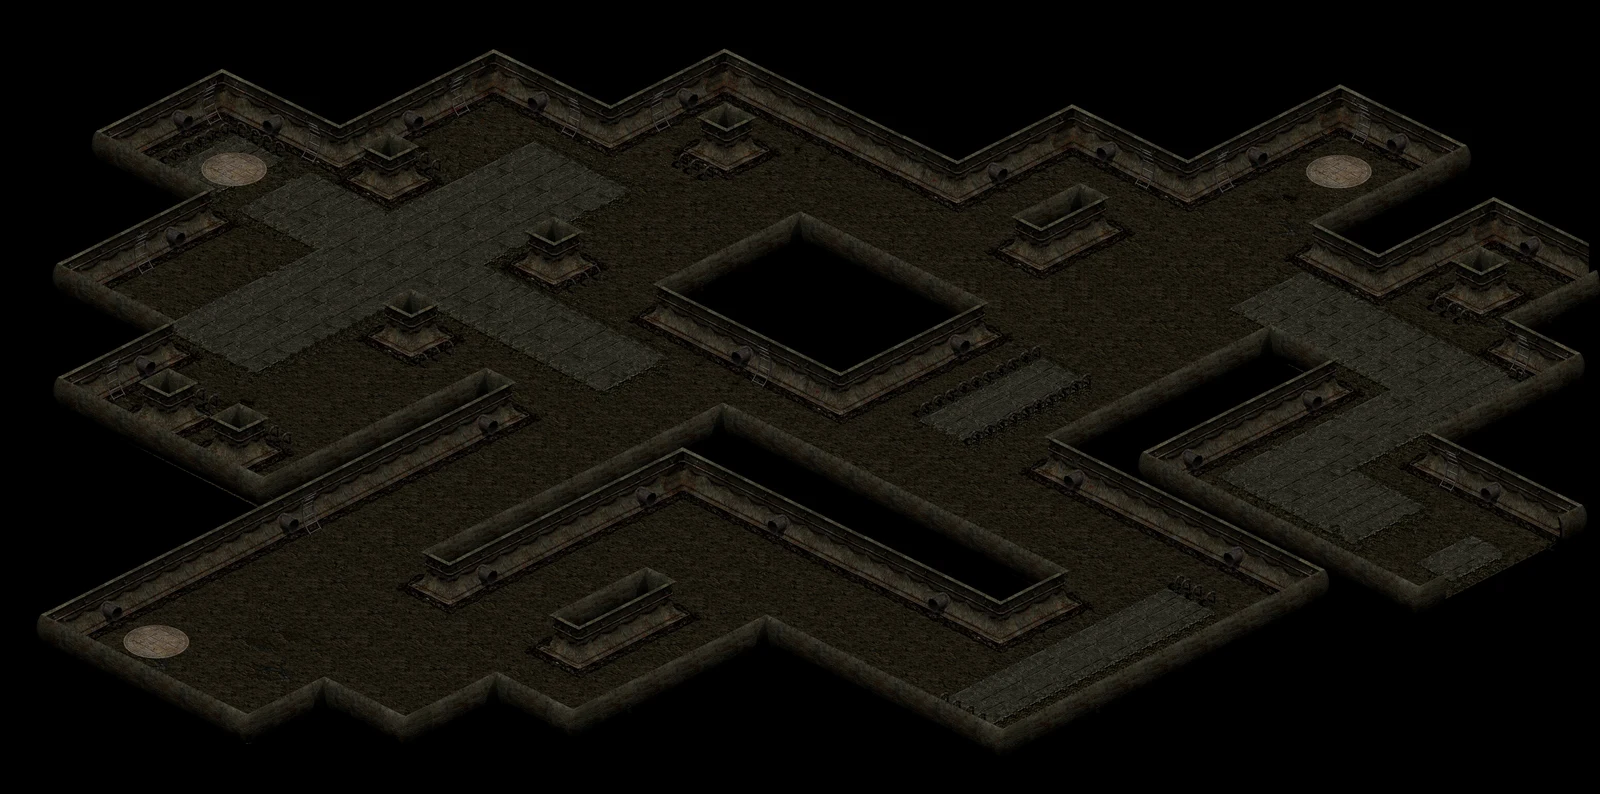
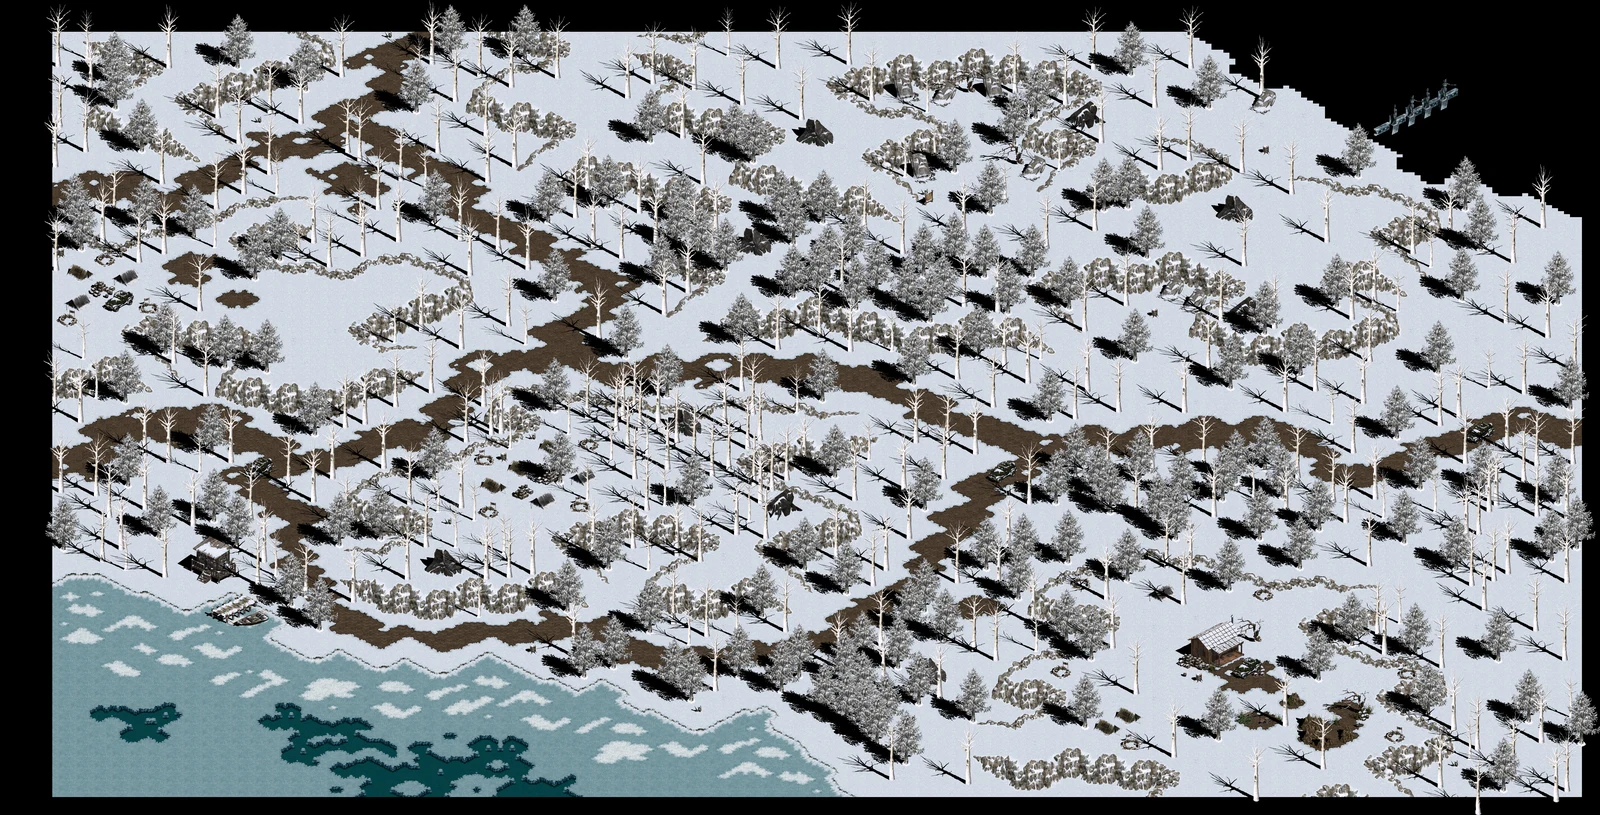
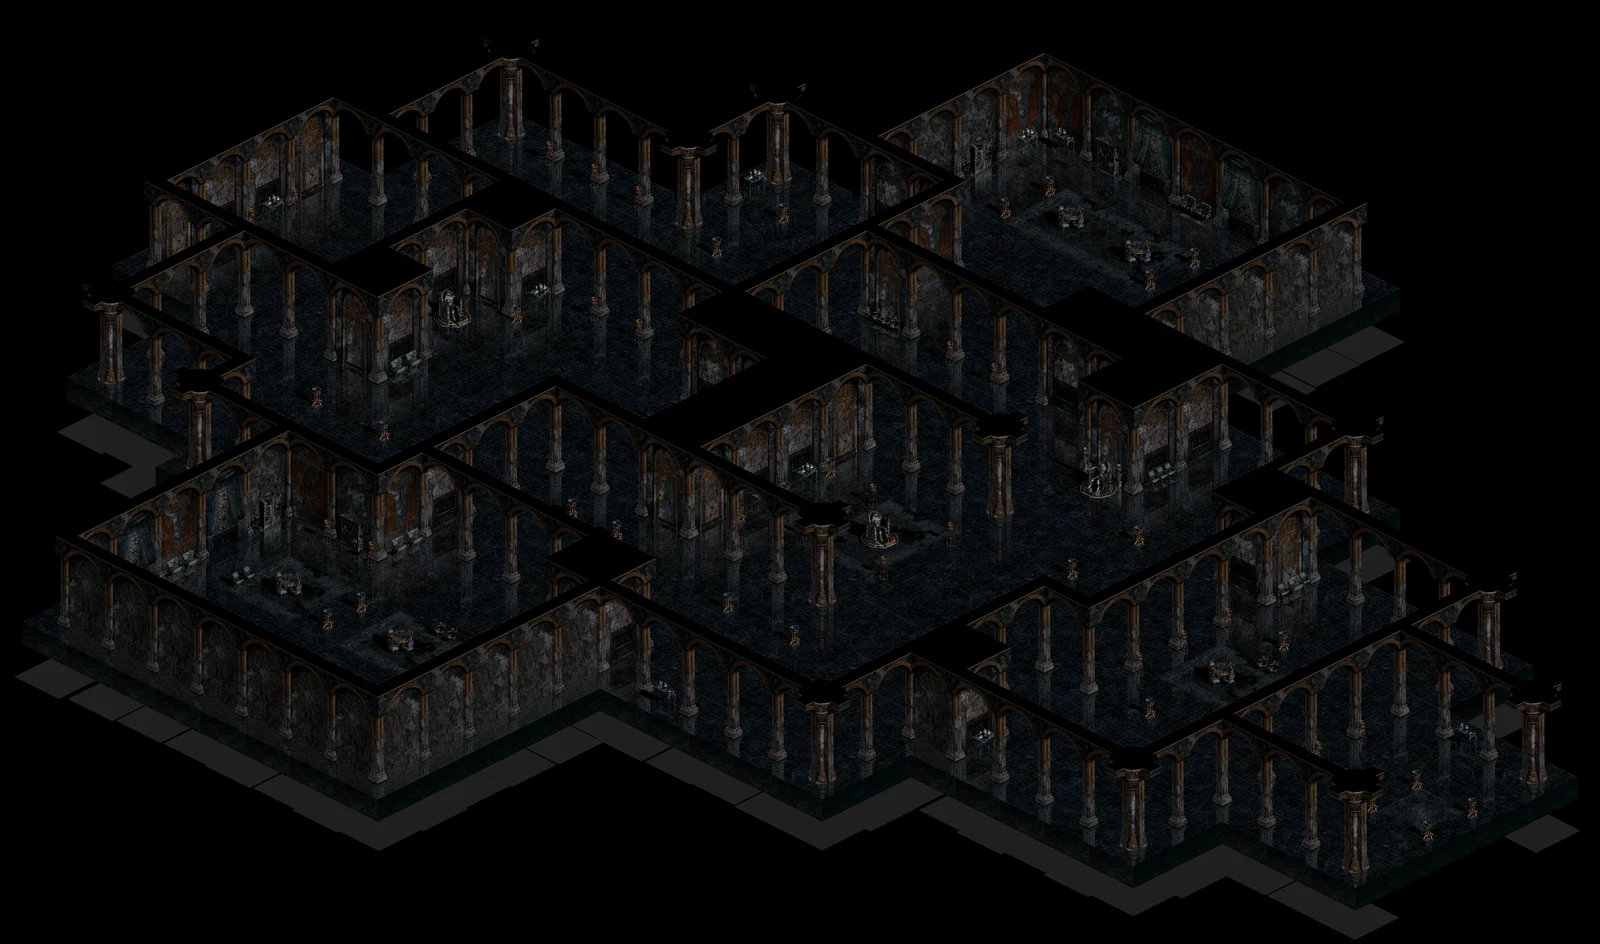
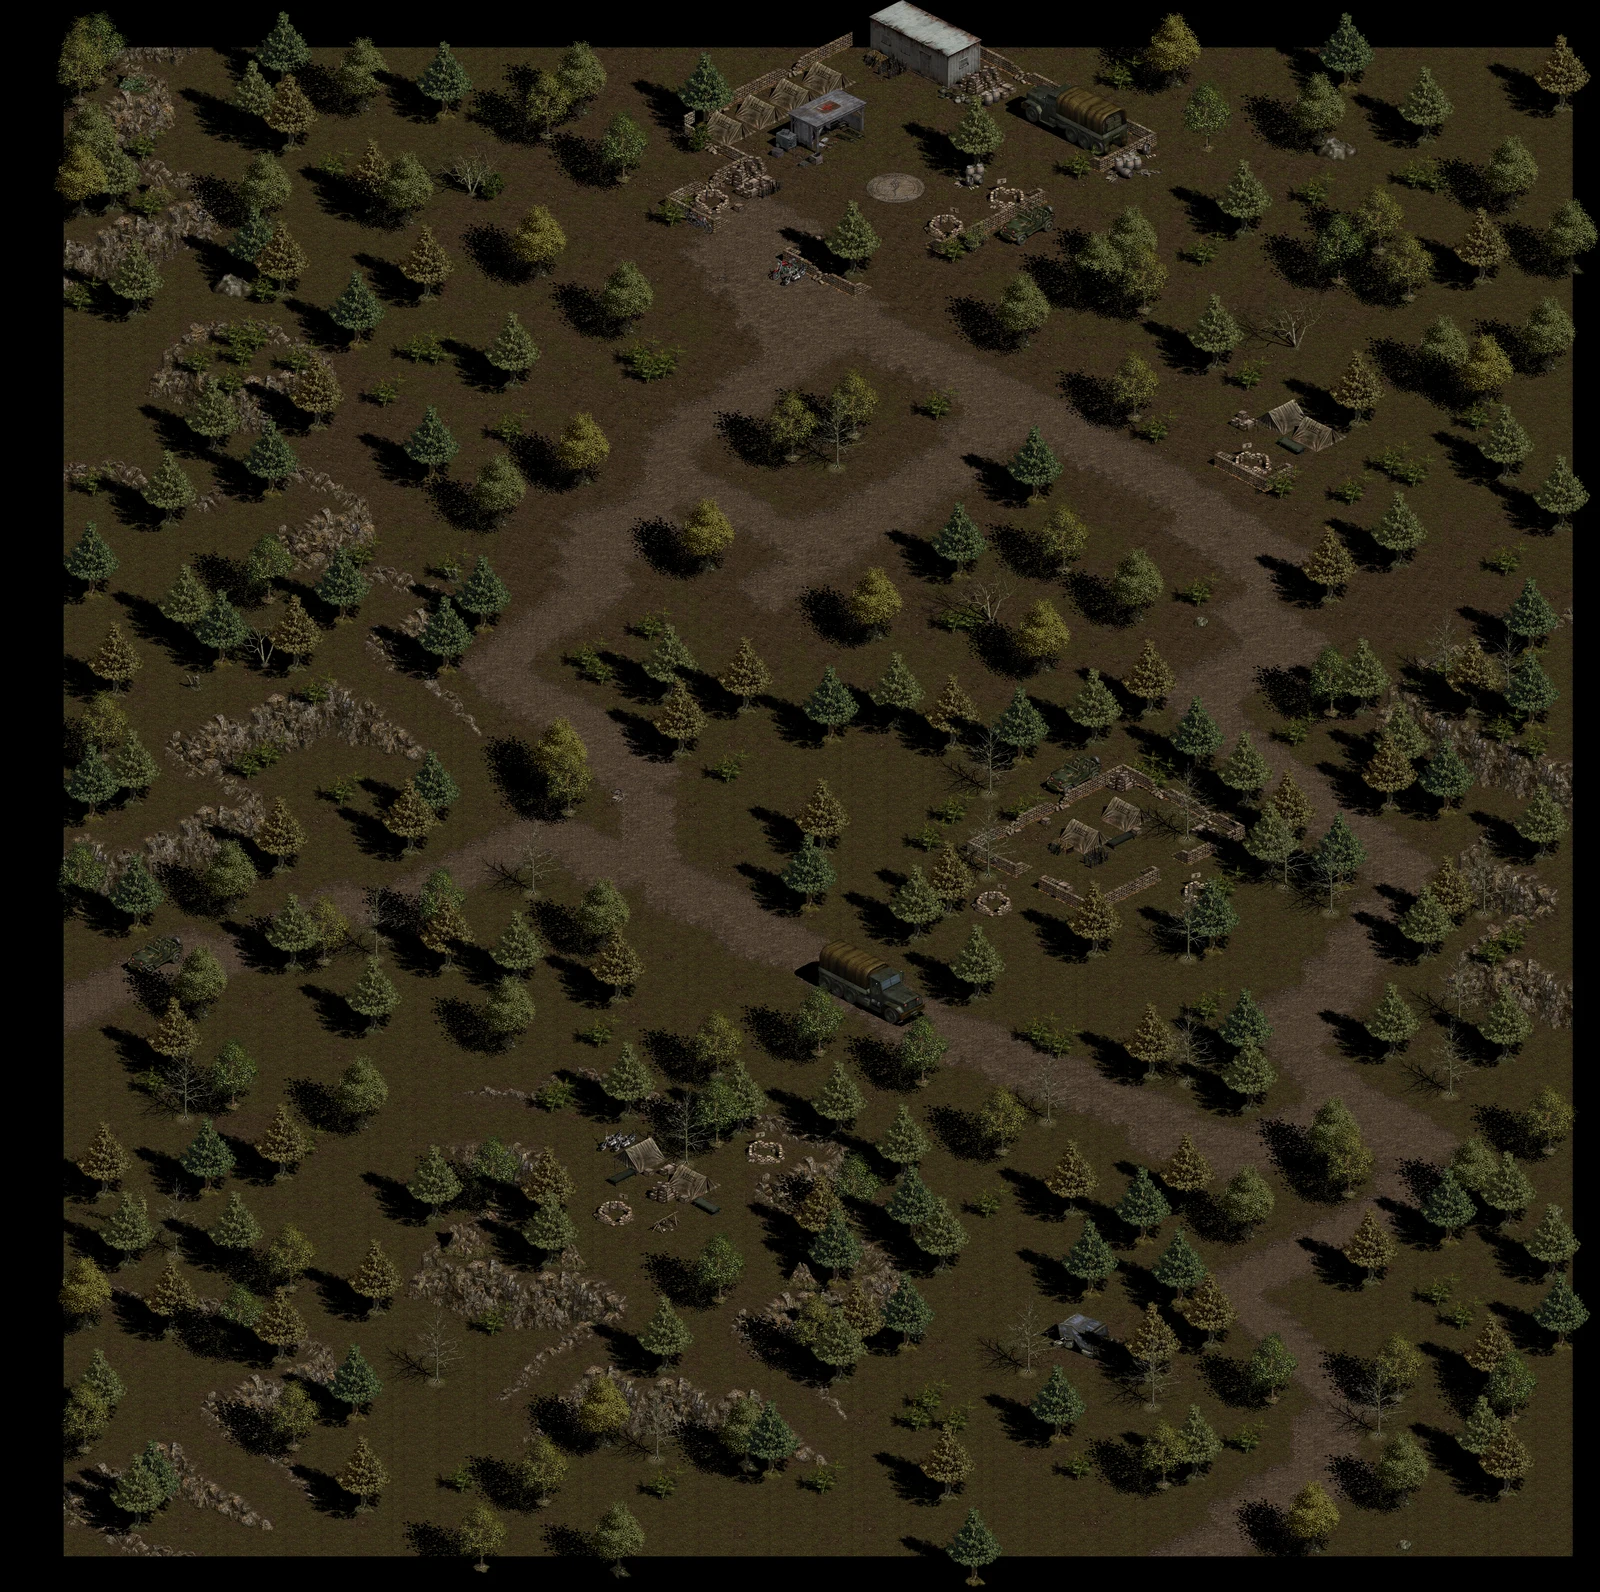
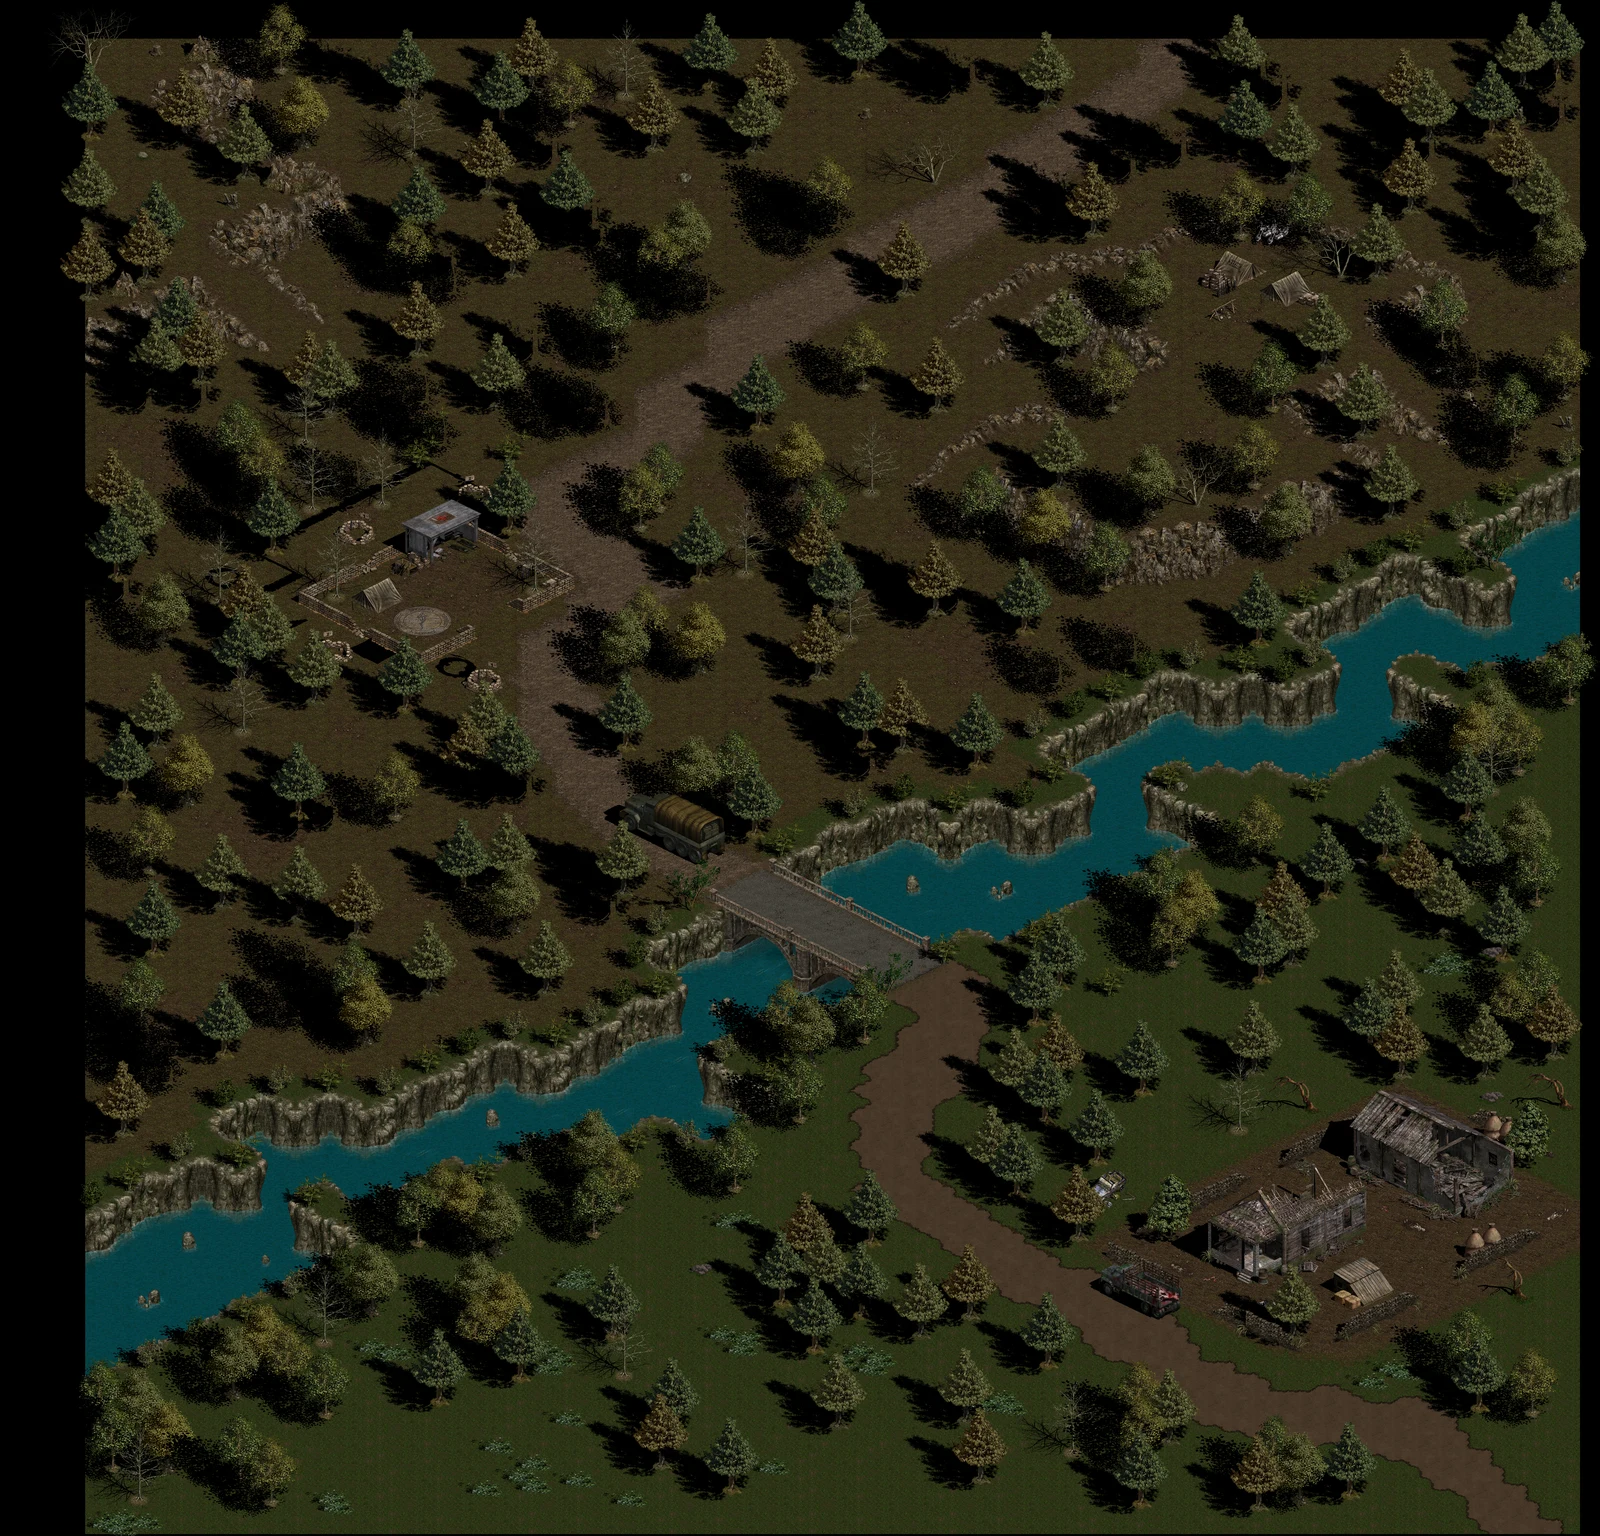
Read the landscape before choosing a destination. The atlas uses the game’s own map artwork to connect familiar names with recognizable places.
Classic journeySlayer & Vampire
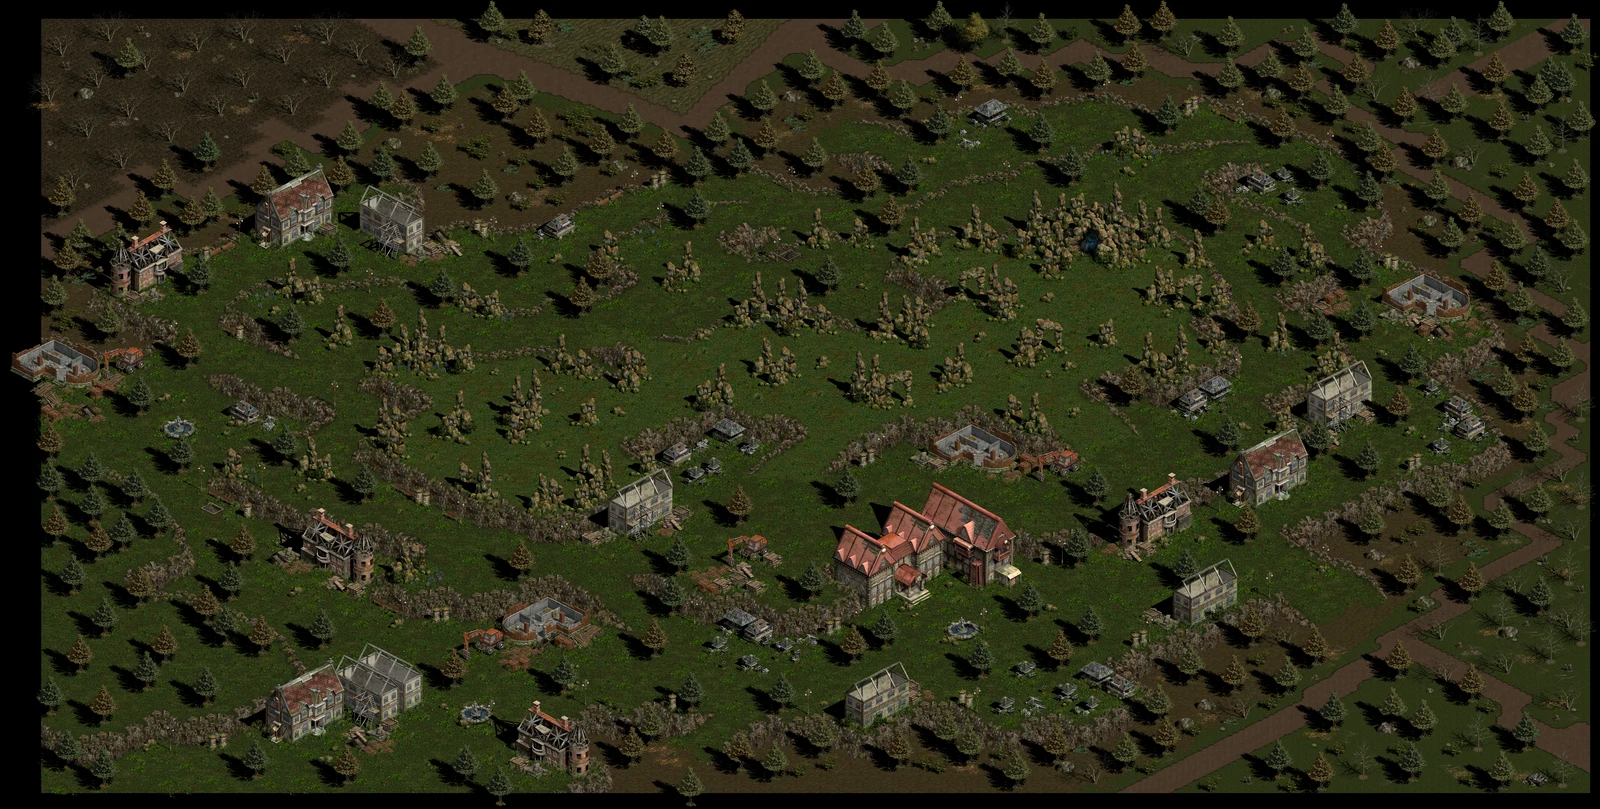
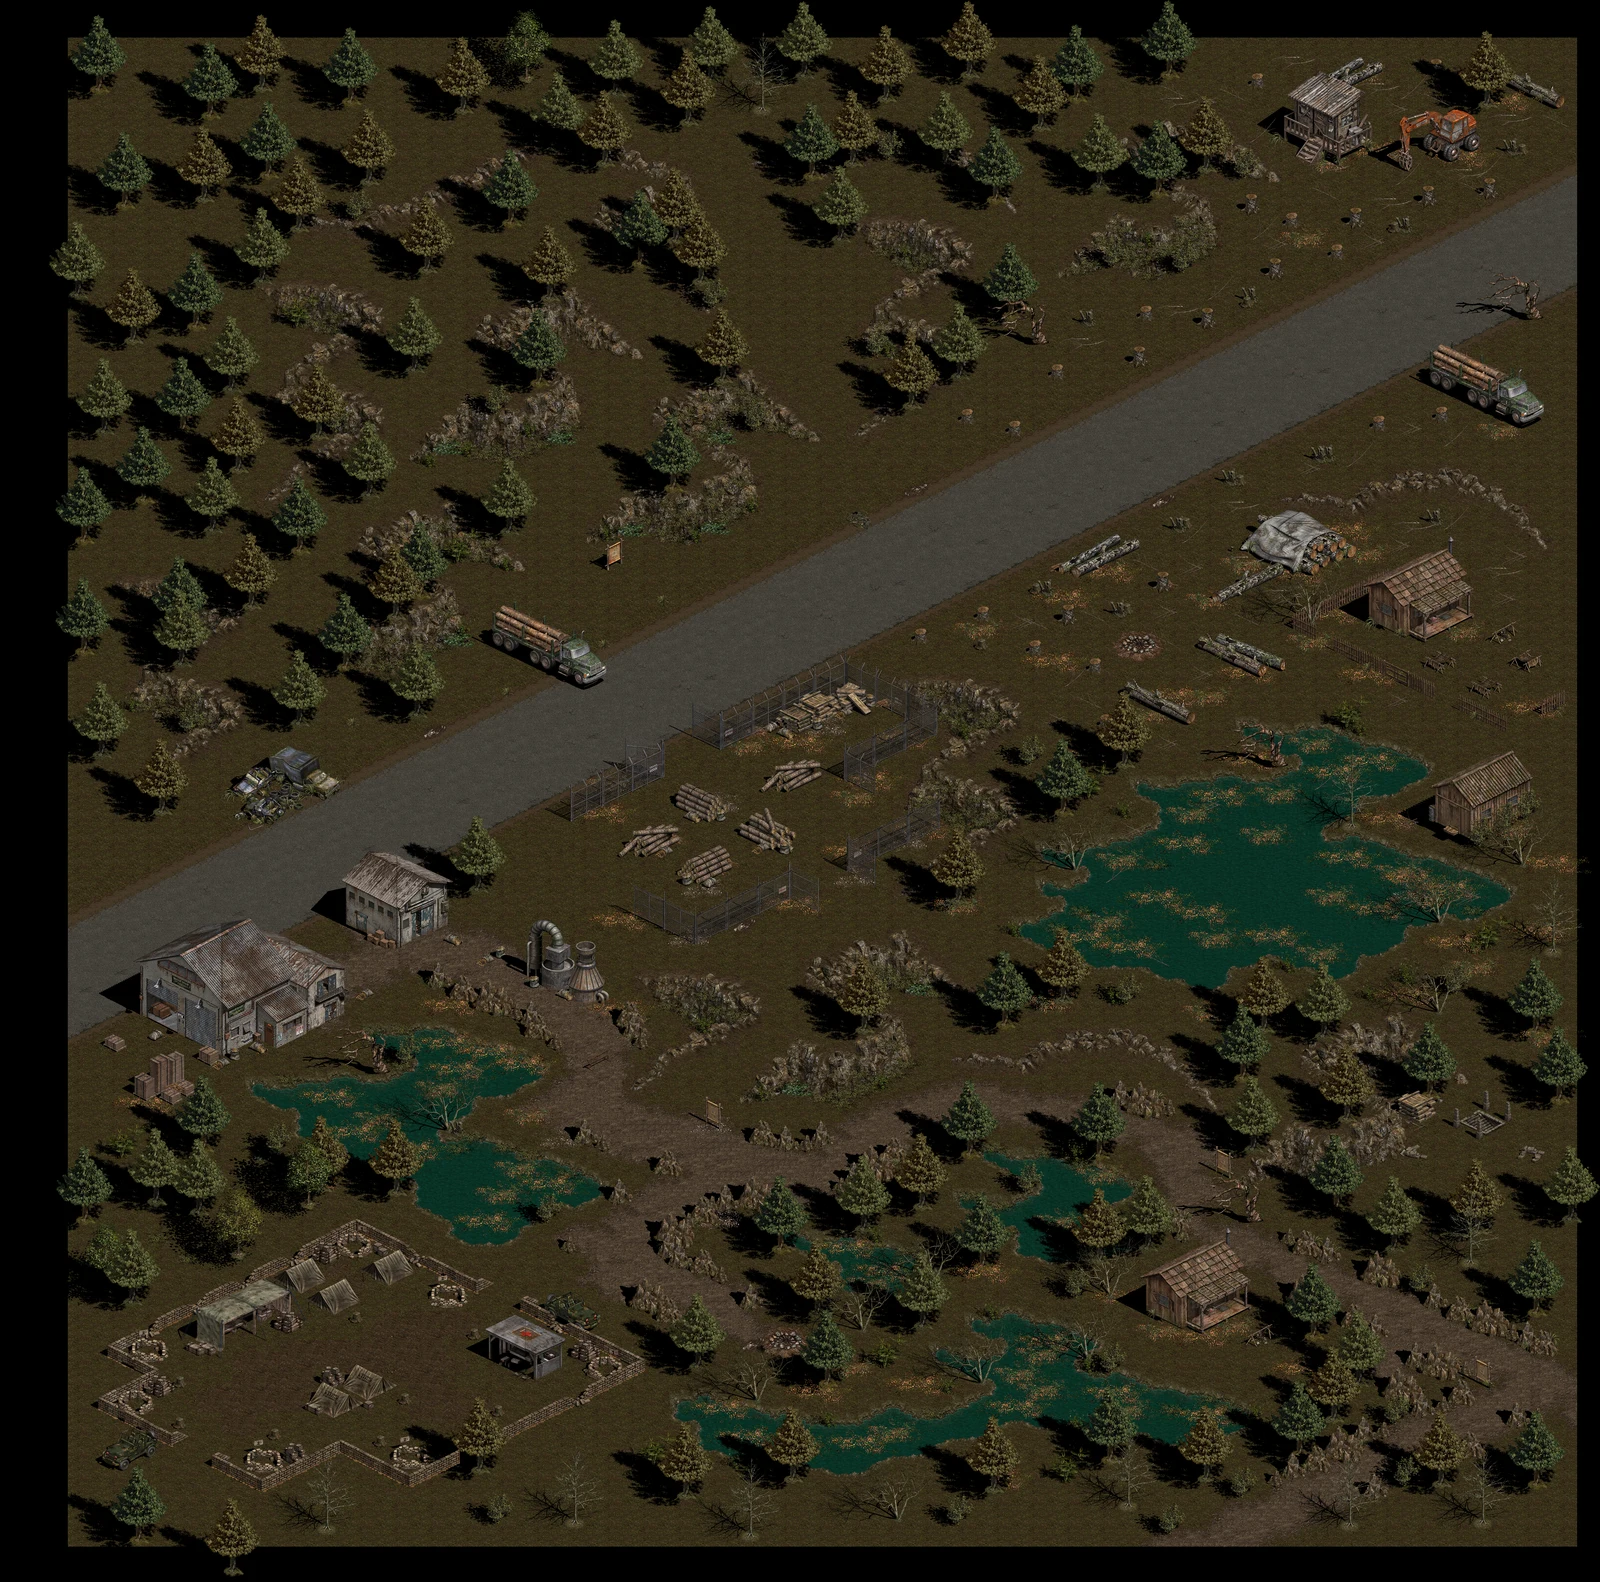
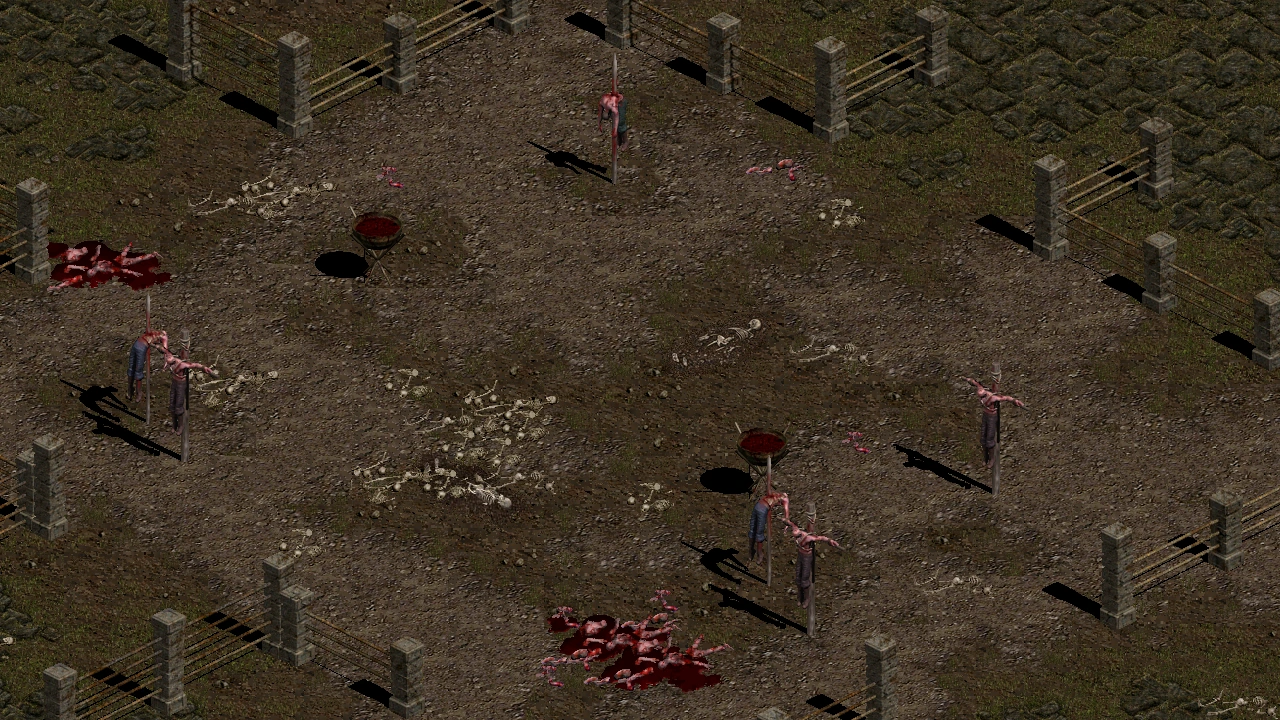
Rasen Yard
THE WORLD, UP CLOSE

Explore the world of Raohm

195 maps

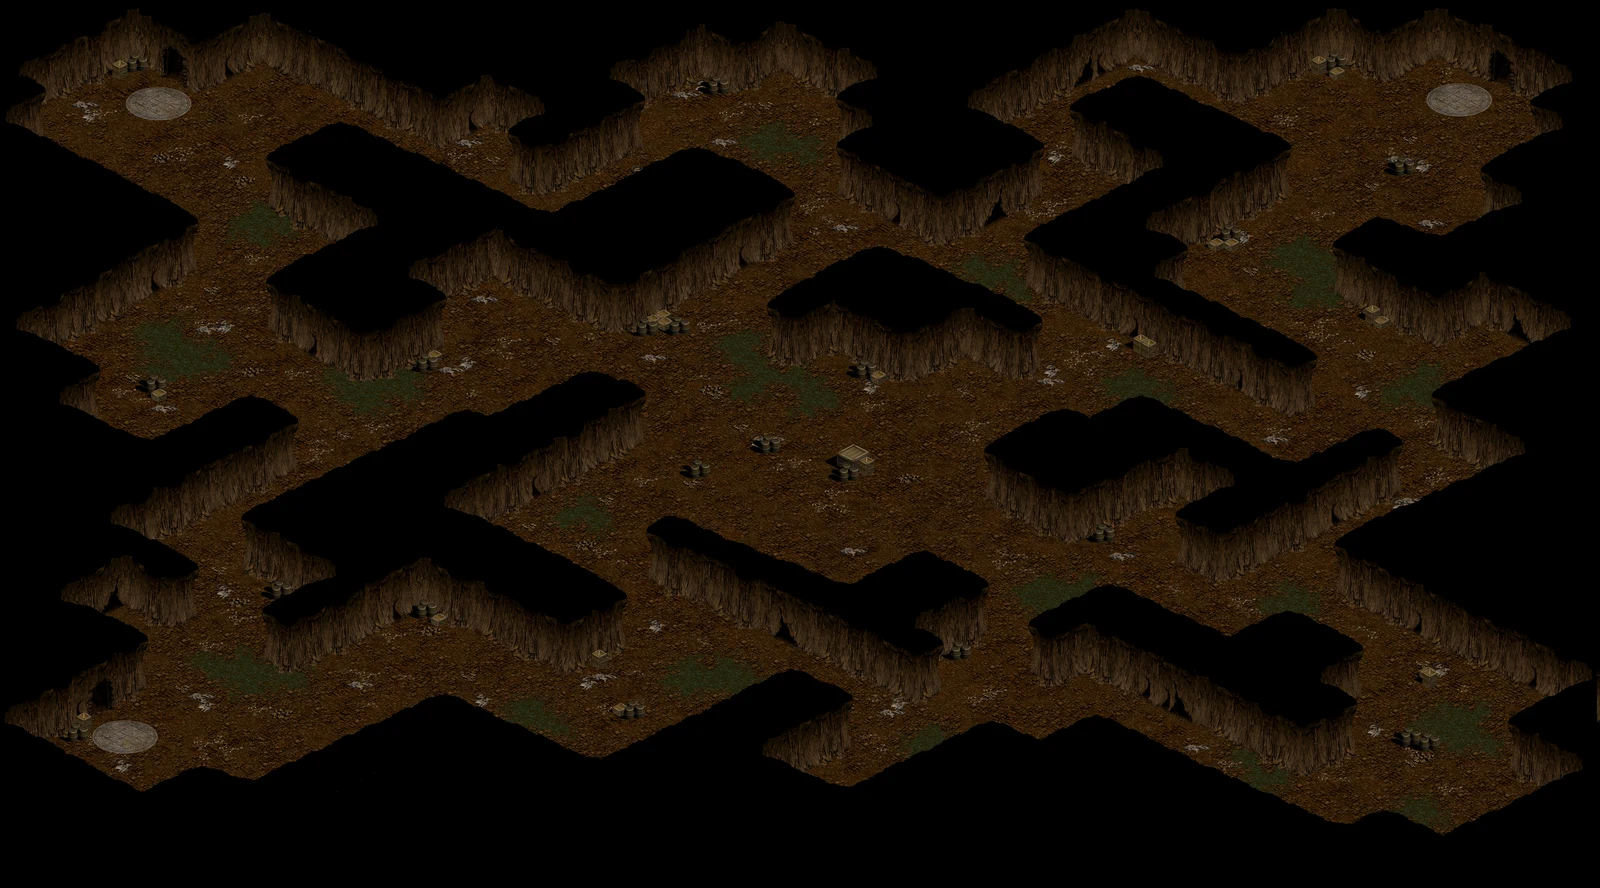
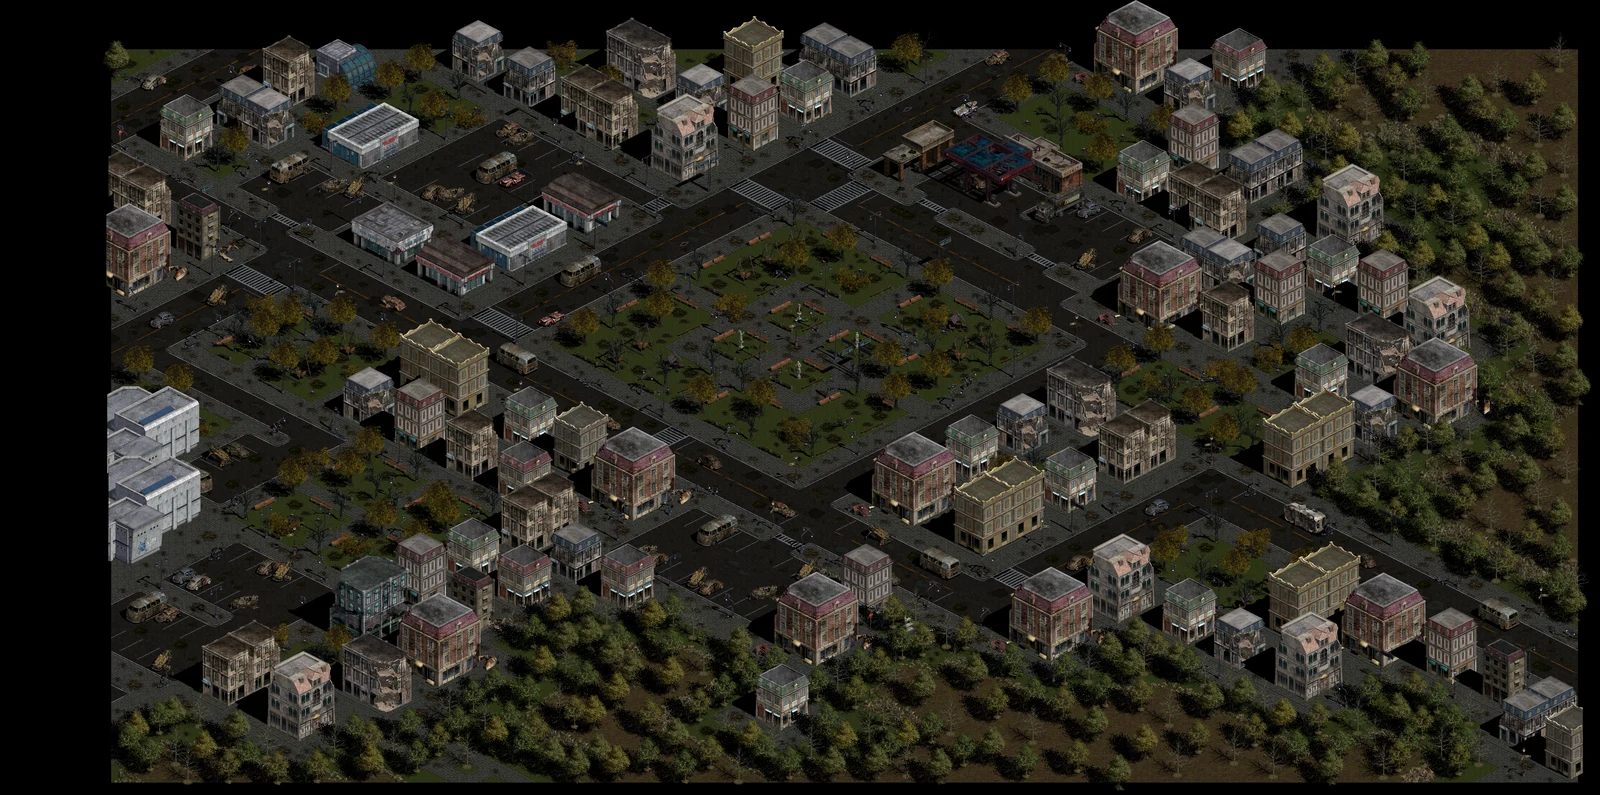
Overview of Eslania NW
Starting area

Eslania NW

X 237 · Y 138

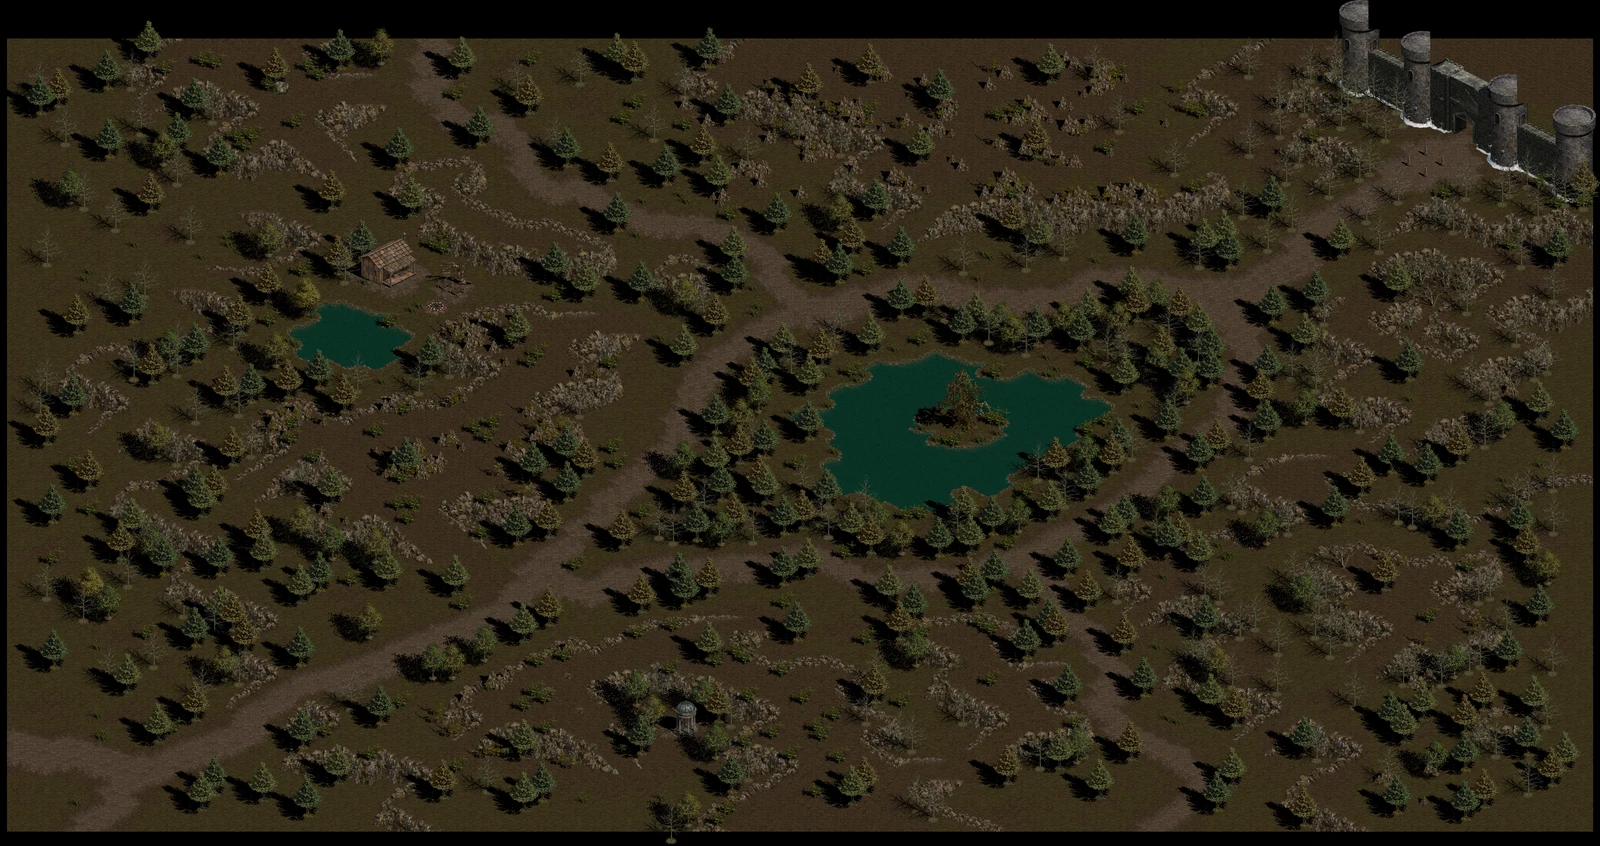
The classic starting point for new Slayers.
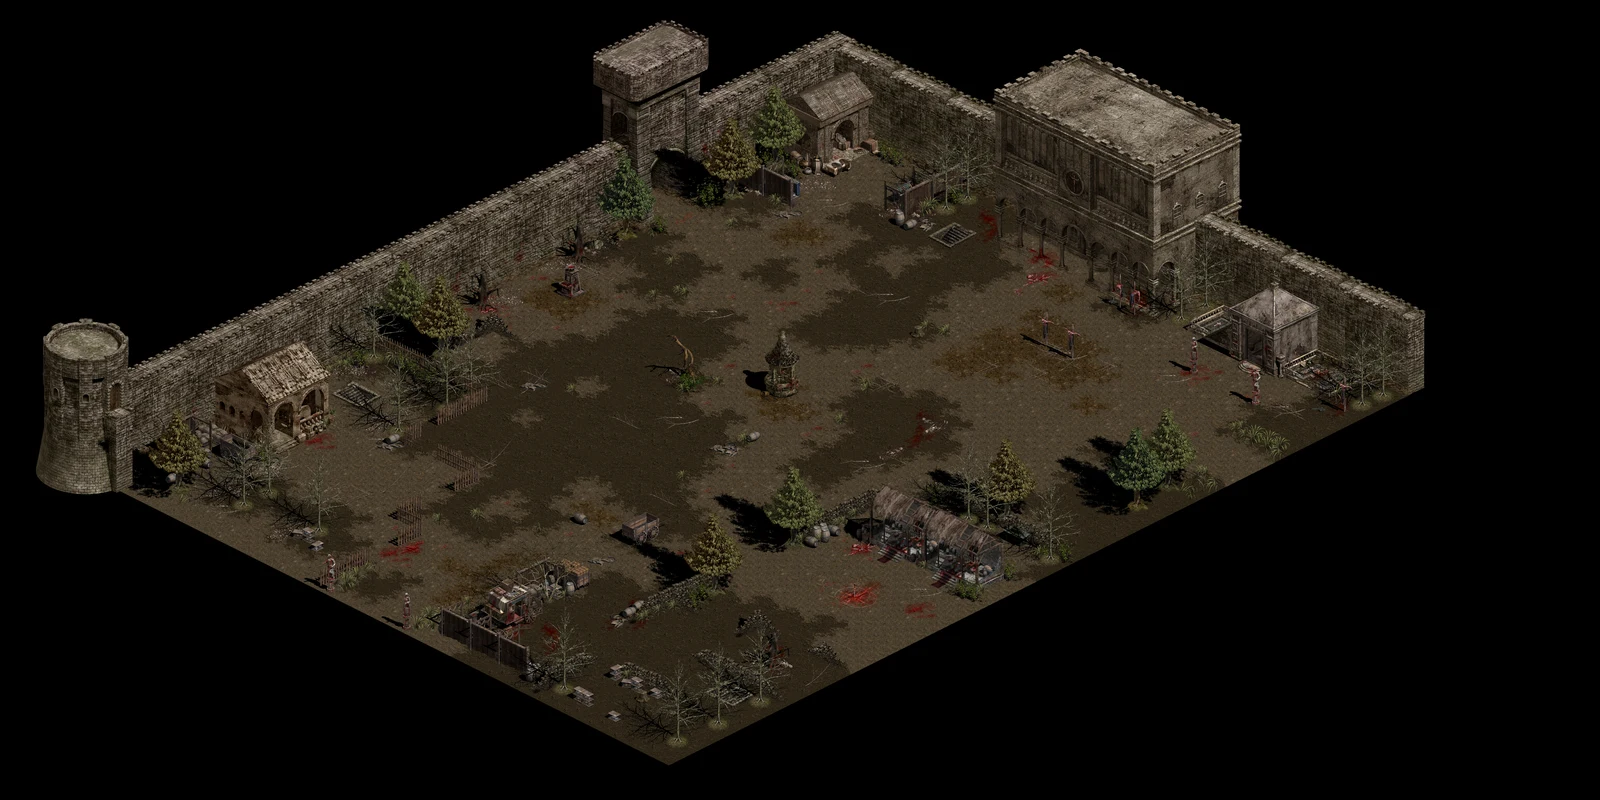
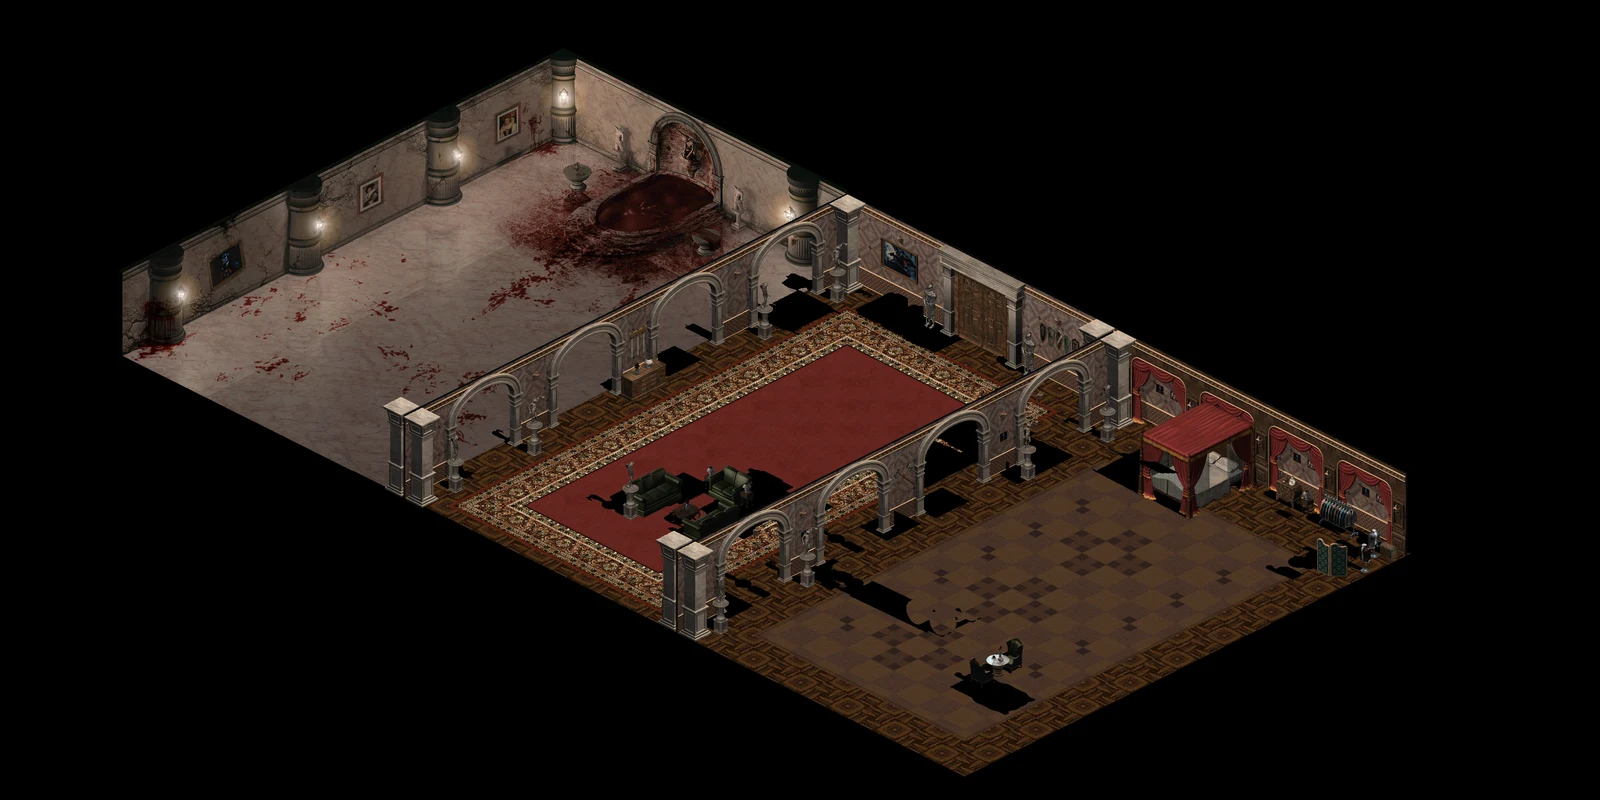
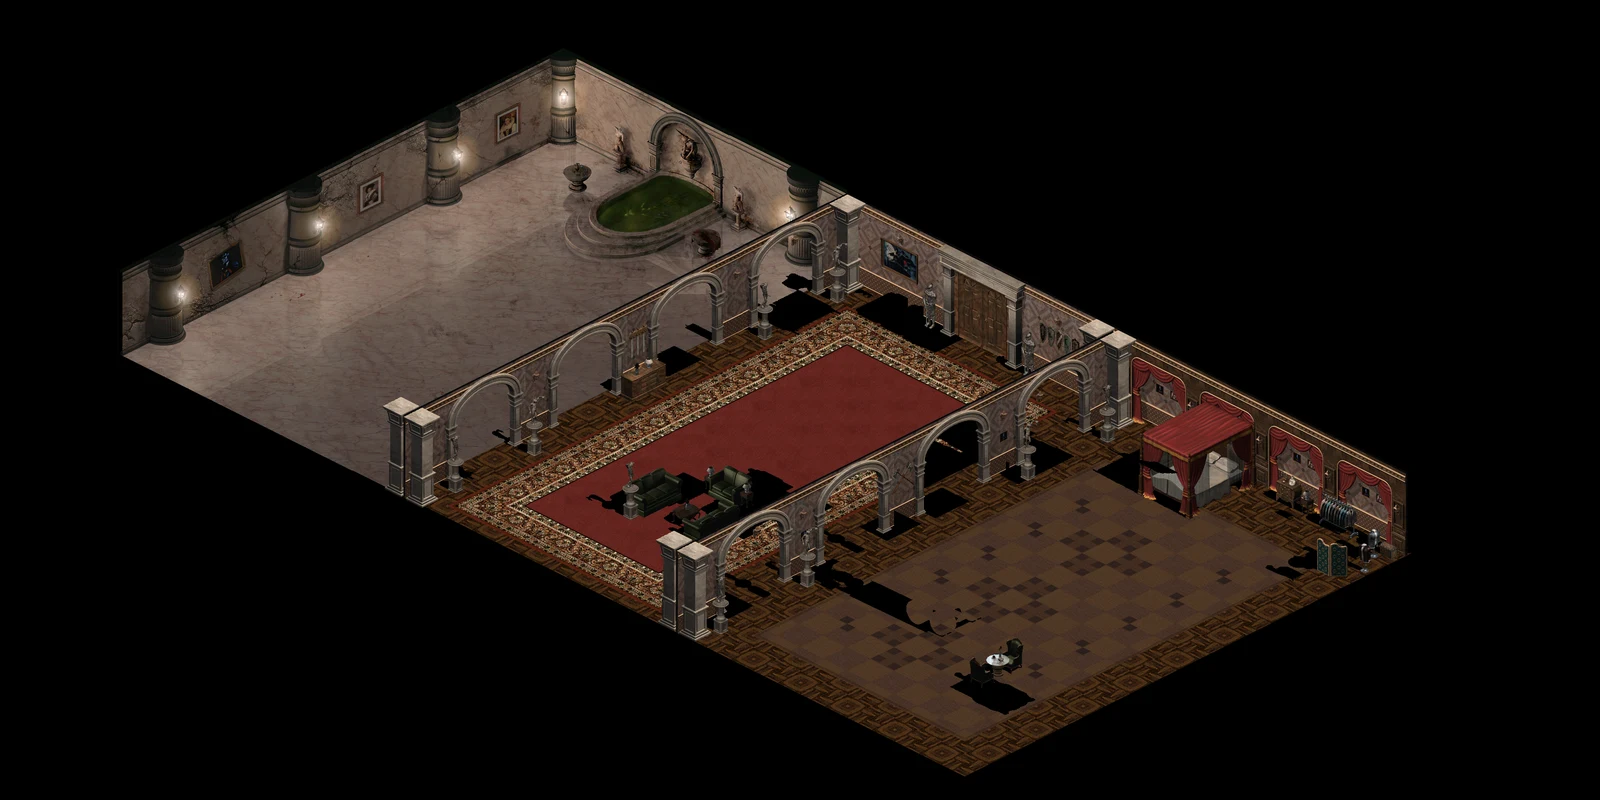
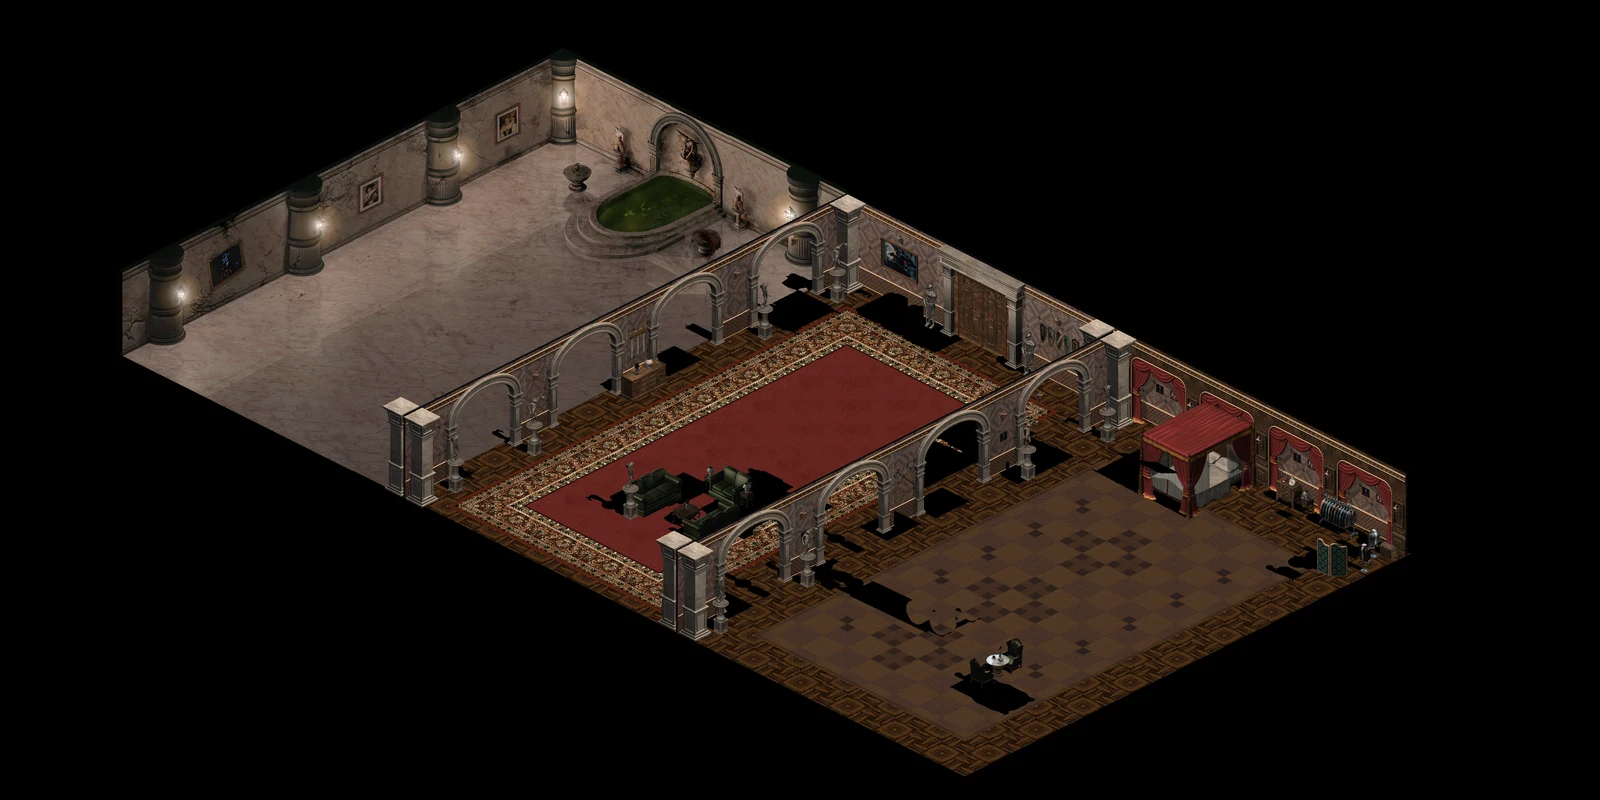
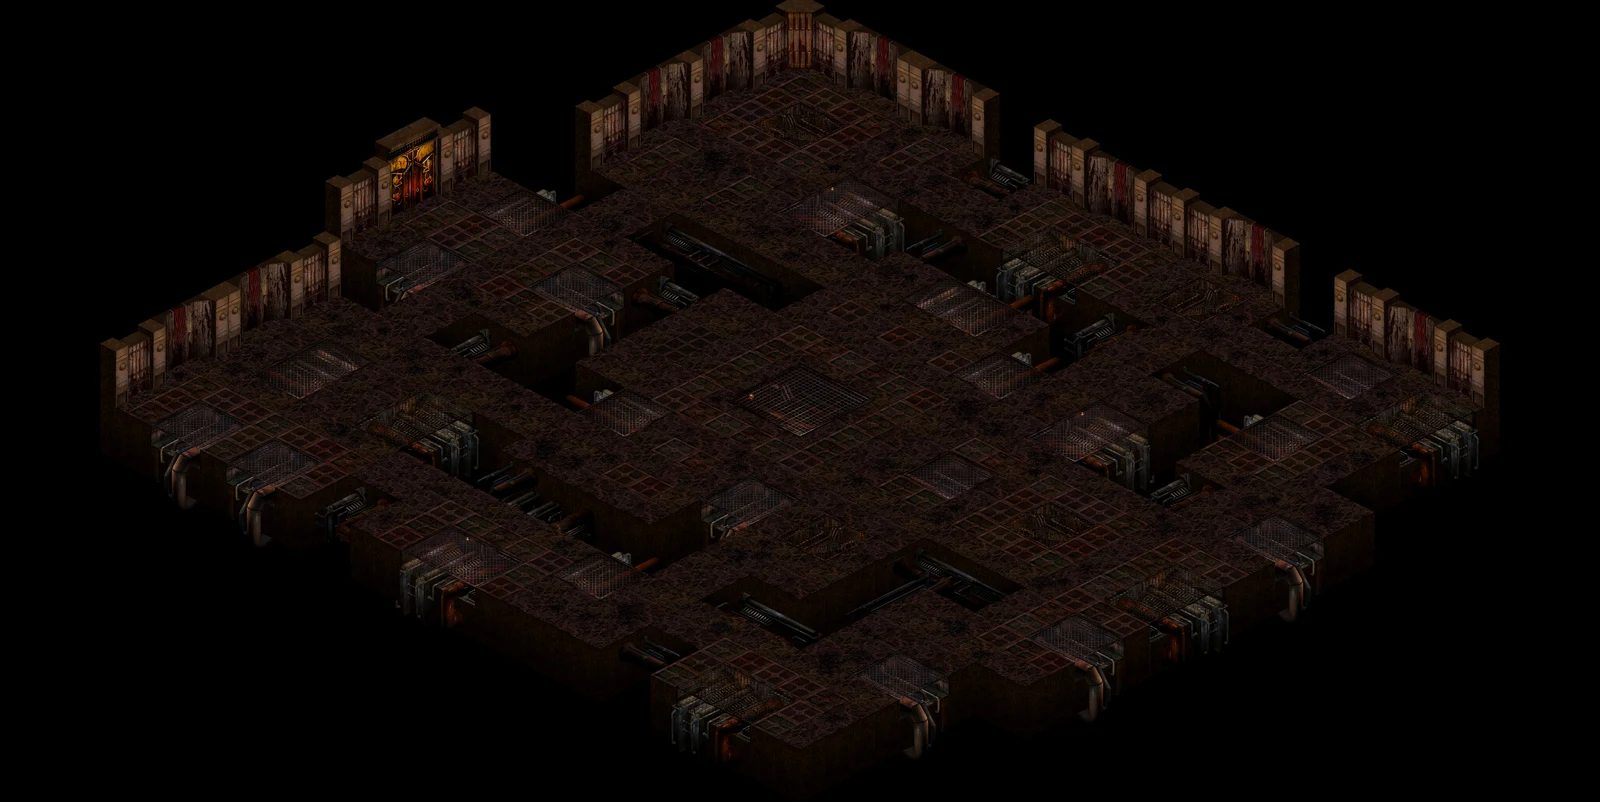
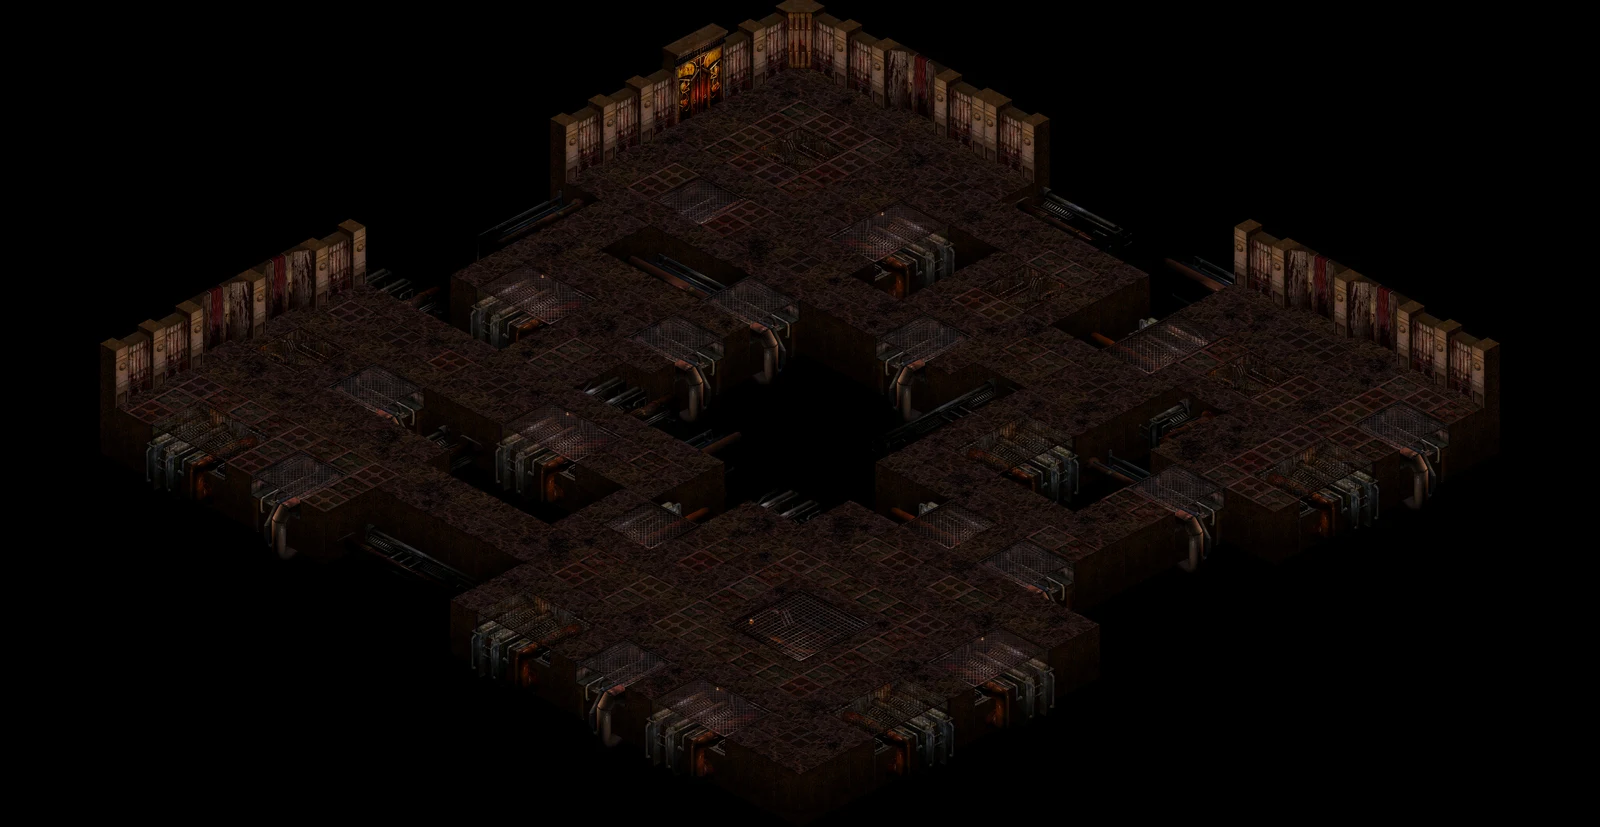
Overview of Castle Limbo
Starting area

Castle Limbo

X 62 · Y 64

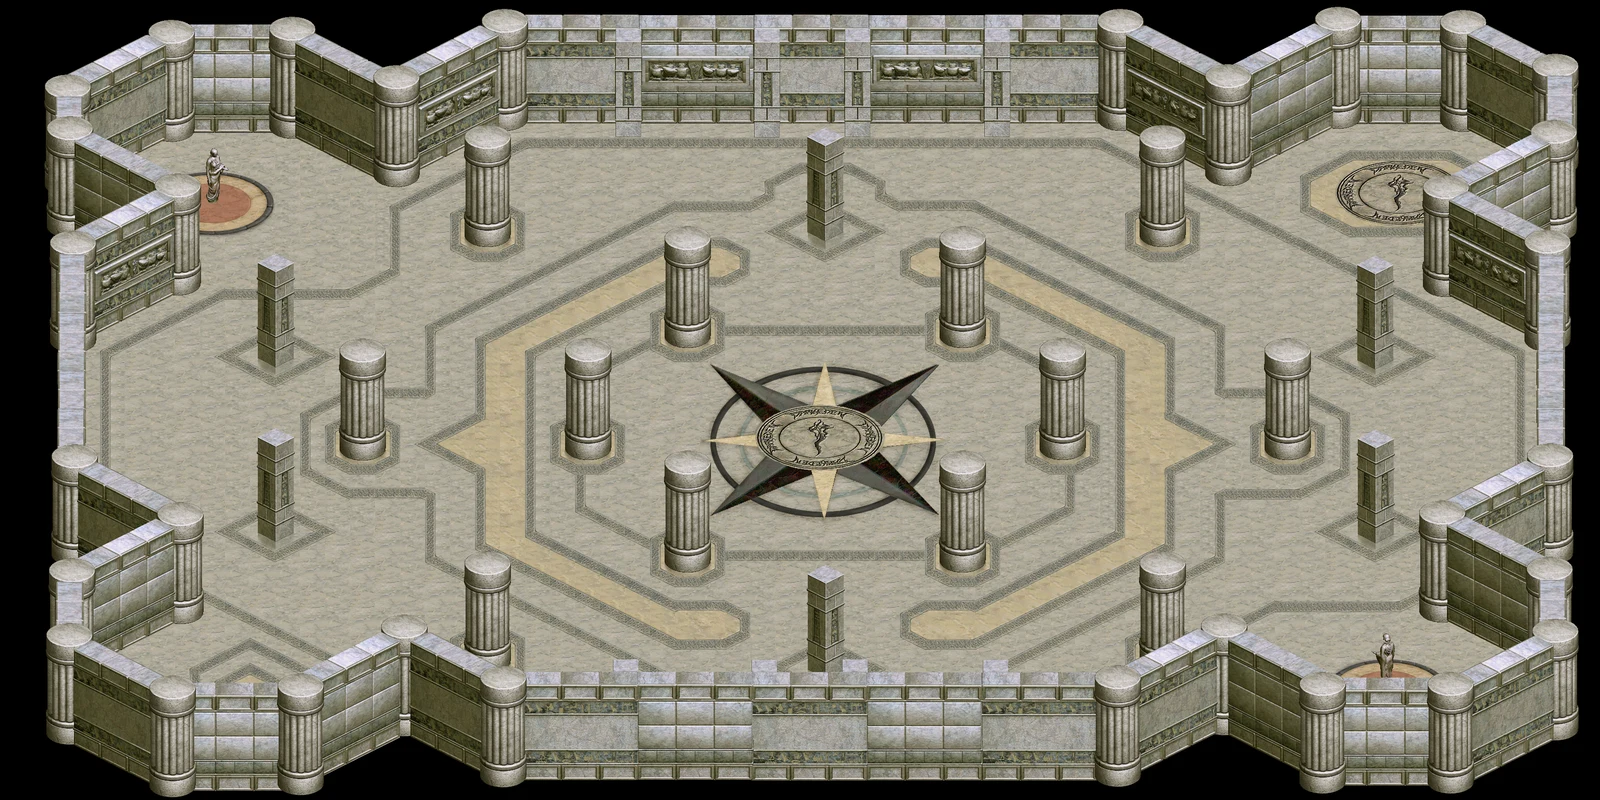
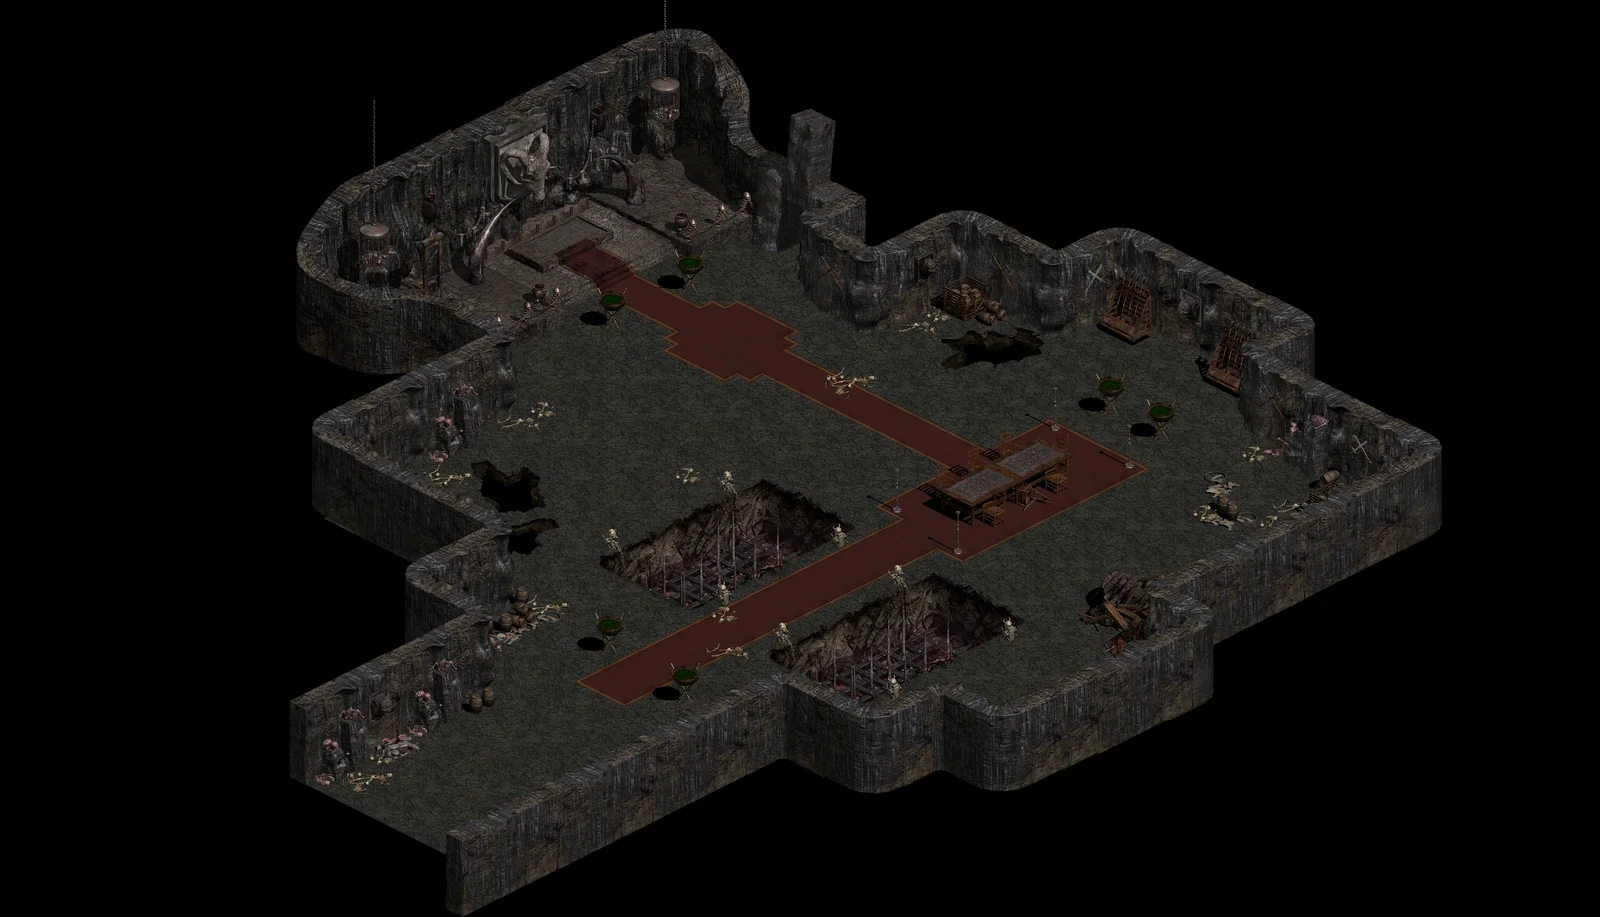
The classic starting hall for new Vampires.

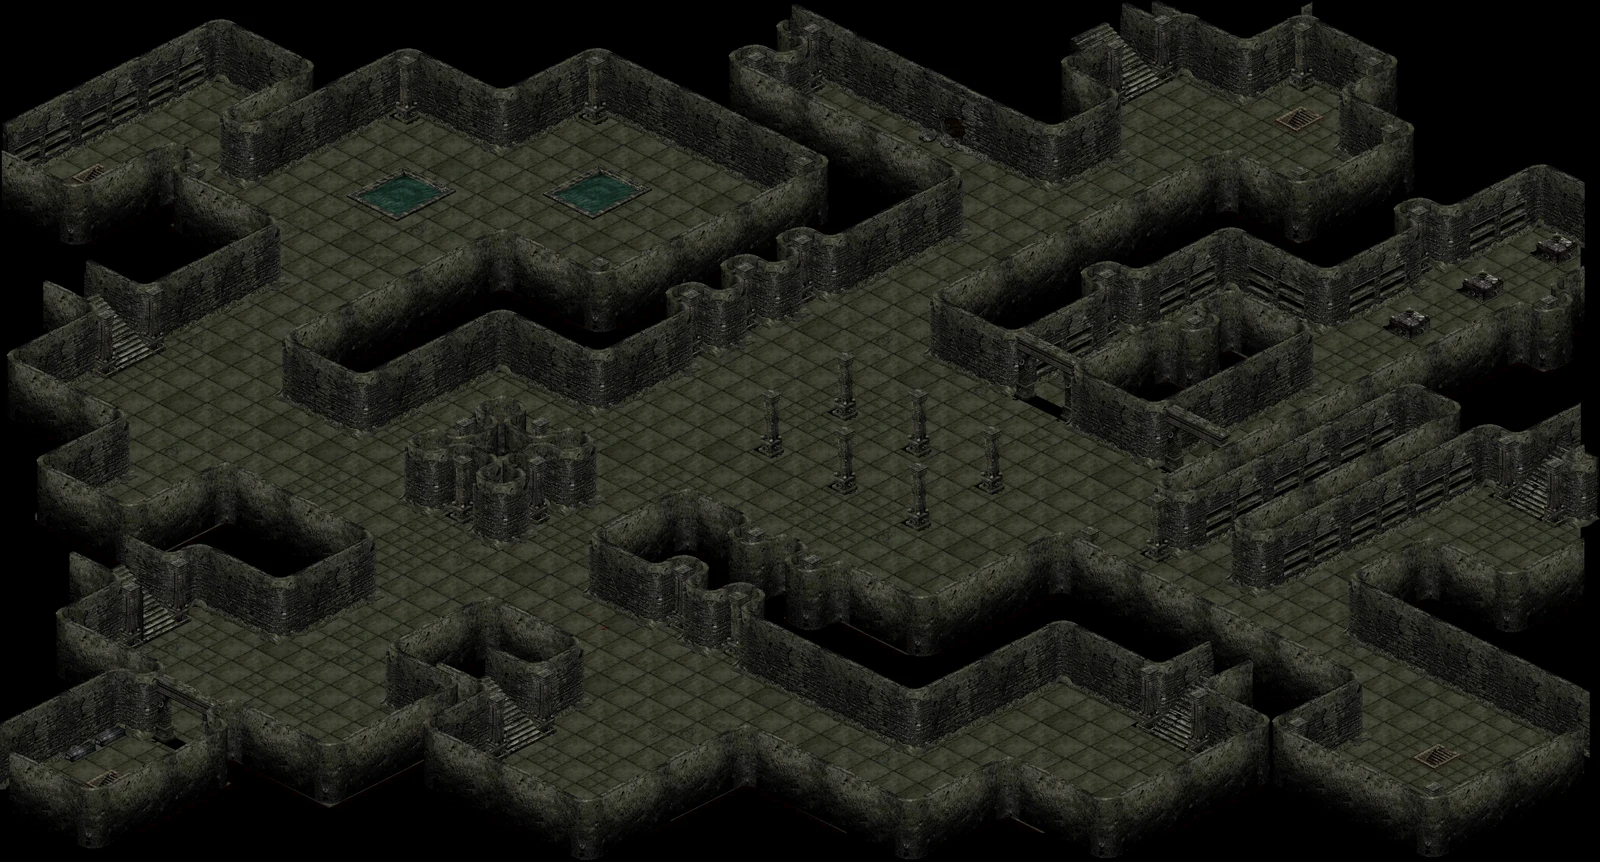
The starting hall, Limbo Dungeon and the outdoor Limbo areas are different maps. Check the current map name and floor after a transition. A similar name does not mean you are in the same room shown by a guide.
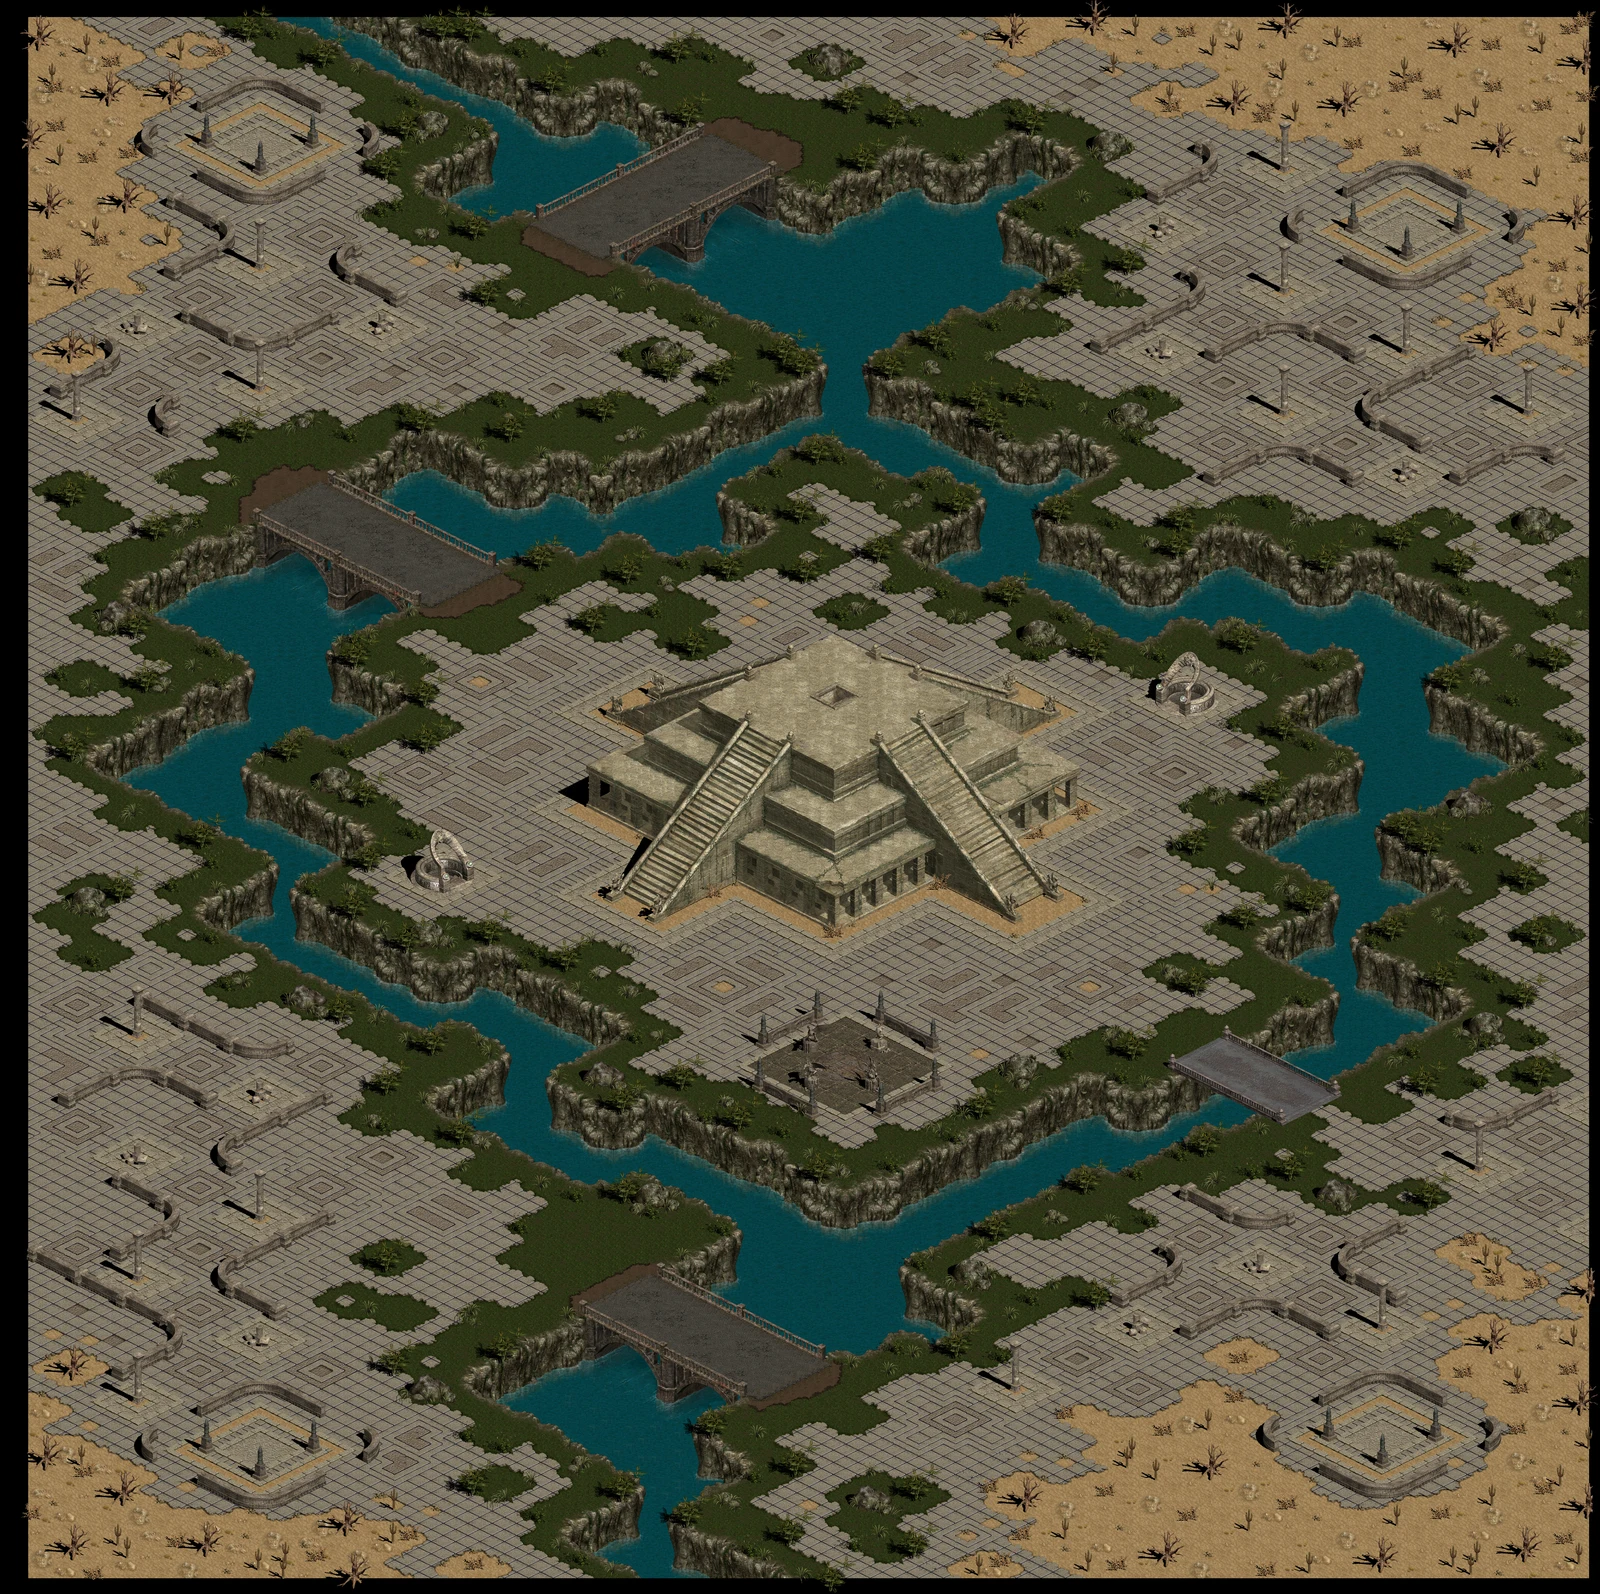
Overview of Adams C
Adams

Adams C

Overview of Adams C · Original
Adams

Adams C · Original

Client collection
Overview of Adams E
Adams

Adams E

Overview of Adams E · Original
Adams

Adams E · Original

Client collection
Overview of Adams N
Adams

Adams N

Overview of Adams S
Adams

Adams S

Overview of Adams W
Adams

Adams W

Overview of Adams W · Original
Adams

Adams W · Original

Client collection
Overview of Altar Gate
Altar of Blood

Altar Gate

Overview of Altar Gate 2
Altar of Blood

Altar Gate 2

Client collection
Overview of Altar of Blood
Altar of Blood

Altar of Blood

Overview of Banatul
Arenas

Banatul

Overview of Olt
Arenas

Olt

Overview of Oltenia
Arenas

Oltenia

Overview of PK Arena L
Arenas

PK Arena L

Client collection
Overview of Survival
Arenas

Survival

Overview of Asylion
Asylion

Asylion

Asylion, also known as Asylon, has several distinct layouts. Compare this floor with Asylion 2 and the Evo areas before choosing your route.
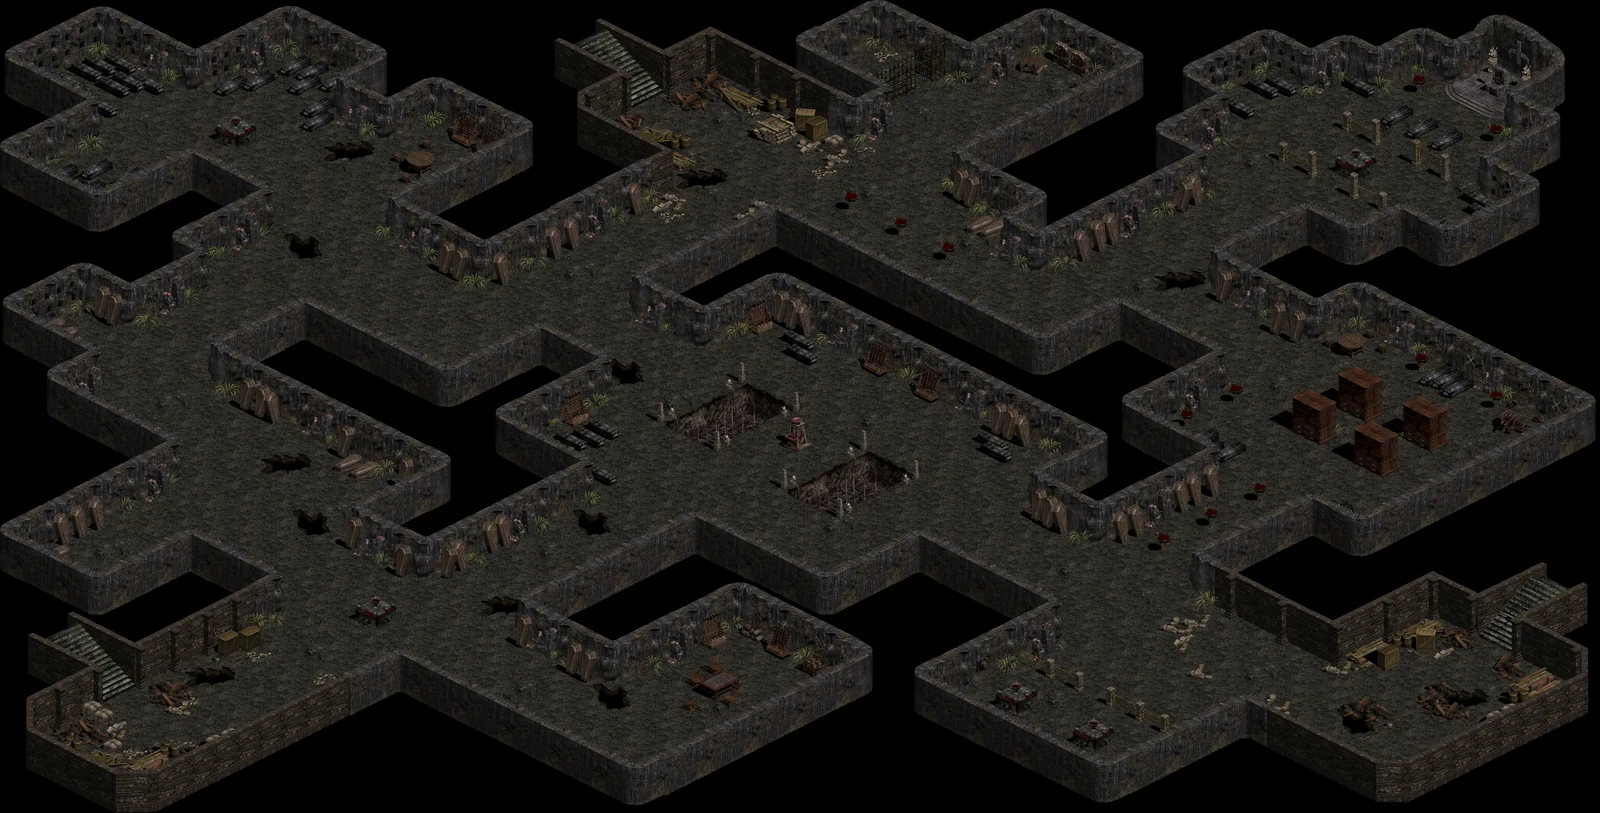
Overview of Asylion 2
Asylion

Asylion 2

Client collection
Overview of Asylion Evo2
Asylion

Asylion Evo2

Client collection
Overview of Asylion Evo3
Asylion

Asylion Evo3

Client collection
Overview of Bathory B1f · Teen
Bathory

Bathory B1f · Teen

Client collection
Overview of Bathory B2f · Teen
Bathory

Bathory B2f · Teen

Client collection
Overview of Bathory B3f
Bathory

Bathory B3f

Overview of Bathory B3f · Teen
Bathory

Bathory B3f · Teen

Client collection
Overview of Bathory B4f
Bathory

Bathory B4f

Overview of Bathory B4f · Teen
Bathory

Bathory B4f · Teen

Client collection
Overview of Bathory Clon Lair
Bathory

Bathory Clon Lair

Overview of Bathory Clon Lair · Teen
Bathory

Bathory Clon Lair · Teen

Client collection
Overview of Bathory Dungeon B1
Bathory

Bathory Dungeon B1

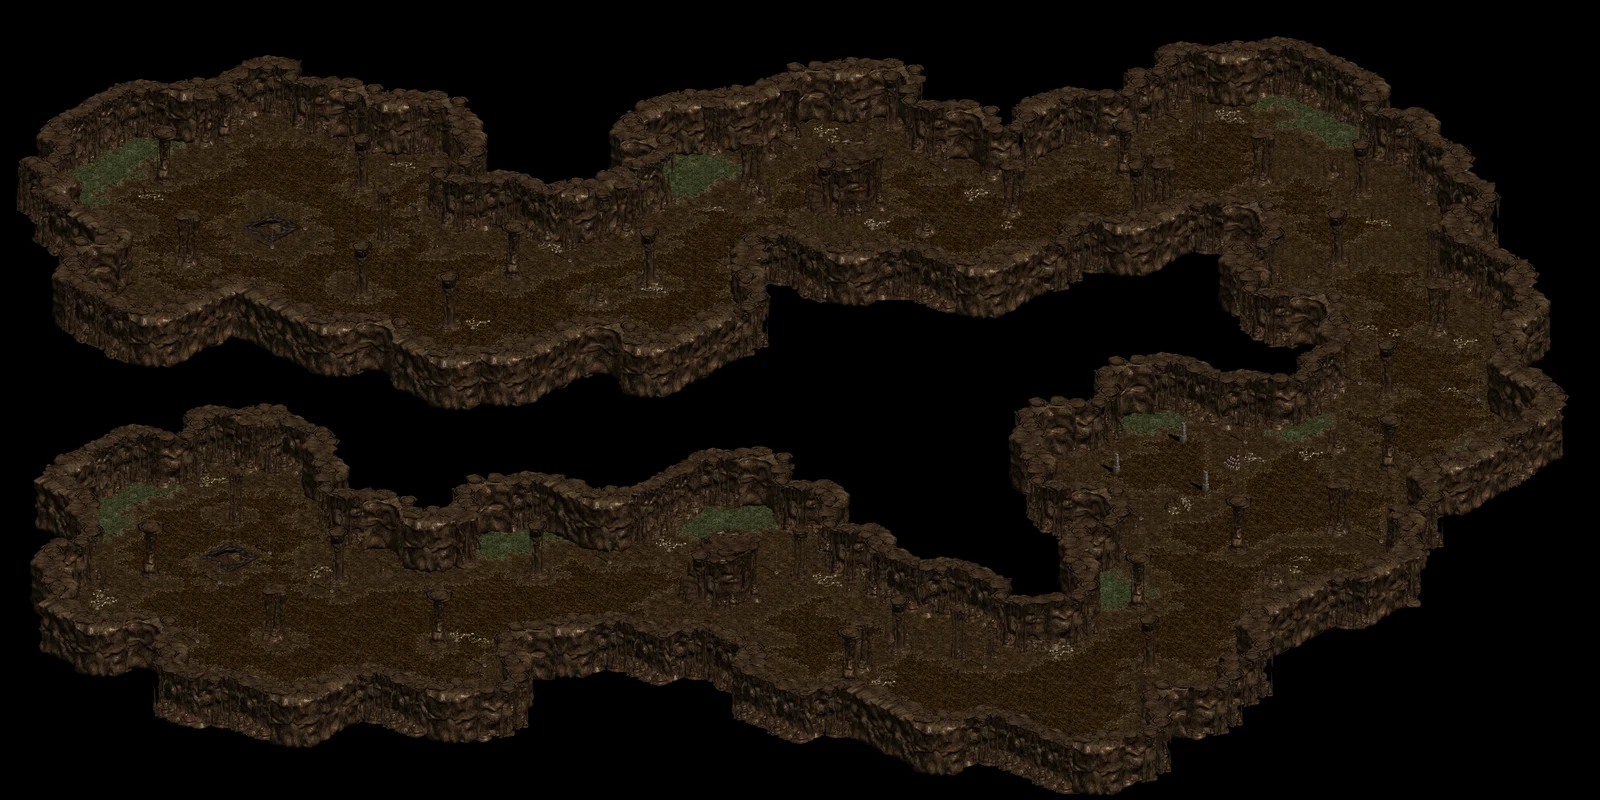
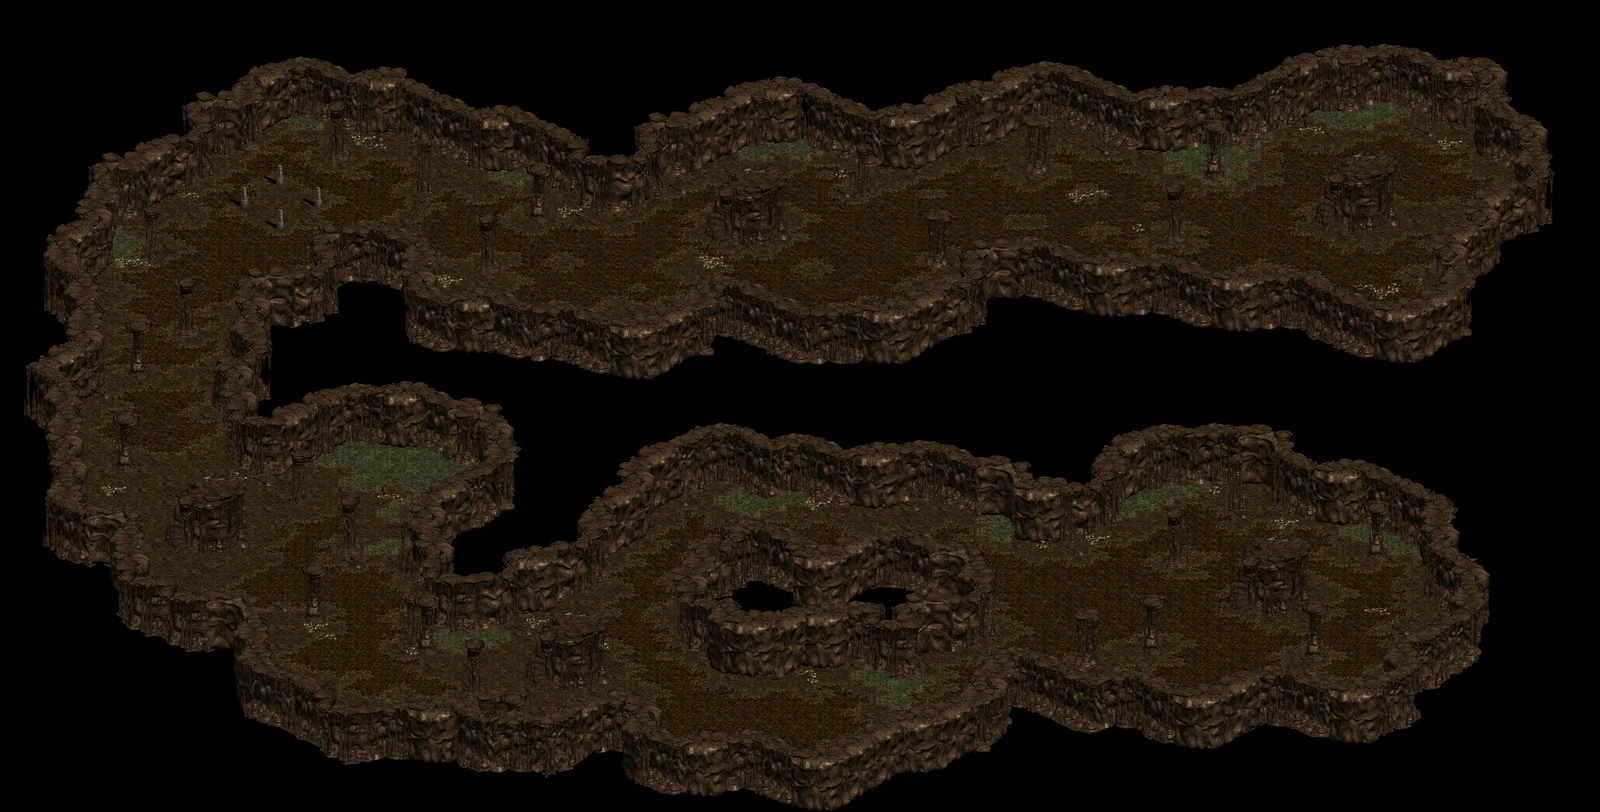
Compare the Bathory B1/B2 layouts and the Ghorgova tunnel in the atlas before exploring them. Identify doors, corridors and the way back. Bathory’s scheduled master encounter has separate rules in the Master lairs guide.

Master lairs and schedules
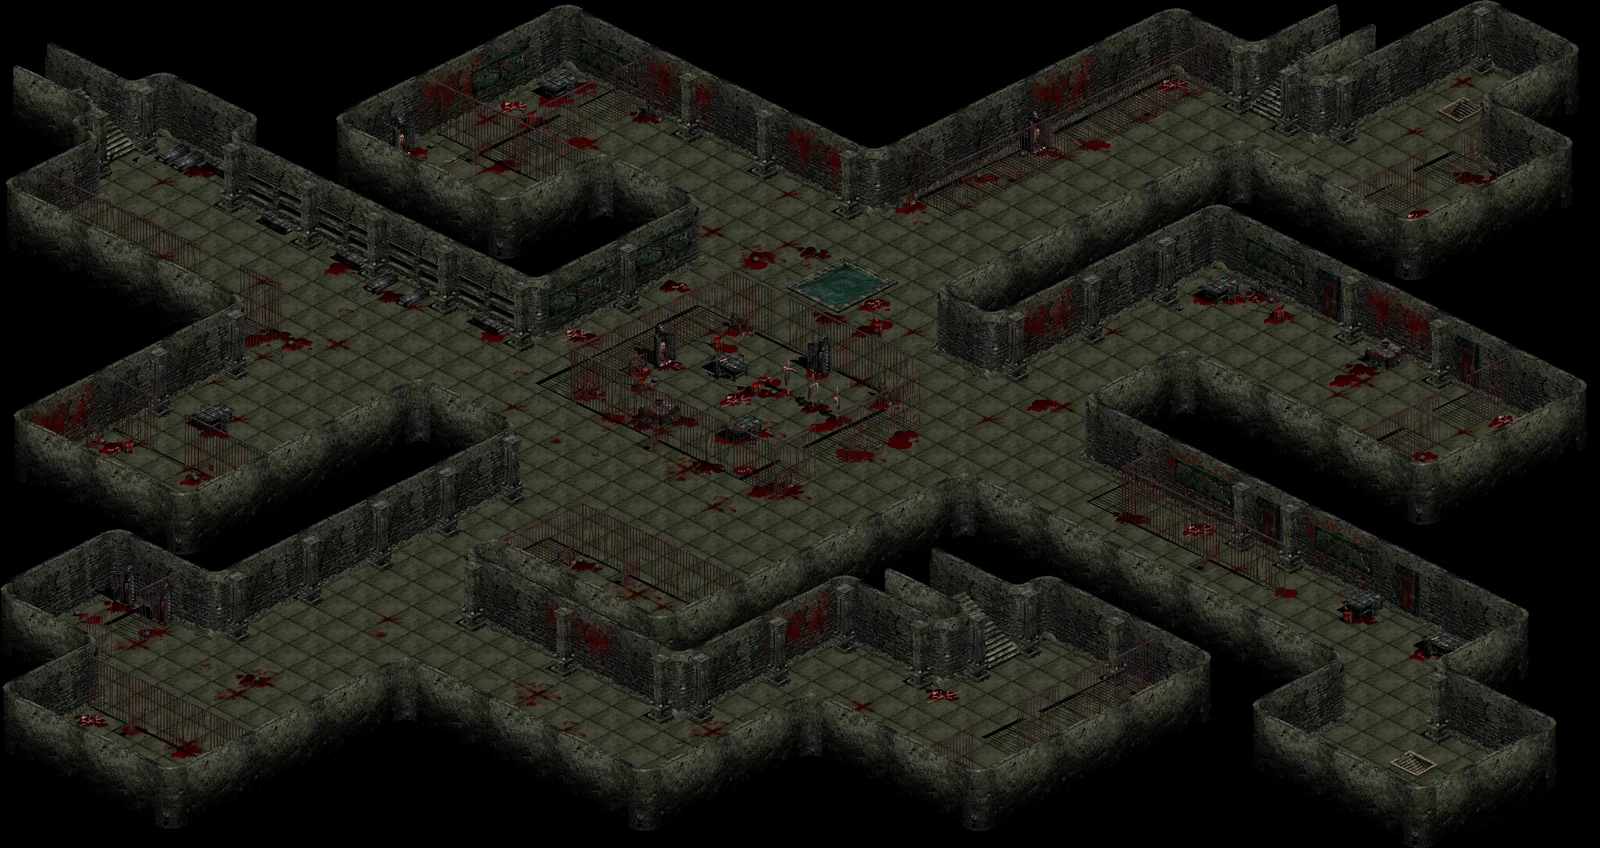
Overview of Bathory Dungeon B2
Bathory

Bathory Dungeon B2

Compare the Bathory B1/B2 layouts and the Ghorgova tunnel in the atlas before exploring them. Identify doors, corridors and the way back. Bathory’s scheduled master encounter has separate rules in the Master lairs guide.

Master lairs and schedules
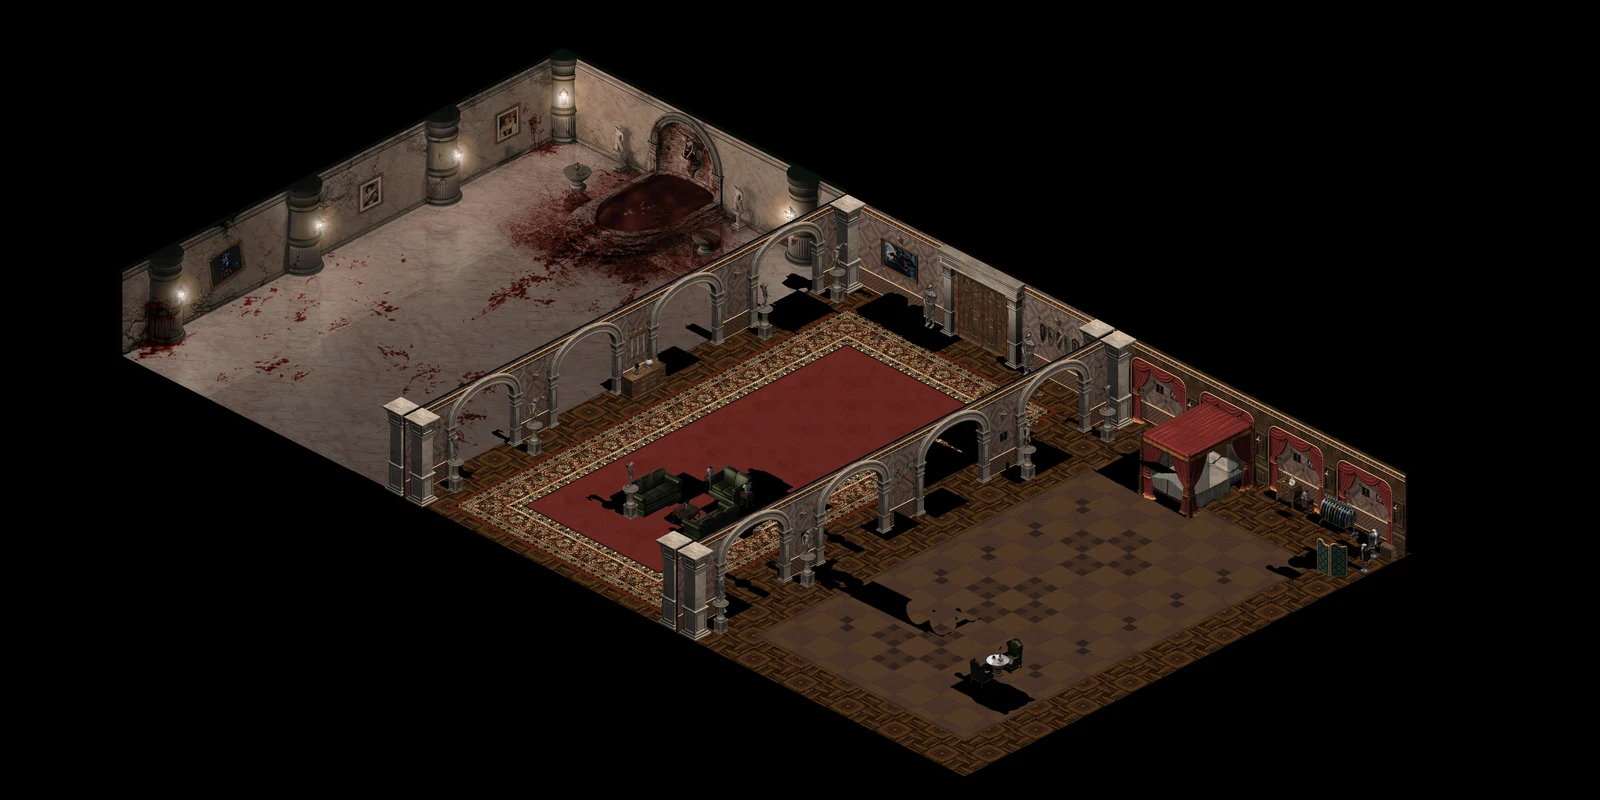
Overview of Bathory Lair
Bathory

Bathory Lair

Overview of Bathory Lair · Teen
Bathory

Bathory Lair · Teen

Client collection
Overview of Hilanom
Bathory

Hilanom

Overview of Cabra B1 / B4
Cabra

Cabra B1 / B4

Overview of Cabra B2
Cabra

Cabra B2

Overview of Cabra B3
Cabra

Cabra B3

Overview of Cabra B5
Cabra

Cabra B5

Overview of Cabra B6
Cabra

Cabra B6

Overview of Caligo
Caligo

Caligo

Overview of Castalo NE
Castalo

Castalo NE

Overview of Castellum
Castellum

Castellum

Overview of Hexserius
Castles

Hexserius

Overview of Hexserius B1F
Castles

Hexserius B1F

Overview of Hexserius B2F
Castles

Hexserius B2F

Overview of Octavus
Castles

Octavus

Overview of Octavus B1F
Castles

Octavus B1F

Overview of Octavus B2F
Castles

Octavus B2F

Overview of Pentanus
Castles

Pentanus

Overview of Pentanus B1F
Castles

Pentanus B1F

Overview of Pentanus B2F
Castles

Pentanus B2F

Overview of Quartus
Castles

Quartus

Overview of Quartus B1F
Castles

Quartus B1F

Overview of Quartus B2F
Castles

Quartus B2F

Overview of Septimus
Castles

Septimus

Overview of Septimus B1F
Castles

Septimus B1F

Overview of Septimus B2F
Castles

Septimus B2F

Overview of Siege Warfare
Castles

Siege Warfare

Overview of Tertius
Castles

Tertius

Overview of Tertius B1F
Castles

Tertius B1F

Overview of Tertius B2F
Castles

Tertius B2F

Overview of Cave Office
Caves

Cave Office

Overview of Kali Cave
Caves

Kali Cave

Overview of Drobeta NE
Drobeta

Drobeta NE

Overview of Drobeta NW
Drobeta

Drobeta NW

Overview of Drobeta NW · Teen
Drobeta

Drobeta NW · Teen

Client collection
Overview of Drobeta SE
Drobeta

Drobeta SE

Overview of Drobeta SE · Teen
Drobeta

Drobeta SE · Teen

Client collection
Overview of Drobeta SW
Drobeta

Drobeta SW

Overview of Drobeta SW · Teen
Drobeta

Drobeta SW · Teen

Client collection
Overview of Event Stadium
Drobeta

Event Stadium

Overview of Stadium Arena
Drobeta

Stadium Arena

Overview of Eisen B1
Eisen

Eisen B1

Overview of Eisen B2
Eisen

Eisen B2

Overview of Eisen B3
Eisen

Eisen B3

Overview of Eslanian Dungeon
Eslania

Eslanian Dungeon

Overview of Eslanian NE
Eslania

Eslanian NE

Overview of Eslanian SE
Eslania

Eslanian SE

Overview of Eslanian SW
Eslania

Eslanian SW

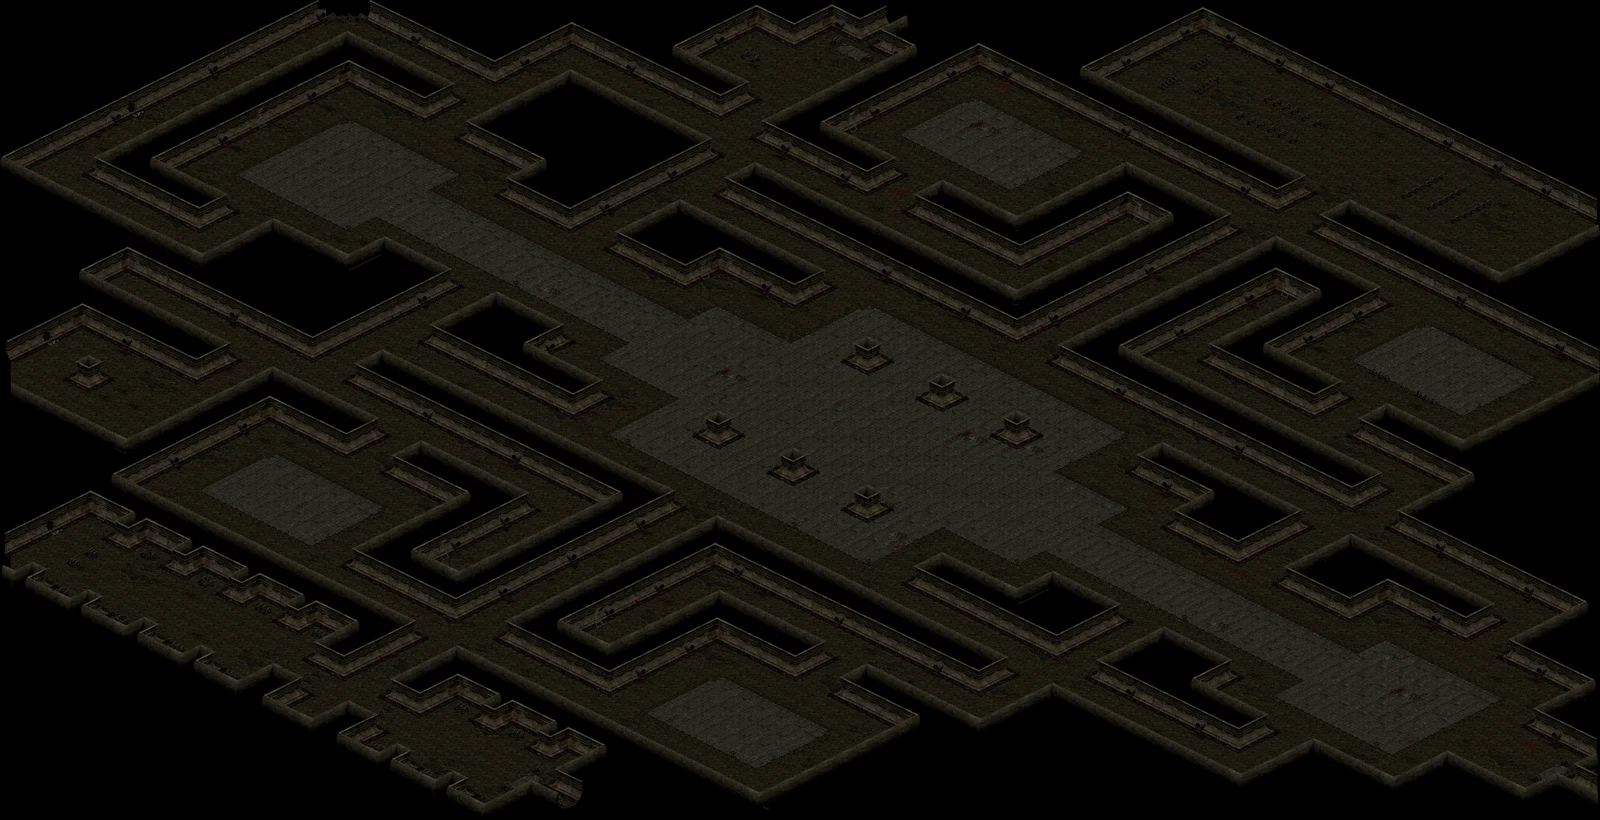
Overview of Slayer Training · Underground Waterways · Teen
Eslania

Slayer Training · Underground Waterways · Teen

Client collection
Overview of Training Place 1
Eslania

Training Place 1

Overview of Event Arena
Events

Event Arena

Overview of Evolution
Evolution

Evolution

Client collection
Overview of Evolution 2F
Evolution

Evolution 2F

Client collection
Overview of Gilles de Rais Core Lair
Gilles de Rais

Gilles de Rais Core Lair

Overview of Gilles de Rais Core Lair · Teen
Gilles de Rais

Gilles de Rais Core Lair · Teen

Client collection
Overview of Gilles de Rais Lair
Gilles de Rais

Gilles de Rais Lair

Overview of Illusion 1
Gilles de Rais

Illusion 1

Overview of Illusion 2
Gilles de Rais

Illusion 2

Overview of Army Guild 1F
Guilds

Army Guild 1F

Overview of Army Guild 2F
Guilds

Army Guild 2F

Overview of Army Guild 3F
Guilds

Army Guild 3F

Overview of Army Guild B1
Guilds

Army Guild B1

Overview of Army Guild Top
Guilds

Army Guild Top

Overview of Cleric Guild 1F
Guilds

Cleric Guild 1F

Overview of Cleric Guild 2F
Guilds

Cleric Guild 2F

Overview of Cleric Guild 3F
Guilds

Cleric Guild 3F

Overview of Cleric Guild B1
Guilds

Cleric Guild B1

Overview of Cleric Guild Top
Guilds

Cleric Guild Top

Overview of Knight Guild 1F
Guilds

Knight Guild 1F

Overview of Knight Guild 2F
Guilds

Knight Guild 2F

Overview of Knight Guild 3F
Guilds

Knight Guild 3F

Overview of Knight Guild B1
Guilds

Knight Guild B1

Overview of Knight Guild Top
Guilds

Knight Guild Top

Overview of Hanial B1
Hanial

Hanial B1

Overview of Hanial B2
Hanial

Hanial B2

Overview of Hanial B3
Hanial

Hanial B3

Overview of Hanial B4
Hanial

Hanial B4

Overview of Hanial Dragon B1
Hanial

Hanial Dragon B1

Client collection
Overview of Hanial Dragon B2
Hanial

Hanial Dragon B2

Client collection
Overview of Hanial Dragon B3
Hanial

Hanial Dragon B3

Client collection
Overview of Hanial Dragon B4
Hanial

Hanial Dragon B4

Client collection
Overview of Clan Headquarters
Headquarters

Clan Headquarters

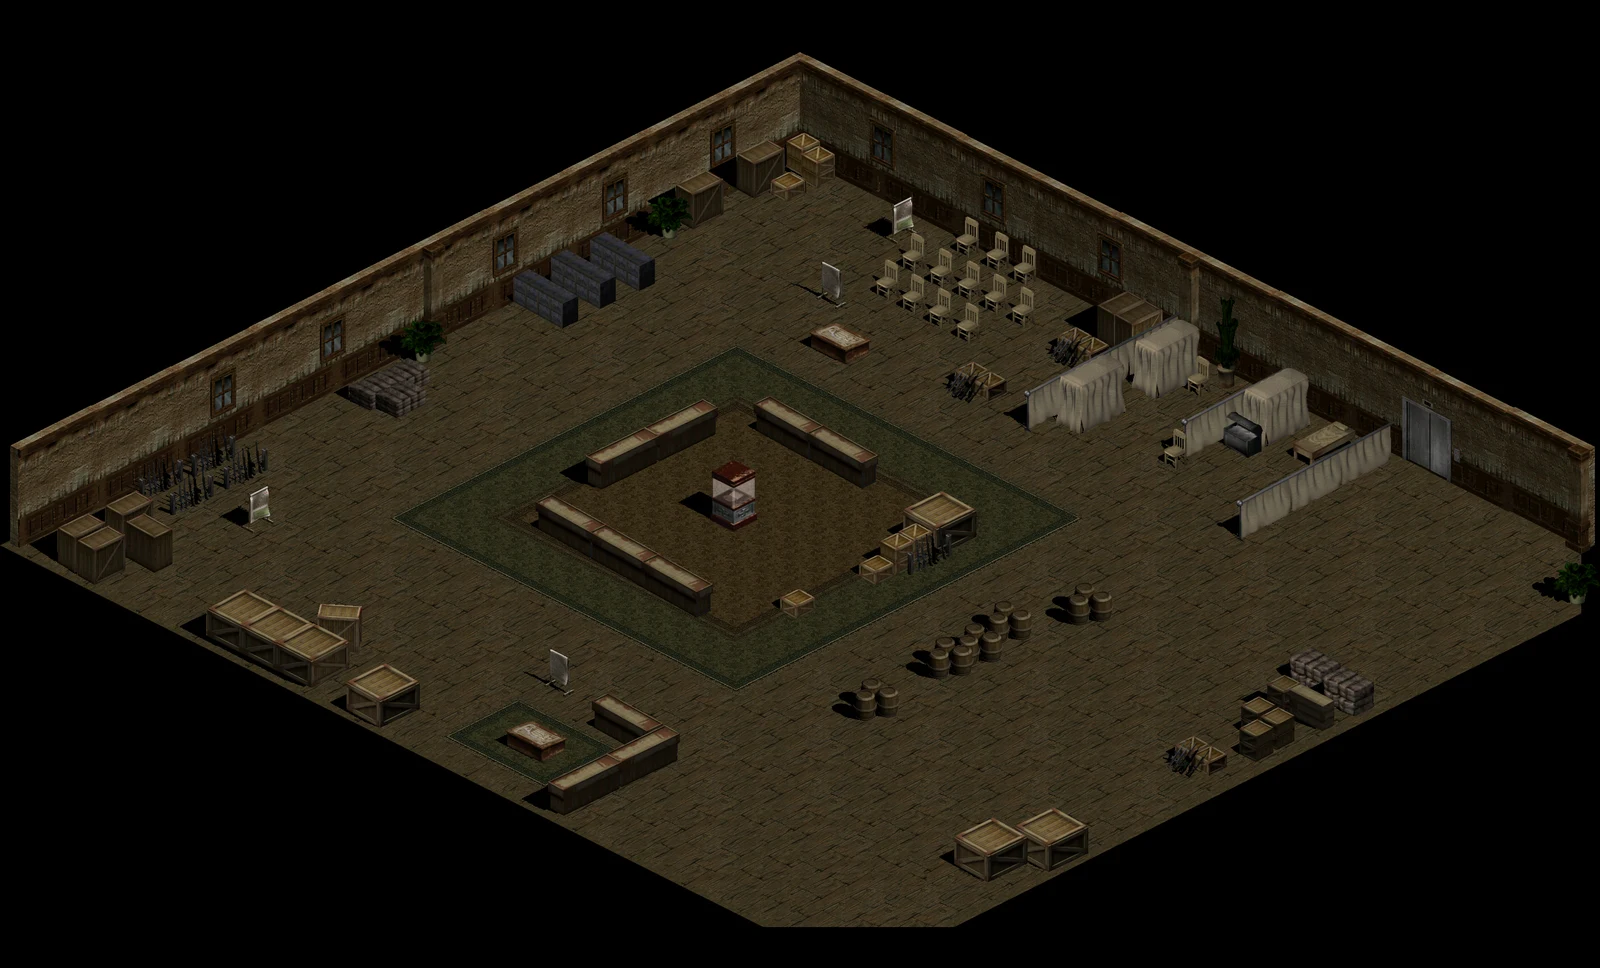
Overview of Clan Headquarters · Teen
Headquarters

Clan Headquarters · Teen
Client collection
Overview of Team Headquarters
Headquarters

Team Headquarters

Client collection
Overview of Hell Garden 1
Hell Garden

Hell Garden 1

Partial preview
Overview of Hell Garden 2
Hell Garden

Hell Garden 2

Partial previewClient collection
Overview of Hell Garden 3
Hell Garden

Hell Garden 3

Partial previewClient collection
Overview of Hell Garden 4 / 5
Hell Garden

Hell Garden 4 / 5

Partial previewClient collection
Overview of Hell Garden · Tower 1
Hell Garden

Hell Garden · Tower 1

Client collection
Overview of Hell Garden · Tower 2
Hell Garden

Hell Garden · Tower 2

Client collection
Overview of Hell Garden · Tower B
Hell Garden

Hell Garden · Tower B

Overview of IK Lab 1
IK

IK Lab 1

Client collection
Overview of IK Lab 1F
IK

IK Lab 1F

Overview of IK Lab B1
IK

IK Lab B1

Overview of IK Lab B2
IK

IK Lab B2

Overview of IK office
IK

IK office

Overview of Office B1
IK

Office B1

Overview of Path to Fears
IK

Path to Fears

Overview of Lilith Tower
Lilith

Lilith Tower

Client collection
Overview of Castle Limbo SE
Limbo

Castle Limbo SE

The starting hall, Limbo Dungeon and the outdoor Limbo areas are different maps. Check the current map name and floor after a transition. A similar name does not mean you are in the same room shown by a guide.
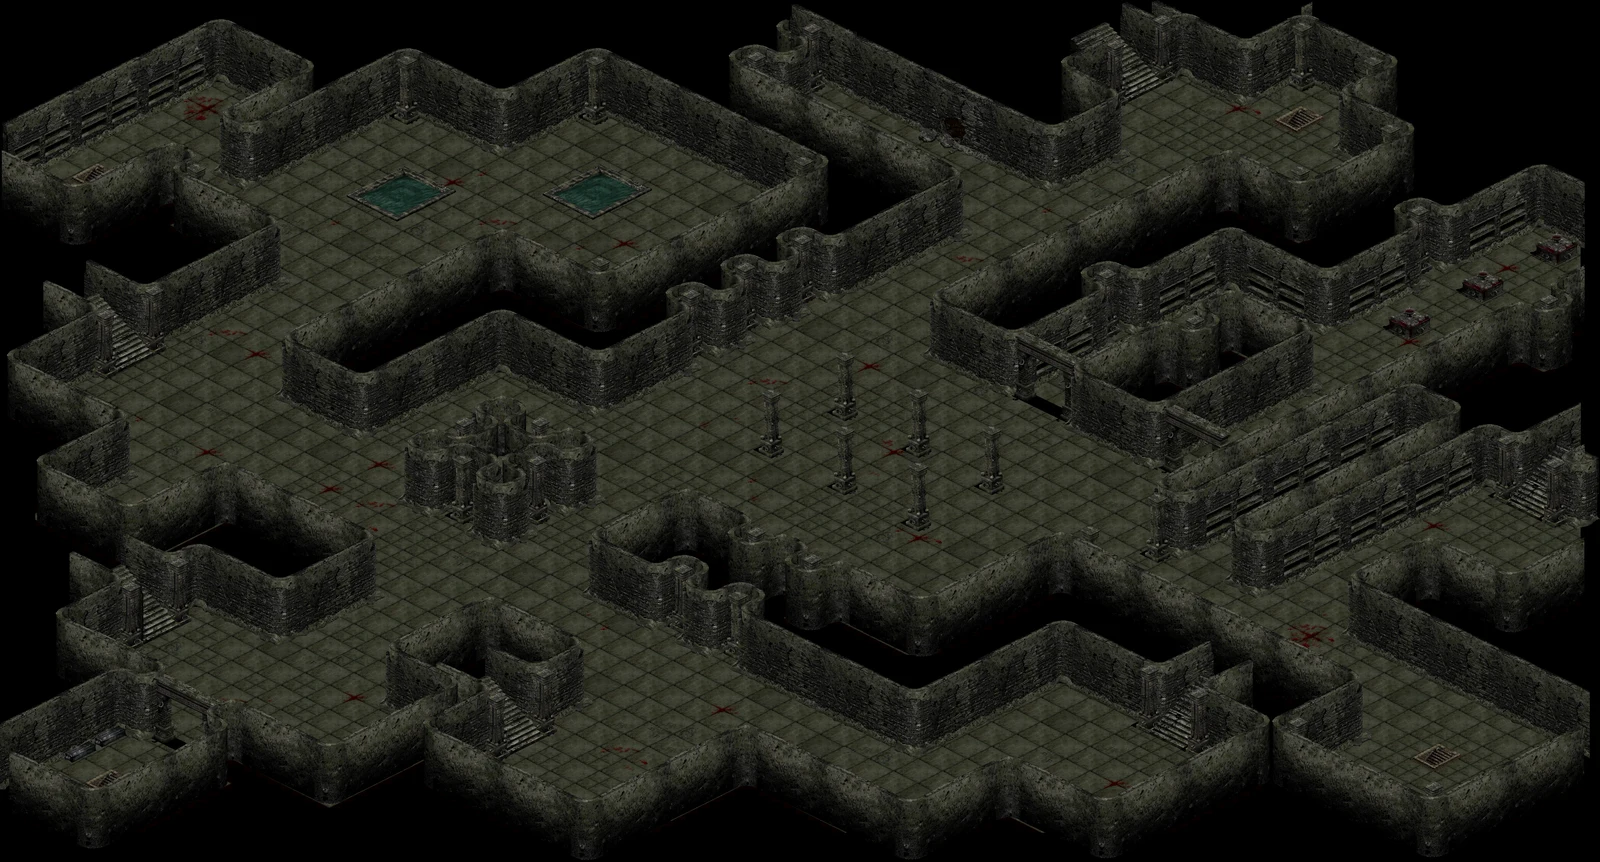
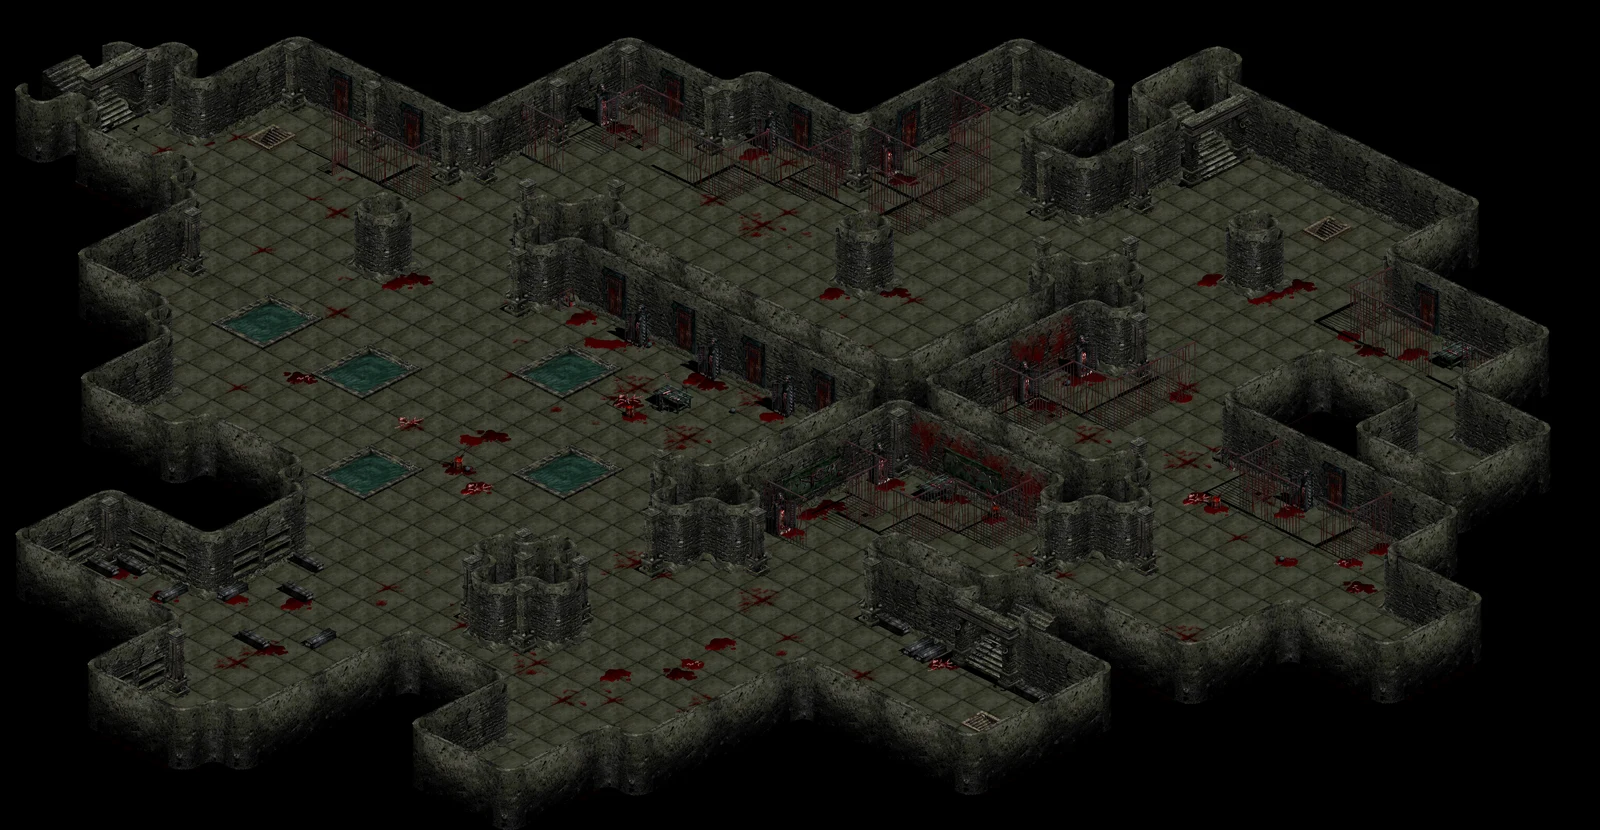
Overview of Dungeon of Castle Limbo
Limbo

Dungeon of Castle Limbo

The starting hall, Limbo Dungeon and the outdoor Limbo areas are different maps. Check the current map name and floor after a transition. A similar name does not mean you are in the same room shown by a guide.
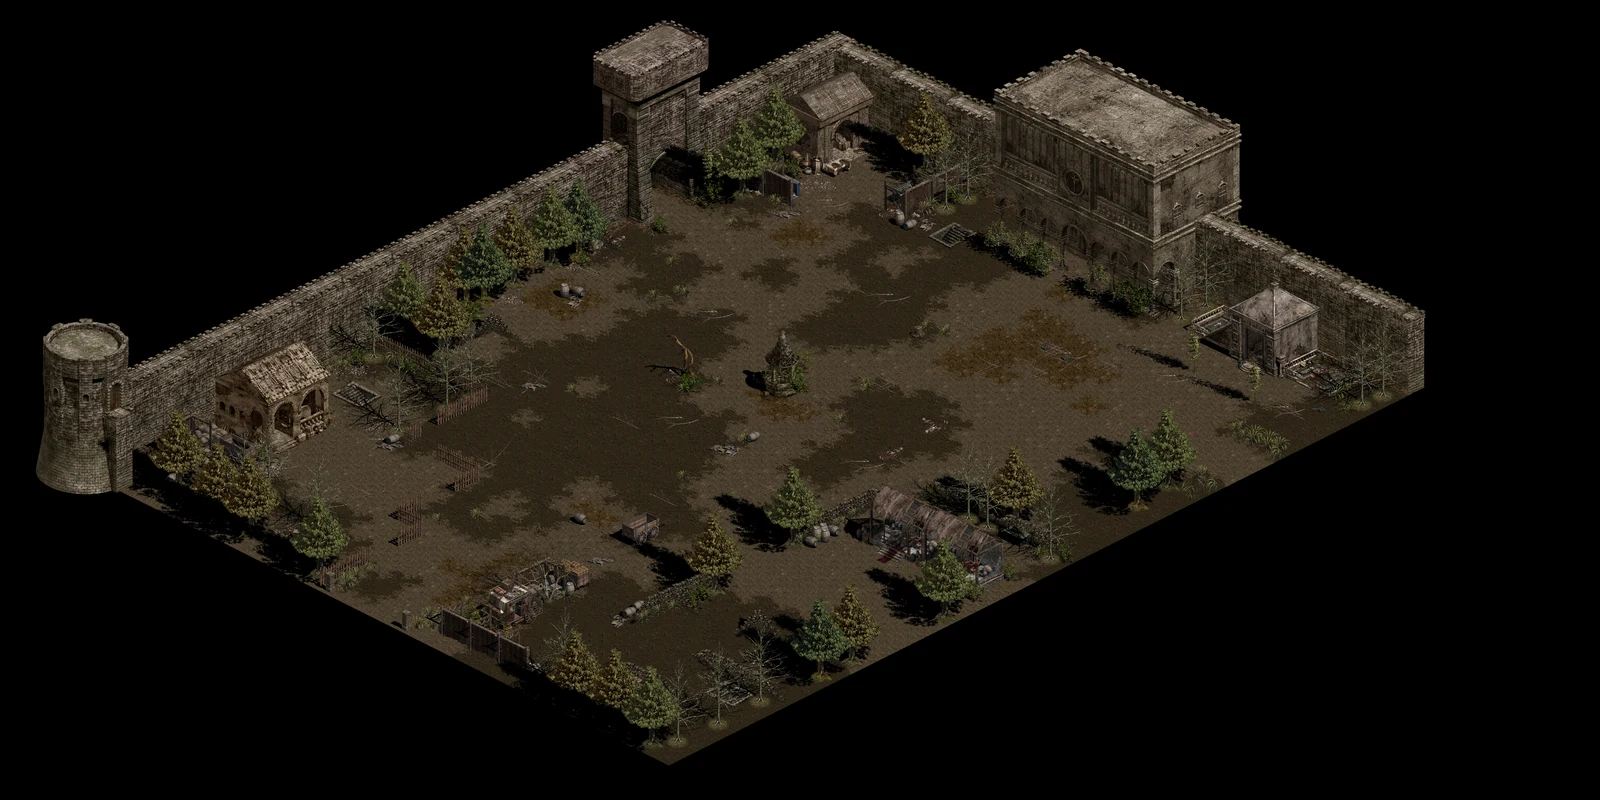
Overview of Limbo Castle · Teen
Limbo

Limbo Castle · Teen

Client collection
Overview of Limbo Dungeon · Teen
Limbo

Limbo Dungeon · Teen

Client collection
Overview of Limbo NE
Limbo

Limbo NE

Overview of Limbo NW
Limbo

Limbo NW

Overview of Limbo SW
Limbo

Limbo SW

Overview of Lost taiyan B1
Lost Taiyan

Lost taiyan B1

Overview of Lost taiyan B2
Lost Taiyan

Lost taiyan B2

Overview of Luster 1F
Luster

Luster 1F

Overview of Luster 2F
Luster

Luster 2F

Overview of Ouster Village
Ouster Village

Ouster Village

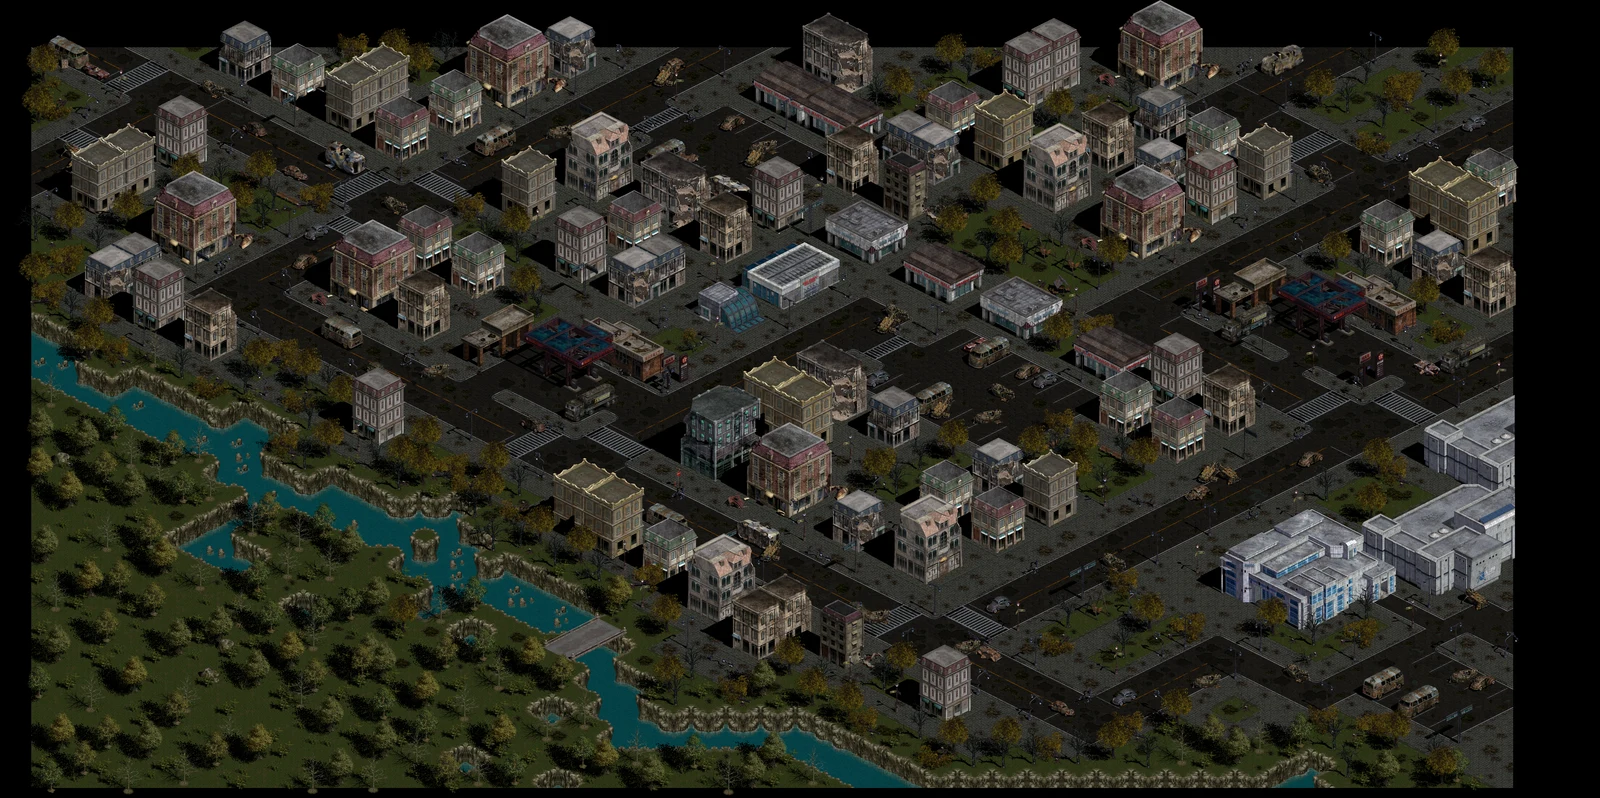
Overview of Perona NE
Perona

Perona NE

Perona NE is a useful visual landmark for players who remember the previous starting point. Eslania, Perona, the Holy Lands of Adam, Laom and Lost Taiyan belong to the broader Raohm world. The atlas is a location reference, not a promise that every passage is open at all times.
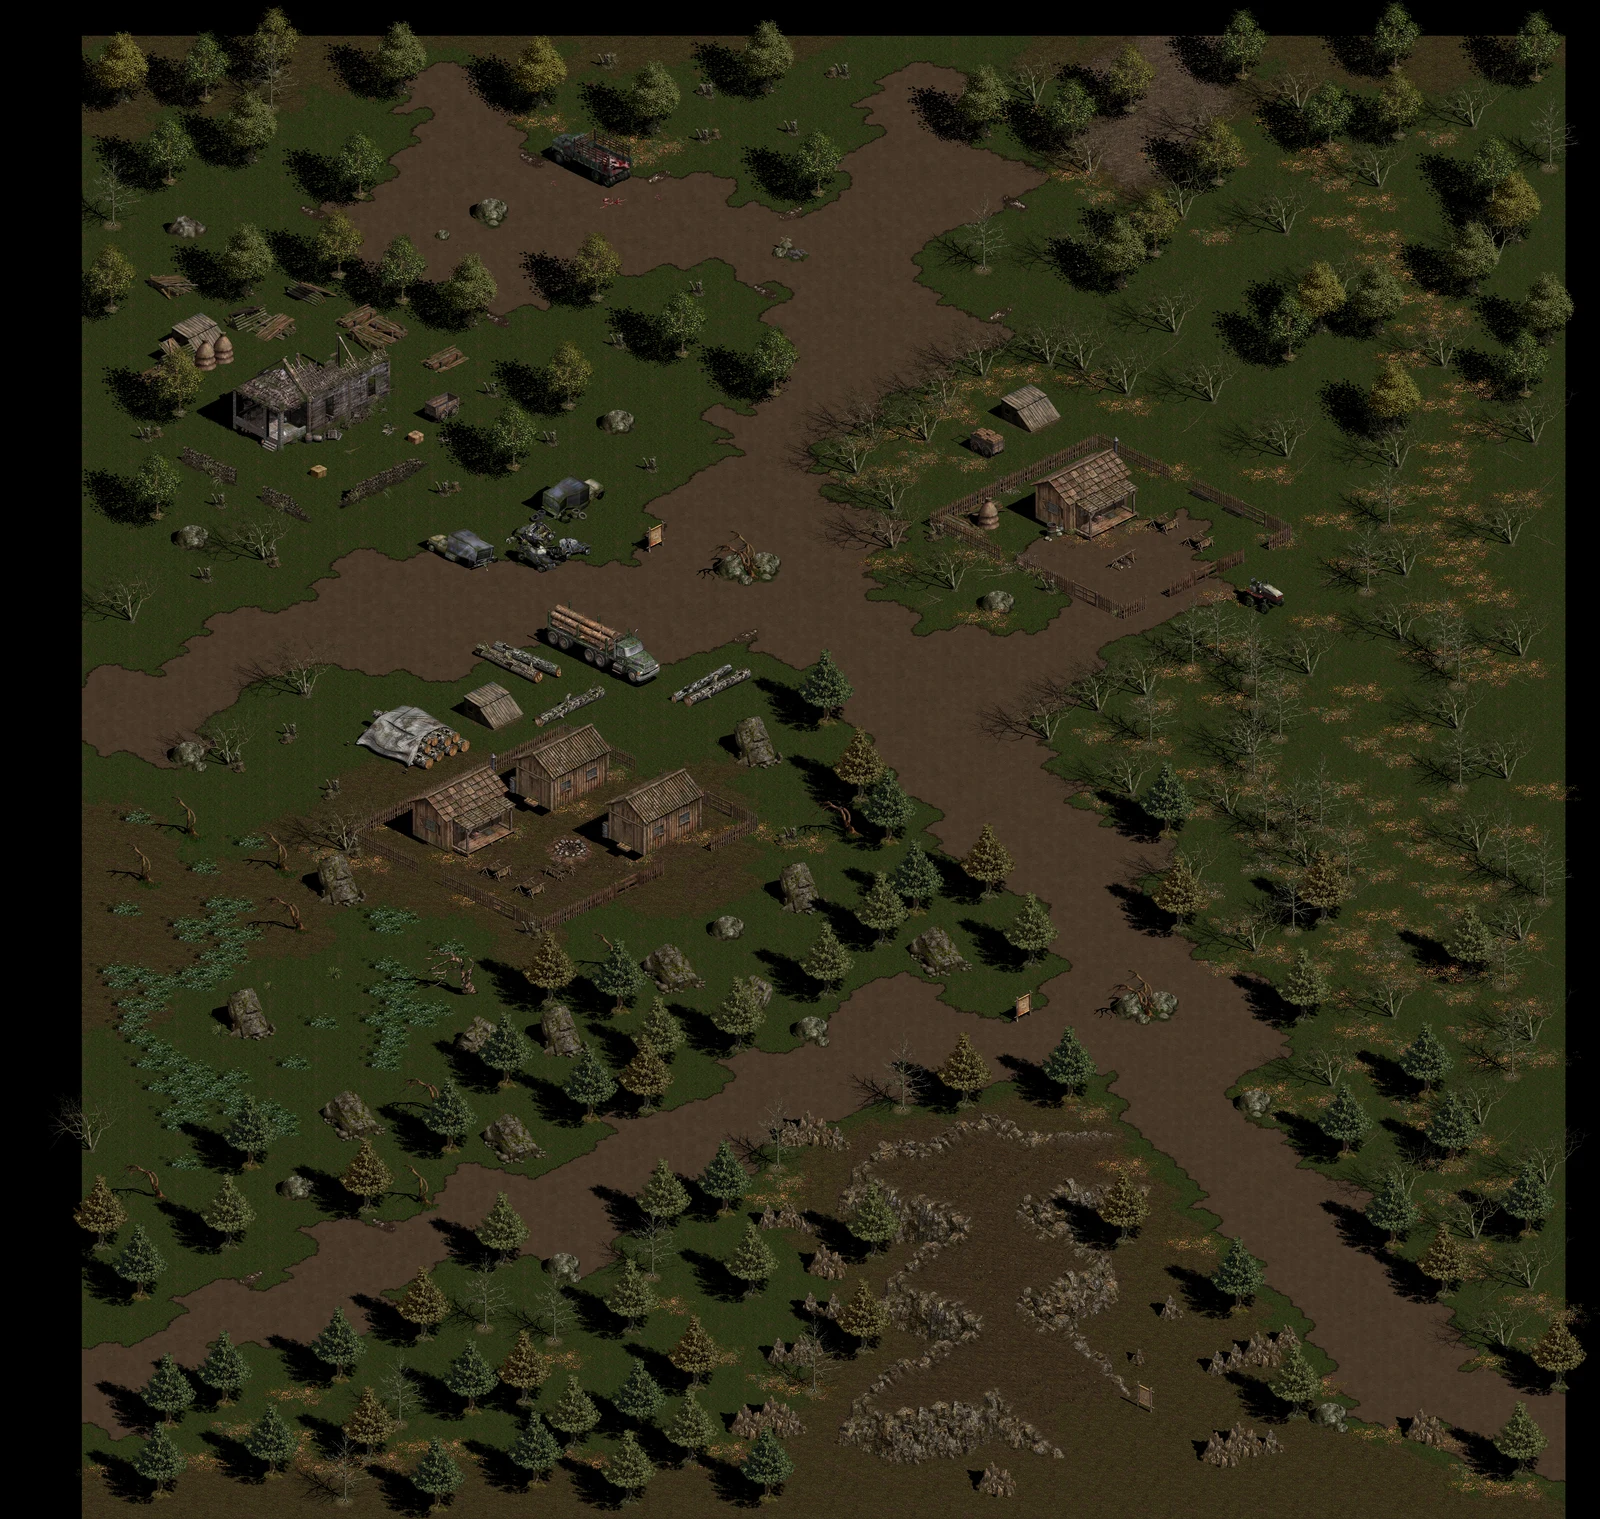
Overview of Perona NW
Perona

Perona NW

Overview of Perona NW · Teen
Perona

Perona NW · Teen

Client collection
Overview of Perona SE
Perona

Perona SE

Overview of Perona SW
Perona

Perona SW

Overview of Raohm 1F
Raohm

Raohm 1F

Overview of Raohm 2F
Raohm

Raohm 2F

Overview of Raohm 3F
Raohm

Raohm 3F

Overview of Raohm 4F
Raohm

Raohm 4F

Overview of Raohm 5F
Raohm

Raohm 5F

Overview of Rasen Castle 1F
Rasen

Rasen Castle 1F

Overview of Rasen Castle 1F · Teen
Rasen

Rasen Castle 1F · Teen

Client collection
Overview of Rasen Castle 2F
Rasen

Rasen Castle 2F

Overview of Rasen Castle 2F · Teen
Rasen

Rasen Castle 2F · Teen

Client collection
Overview of Rasen Castle Hall
Rasen

Rasen Castle Hall

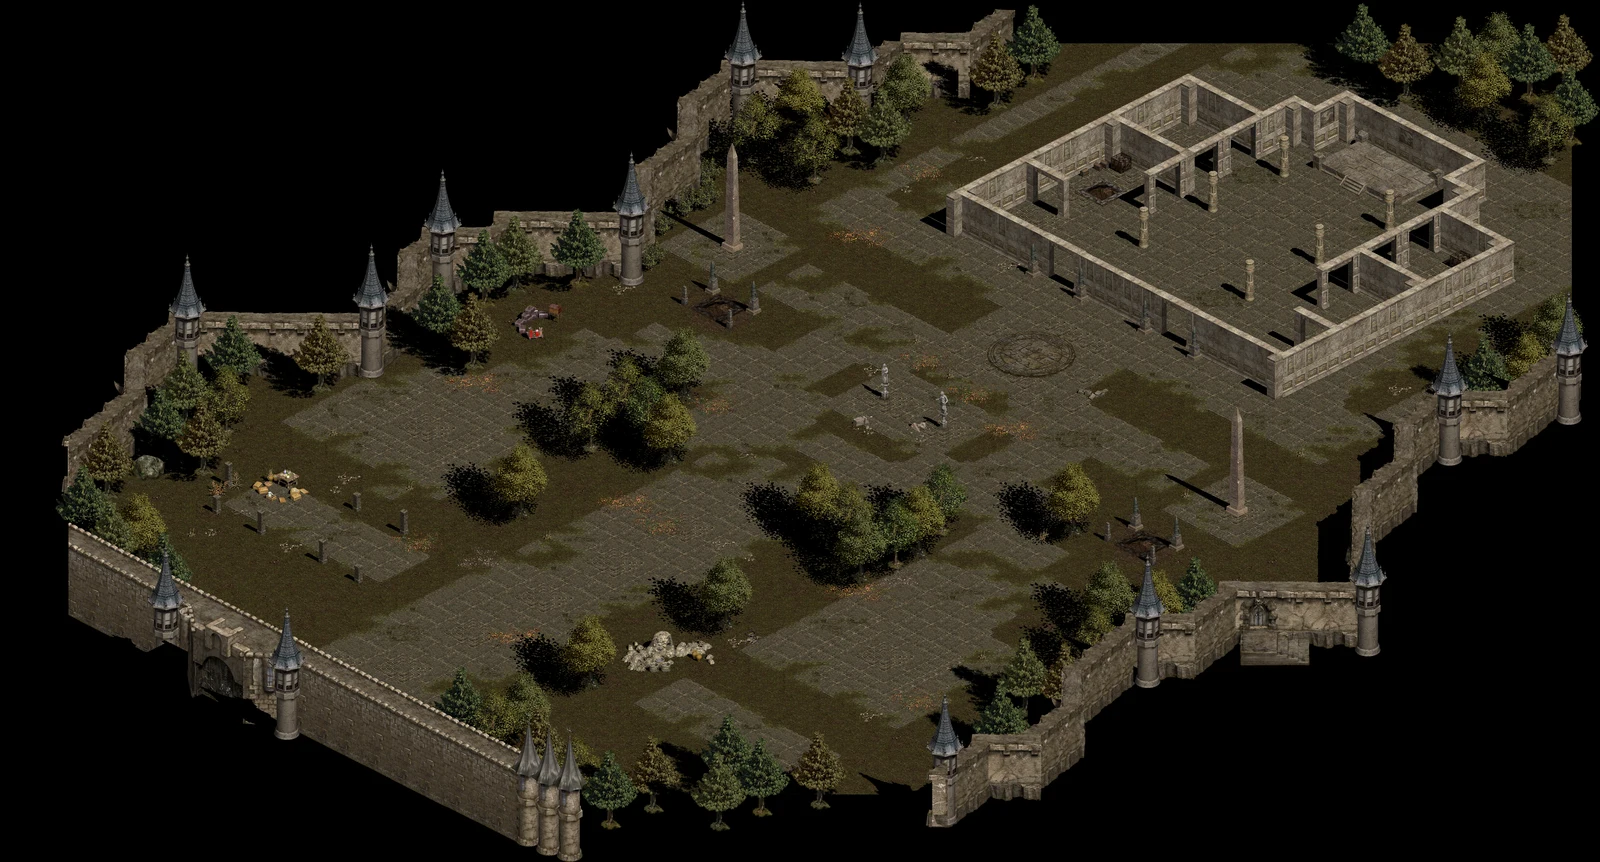
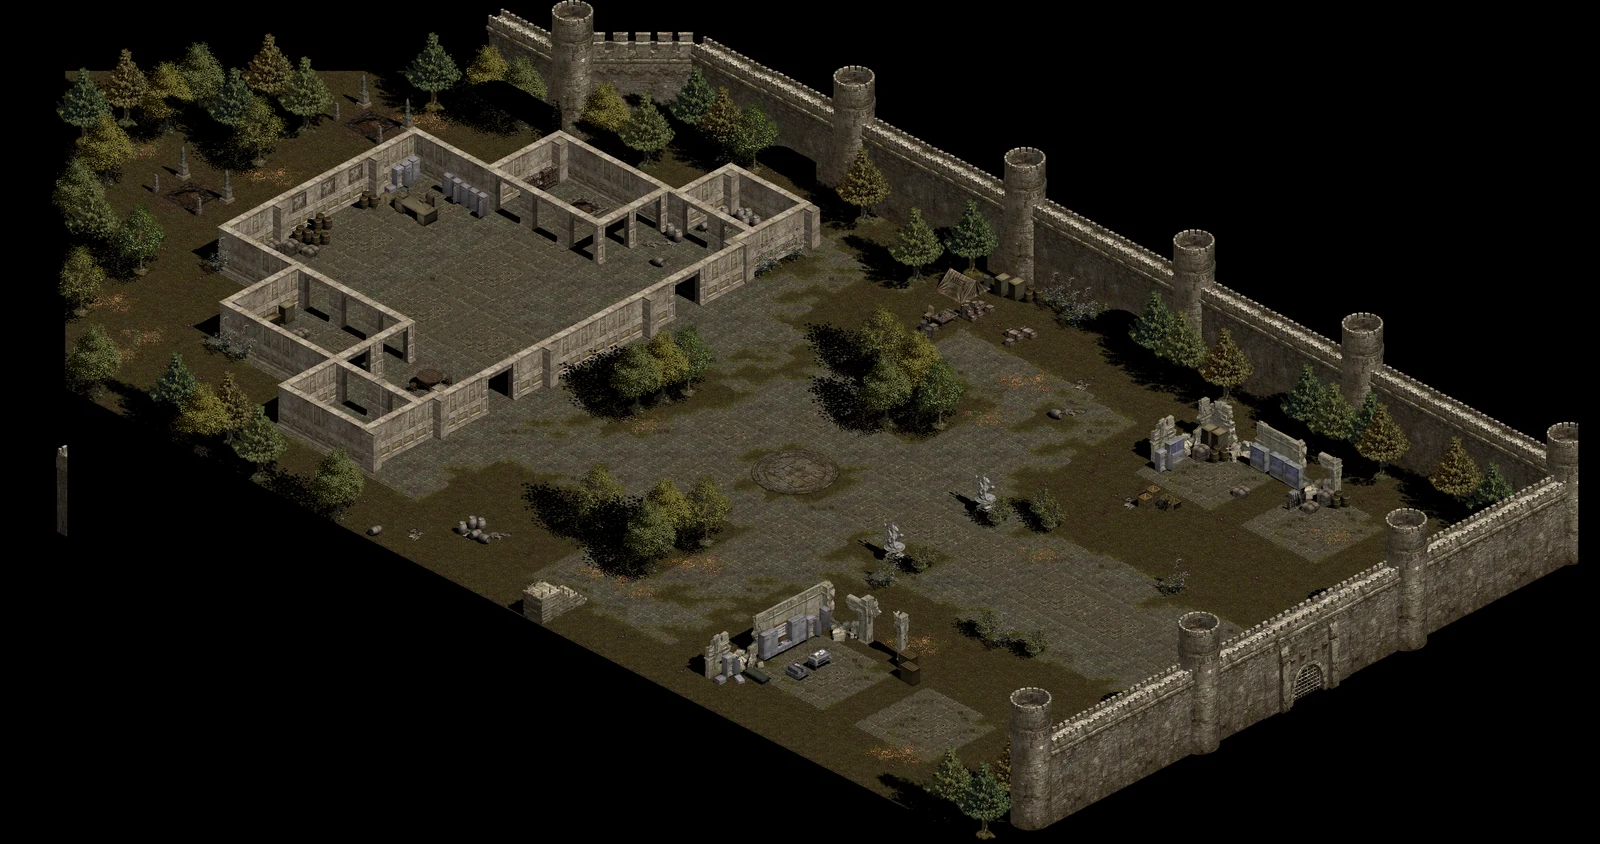
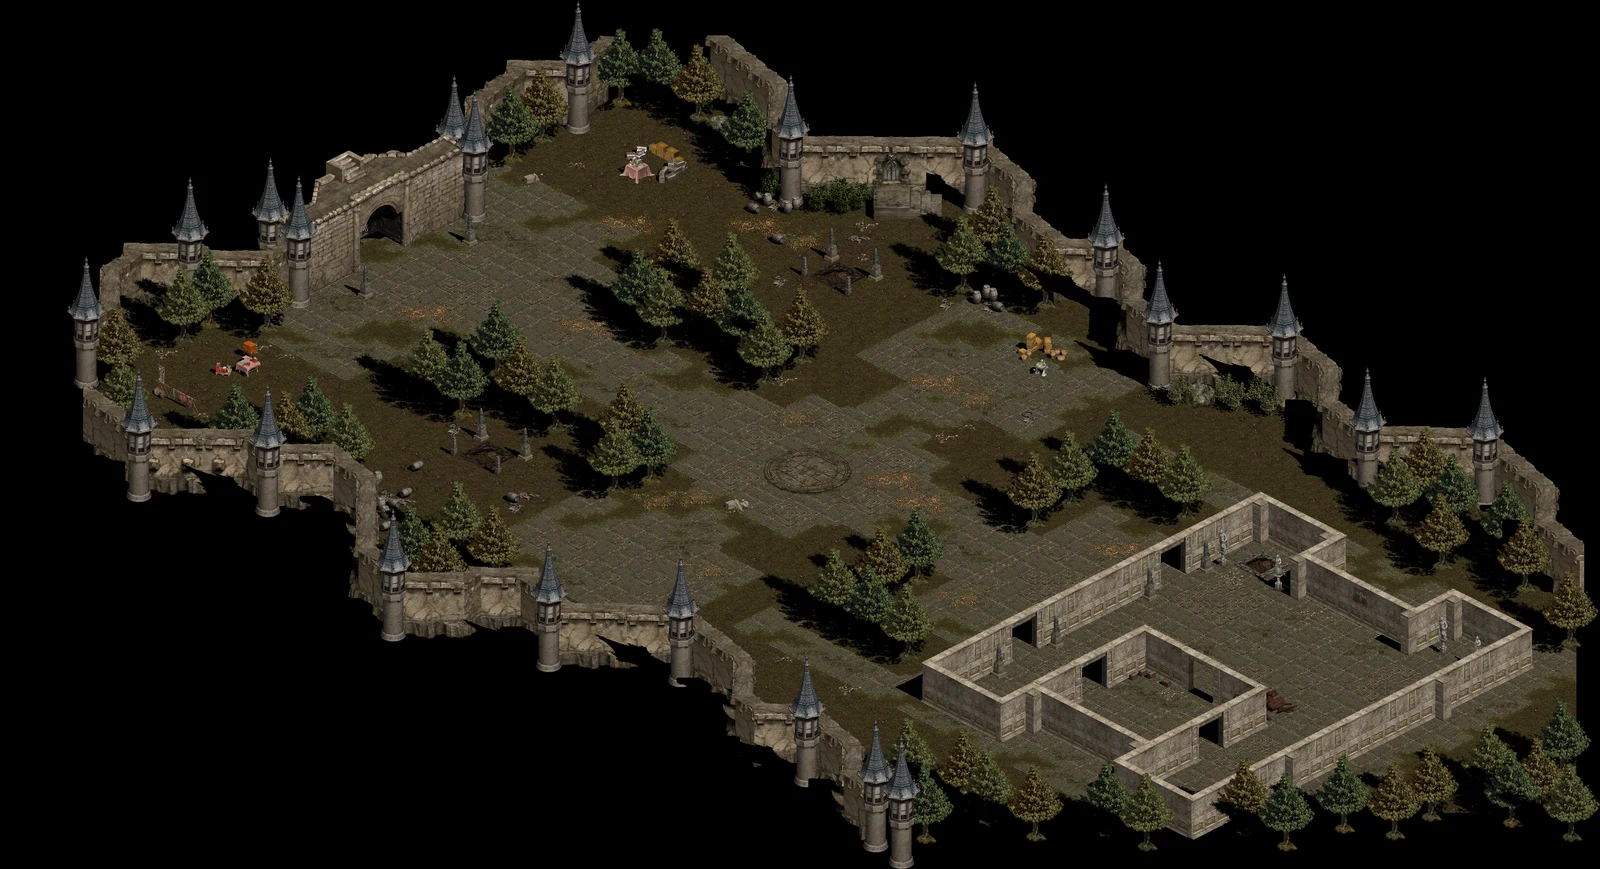
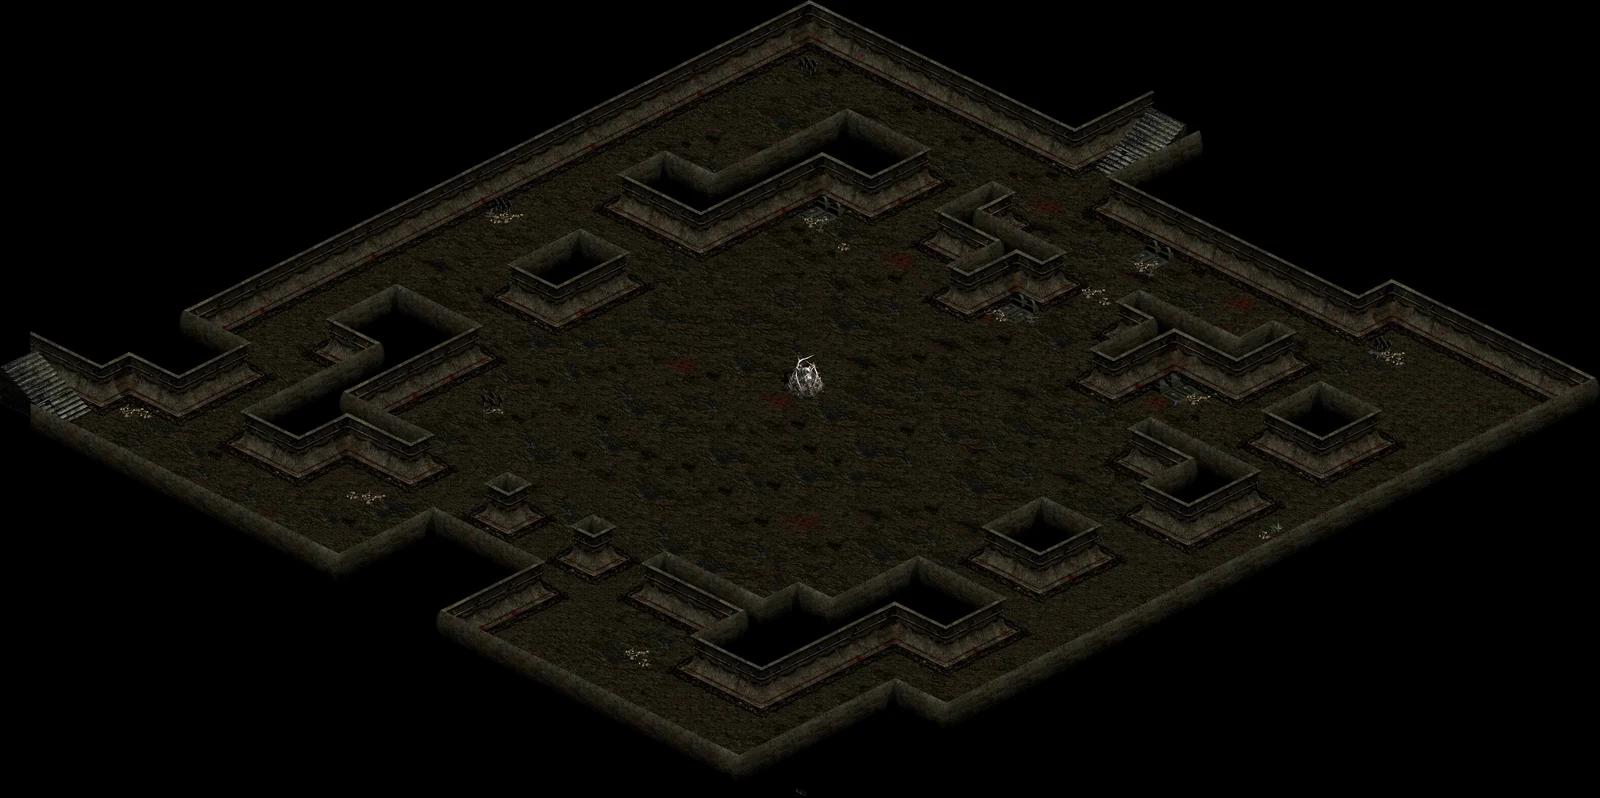
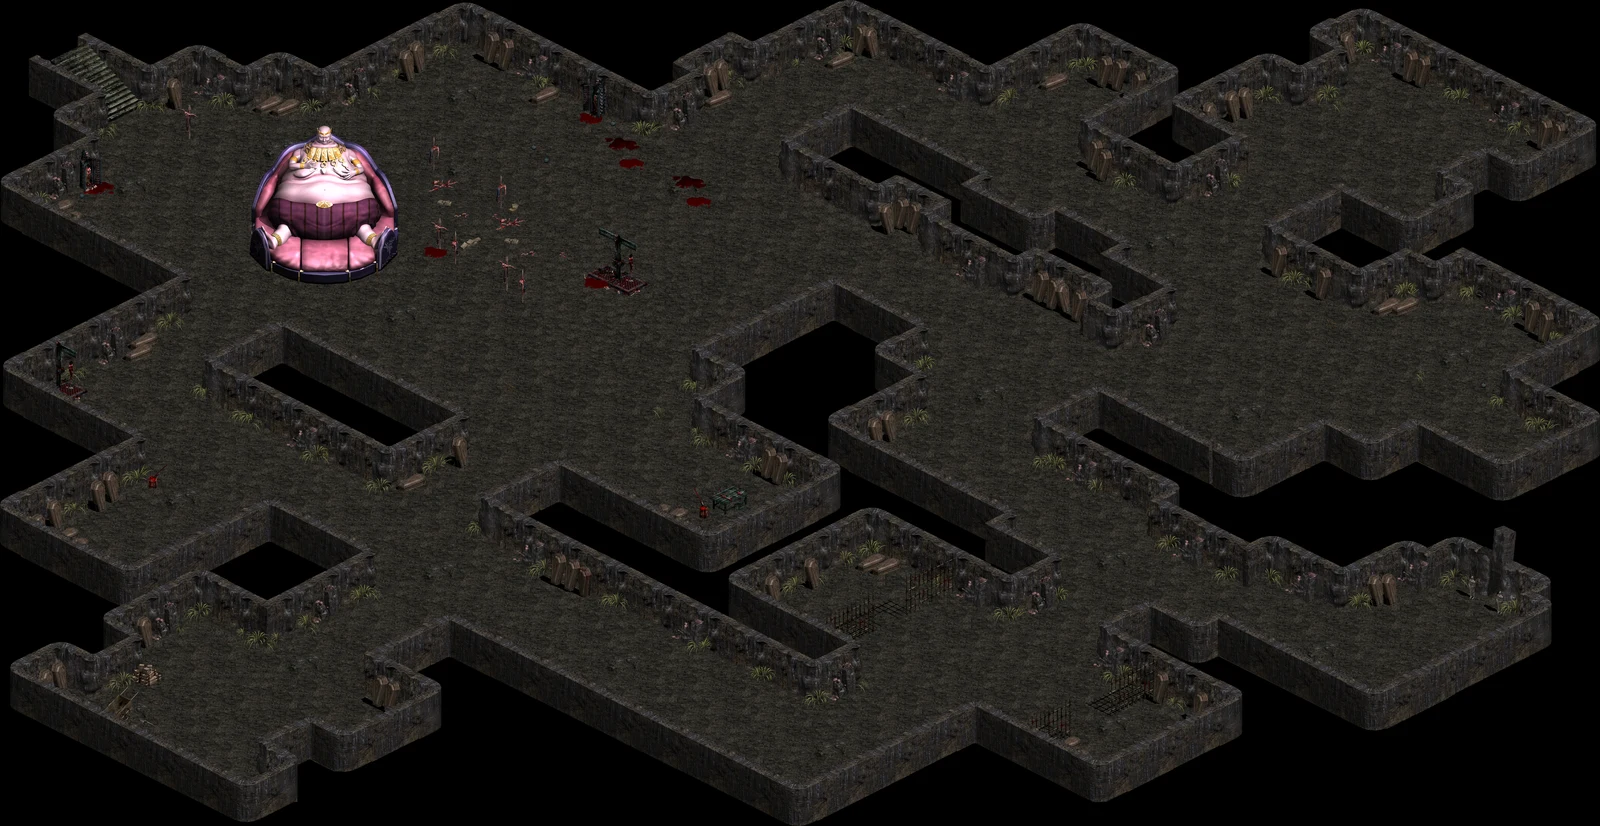
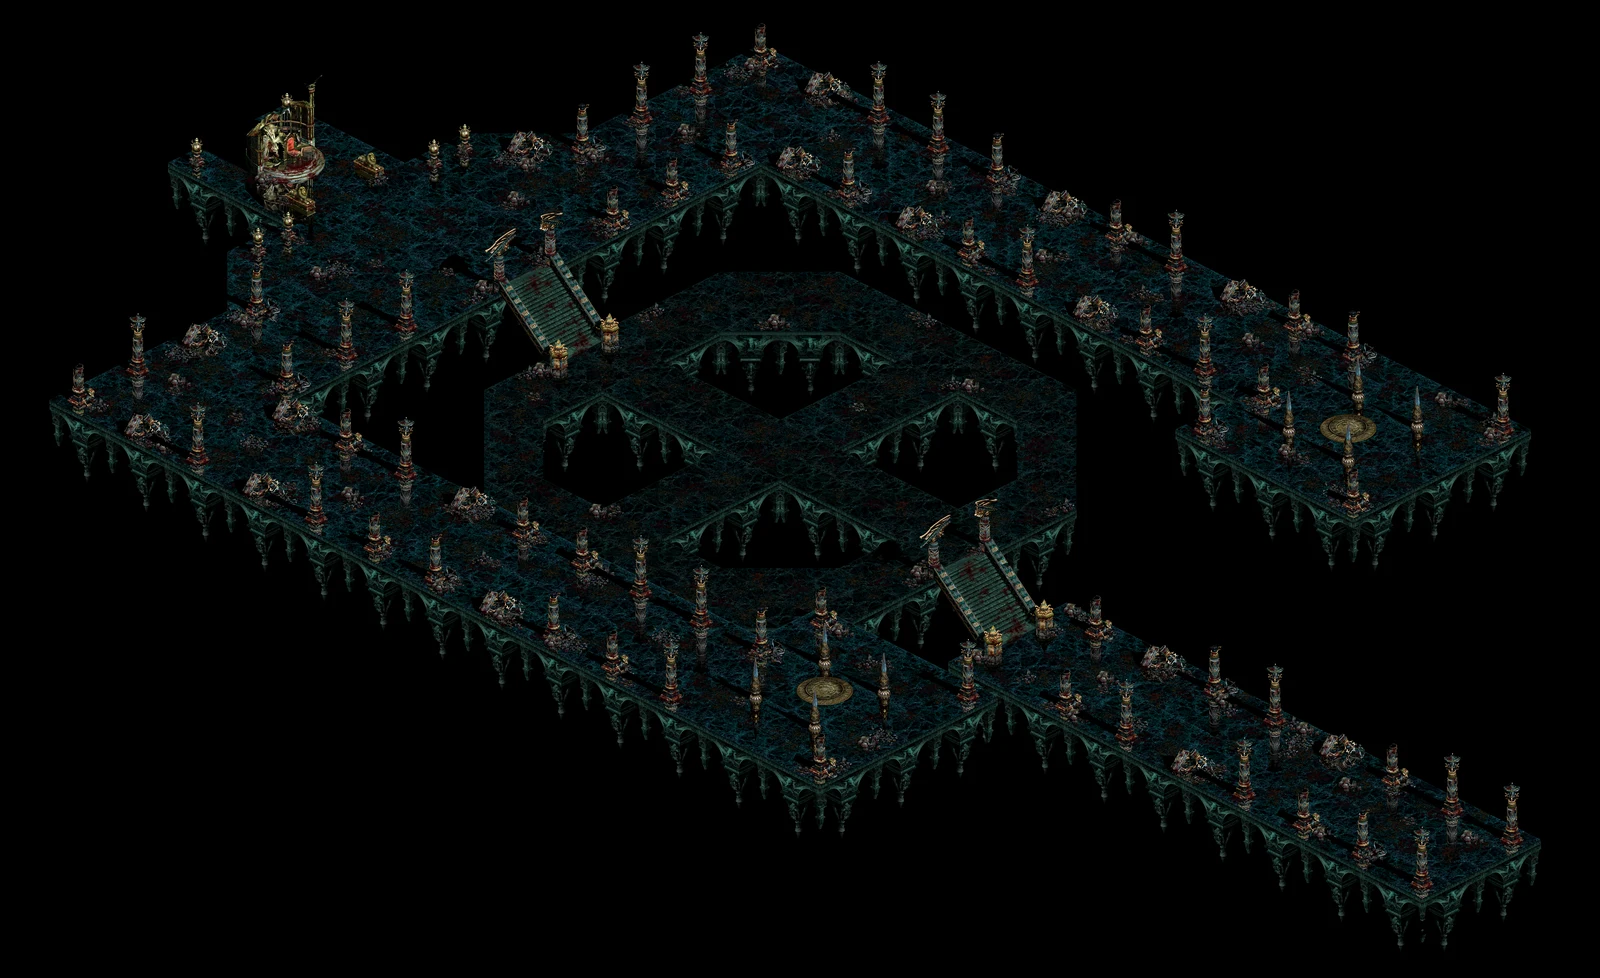
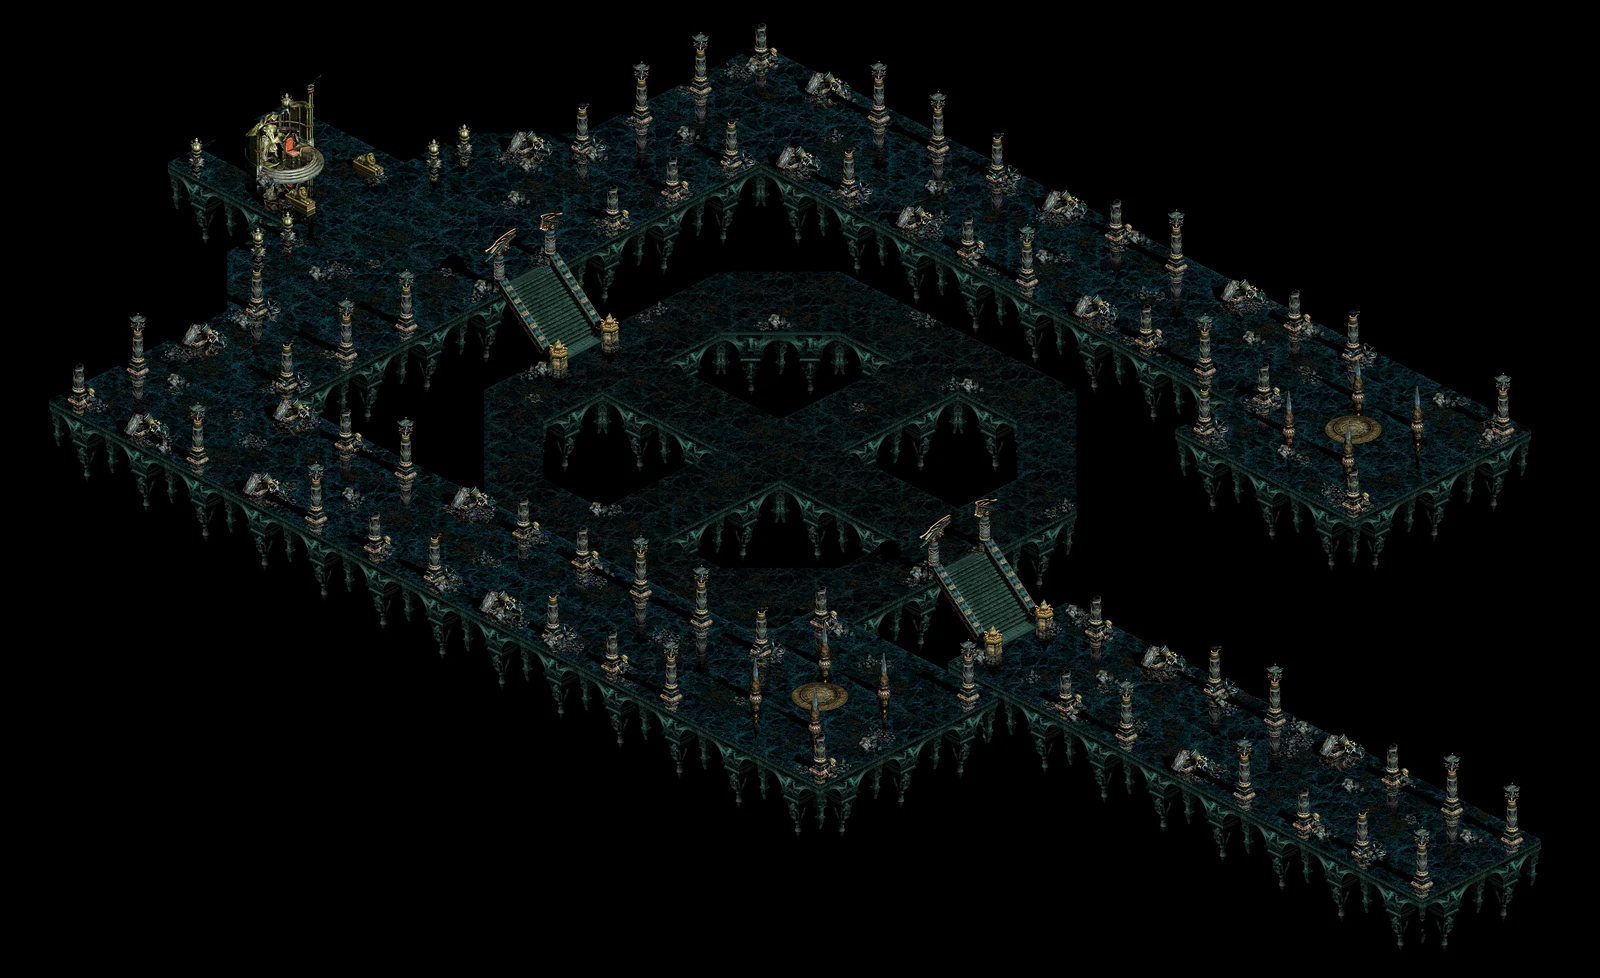
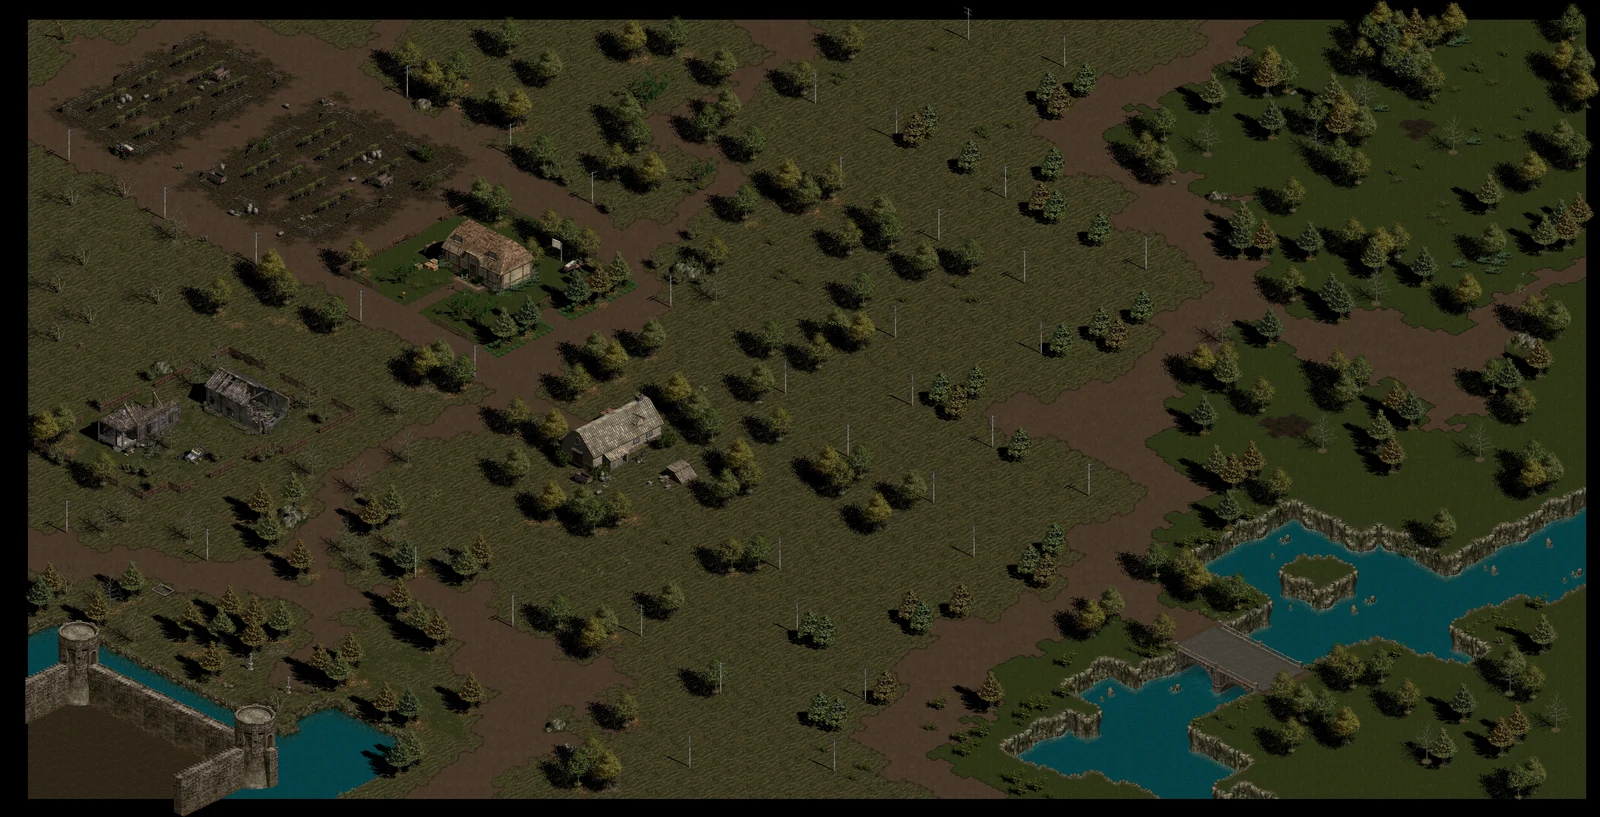
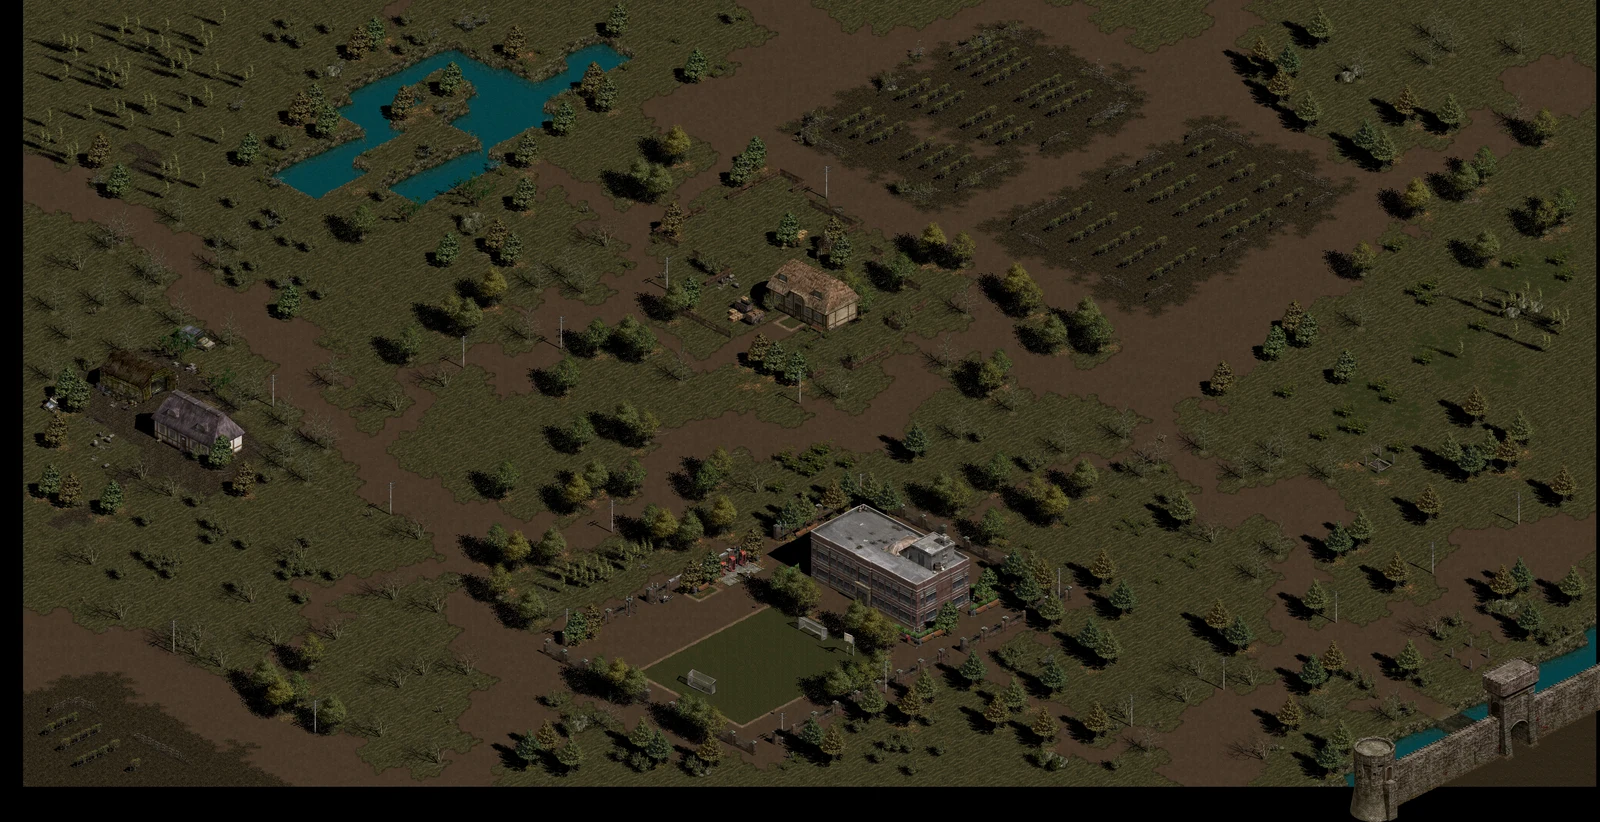
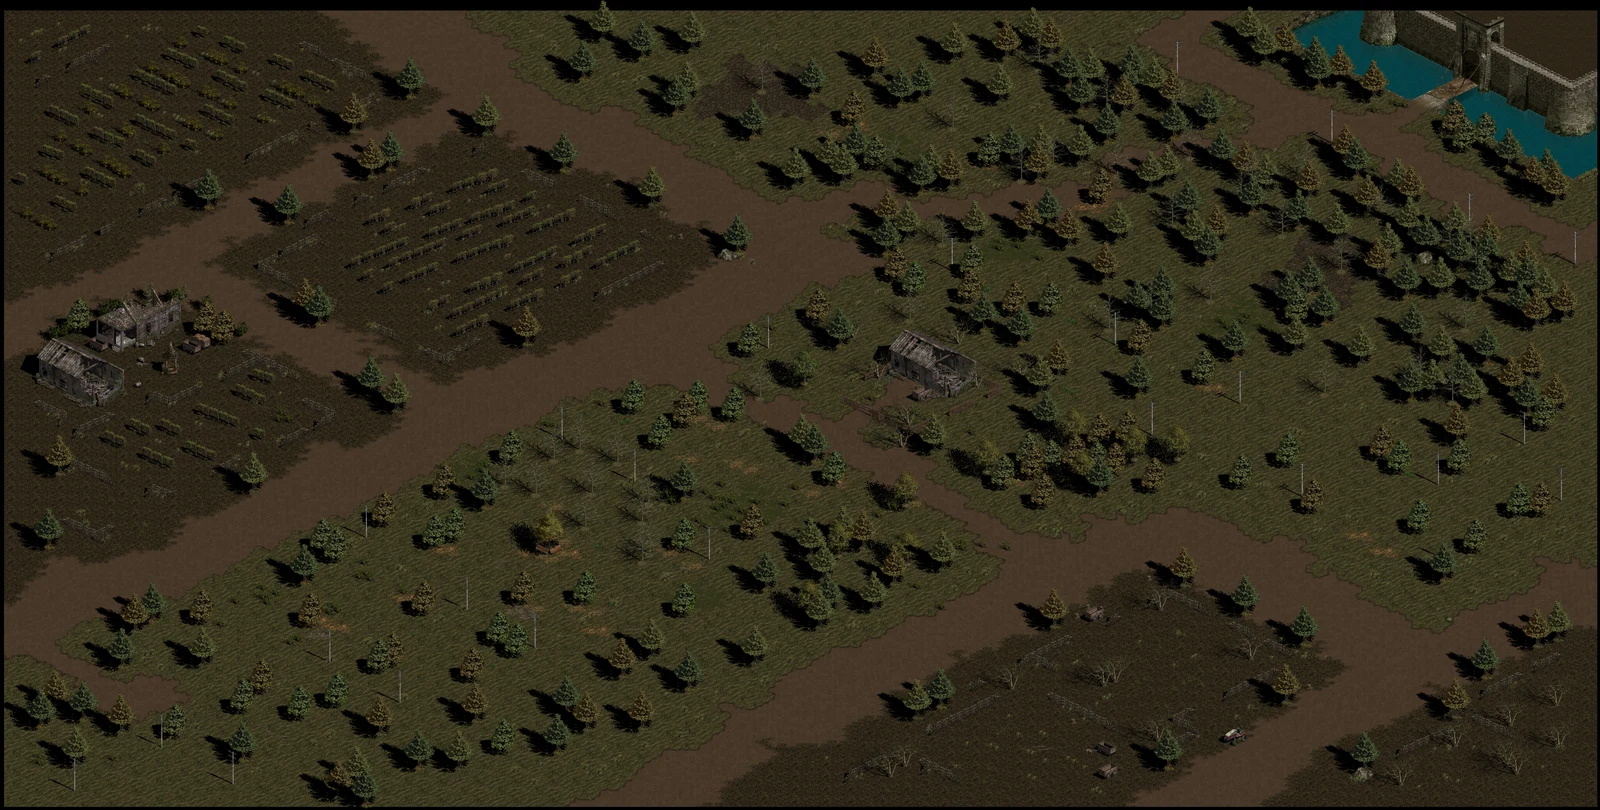
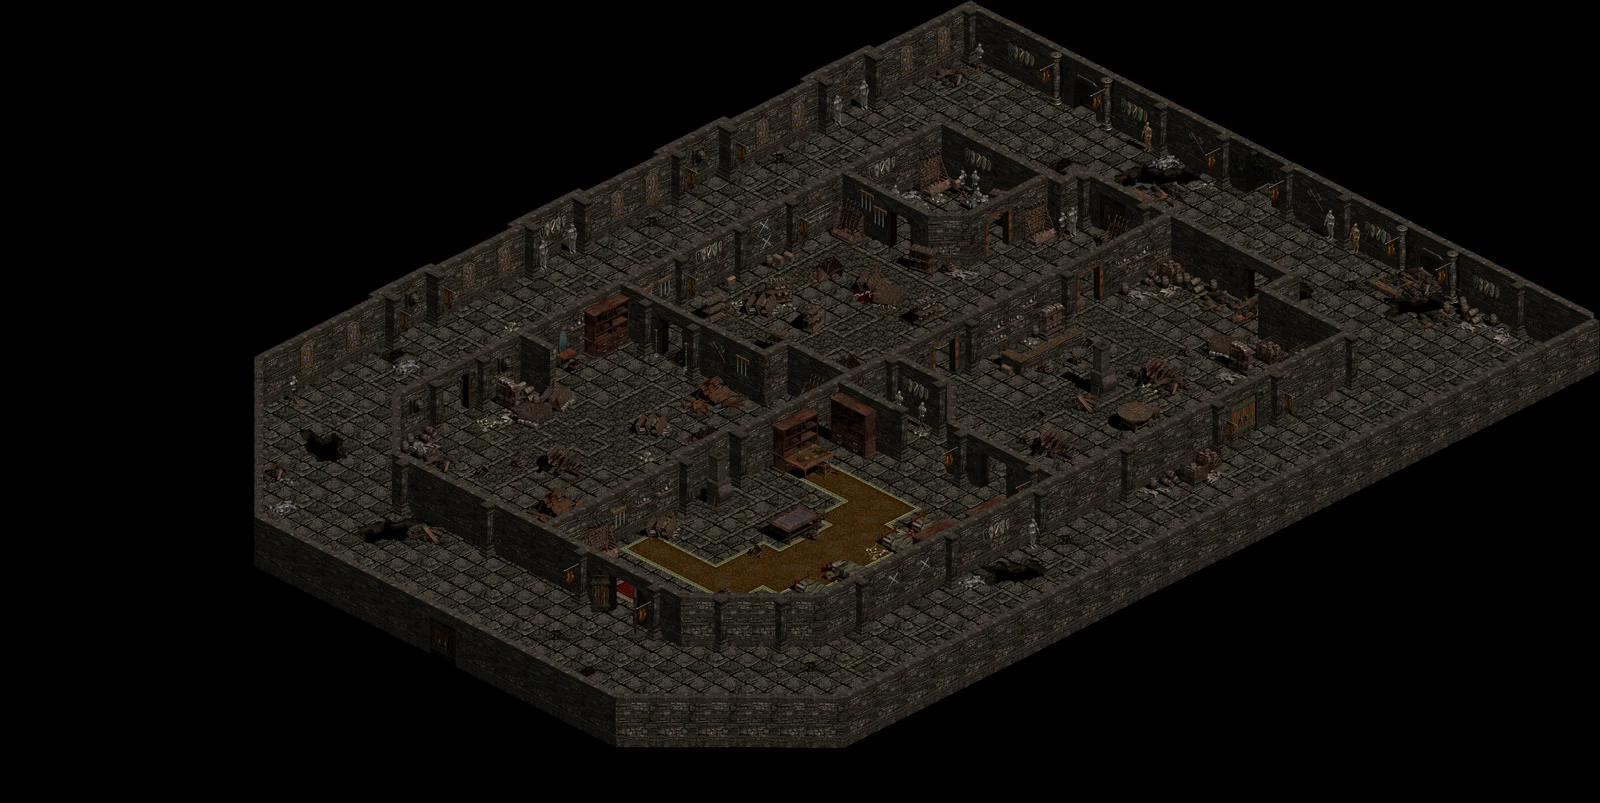
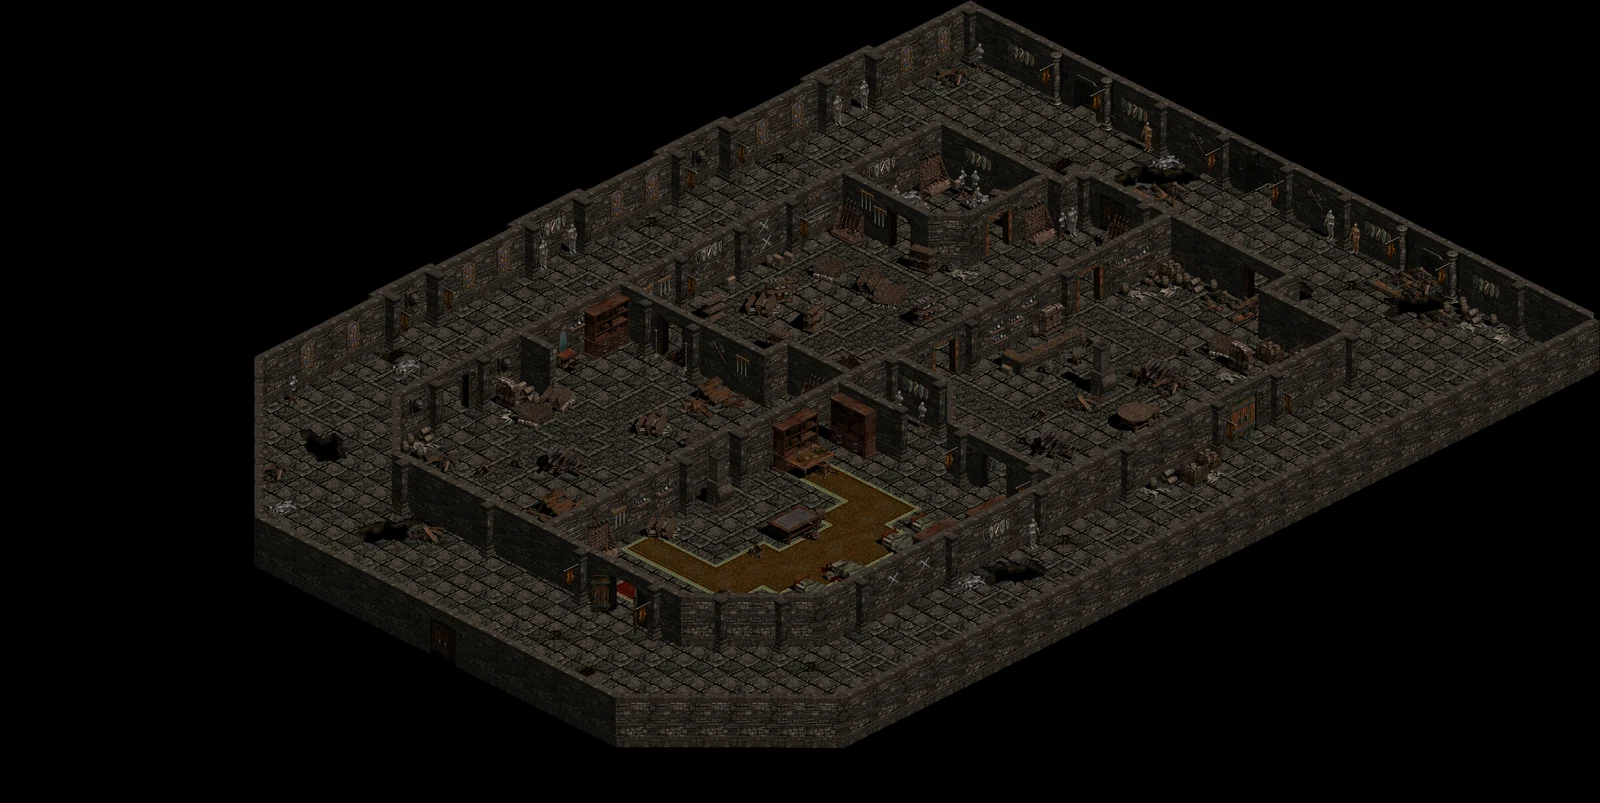
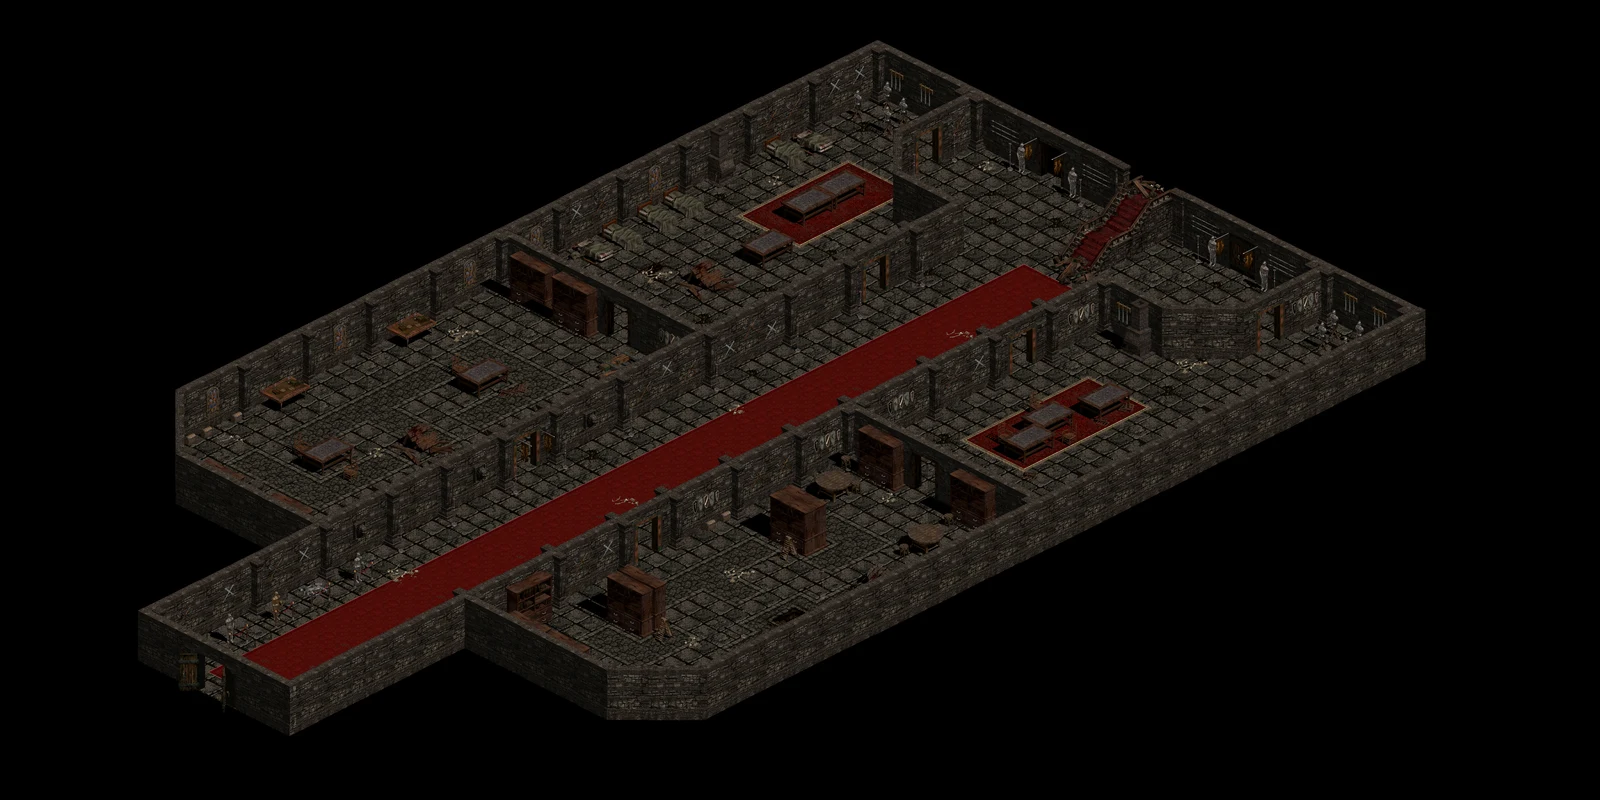
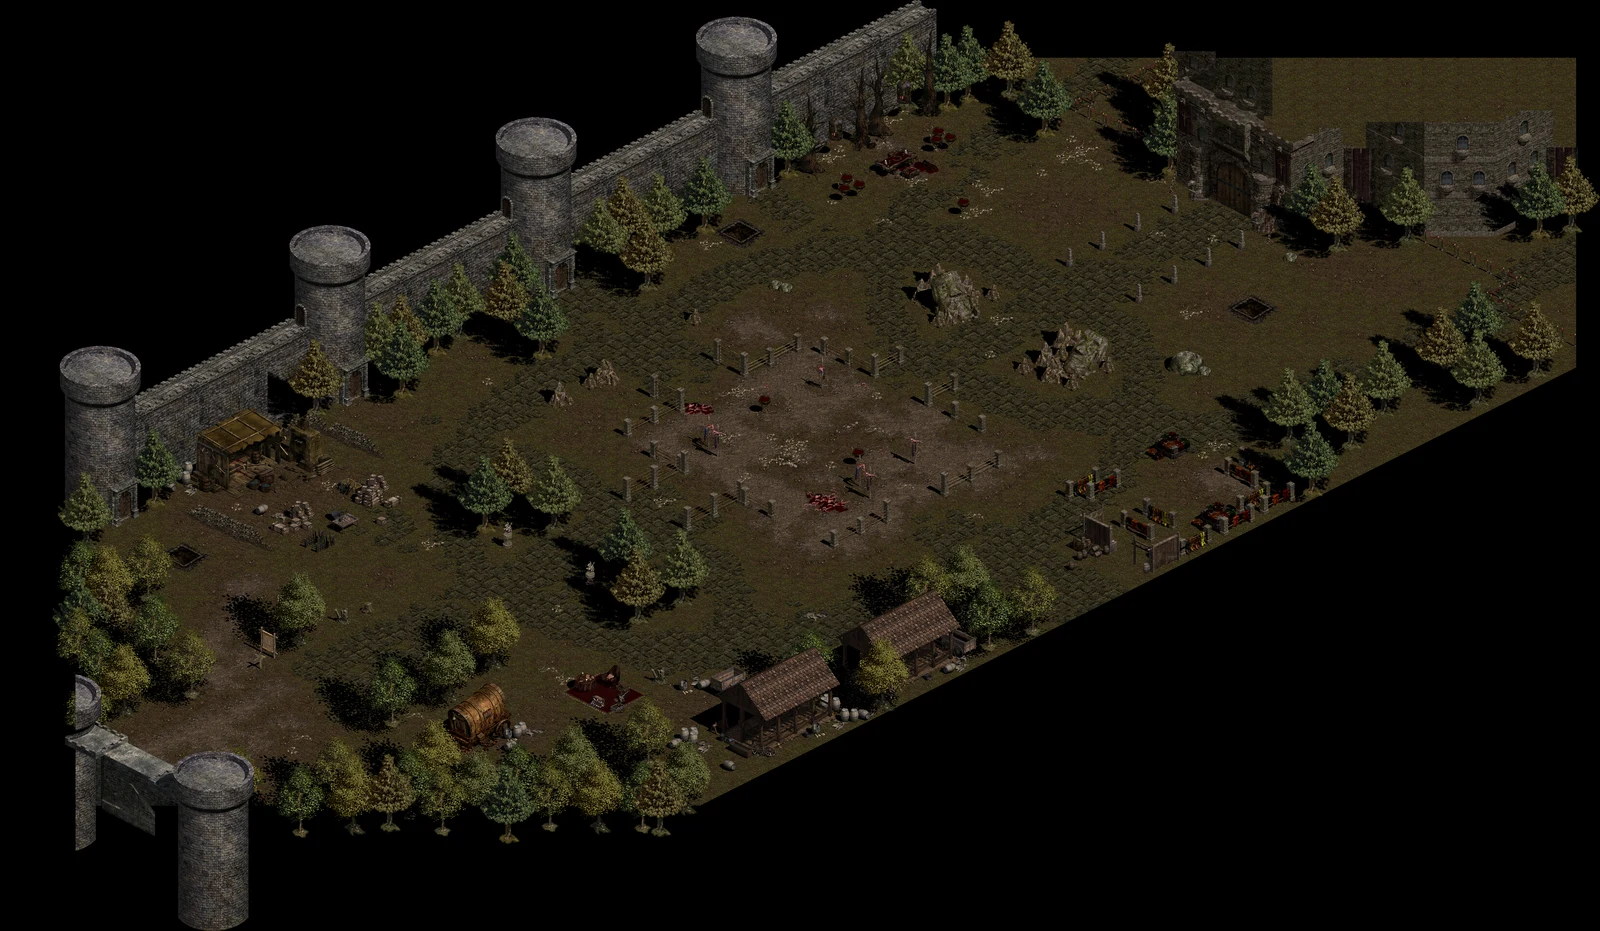
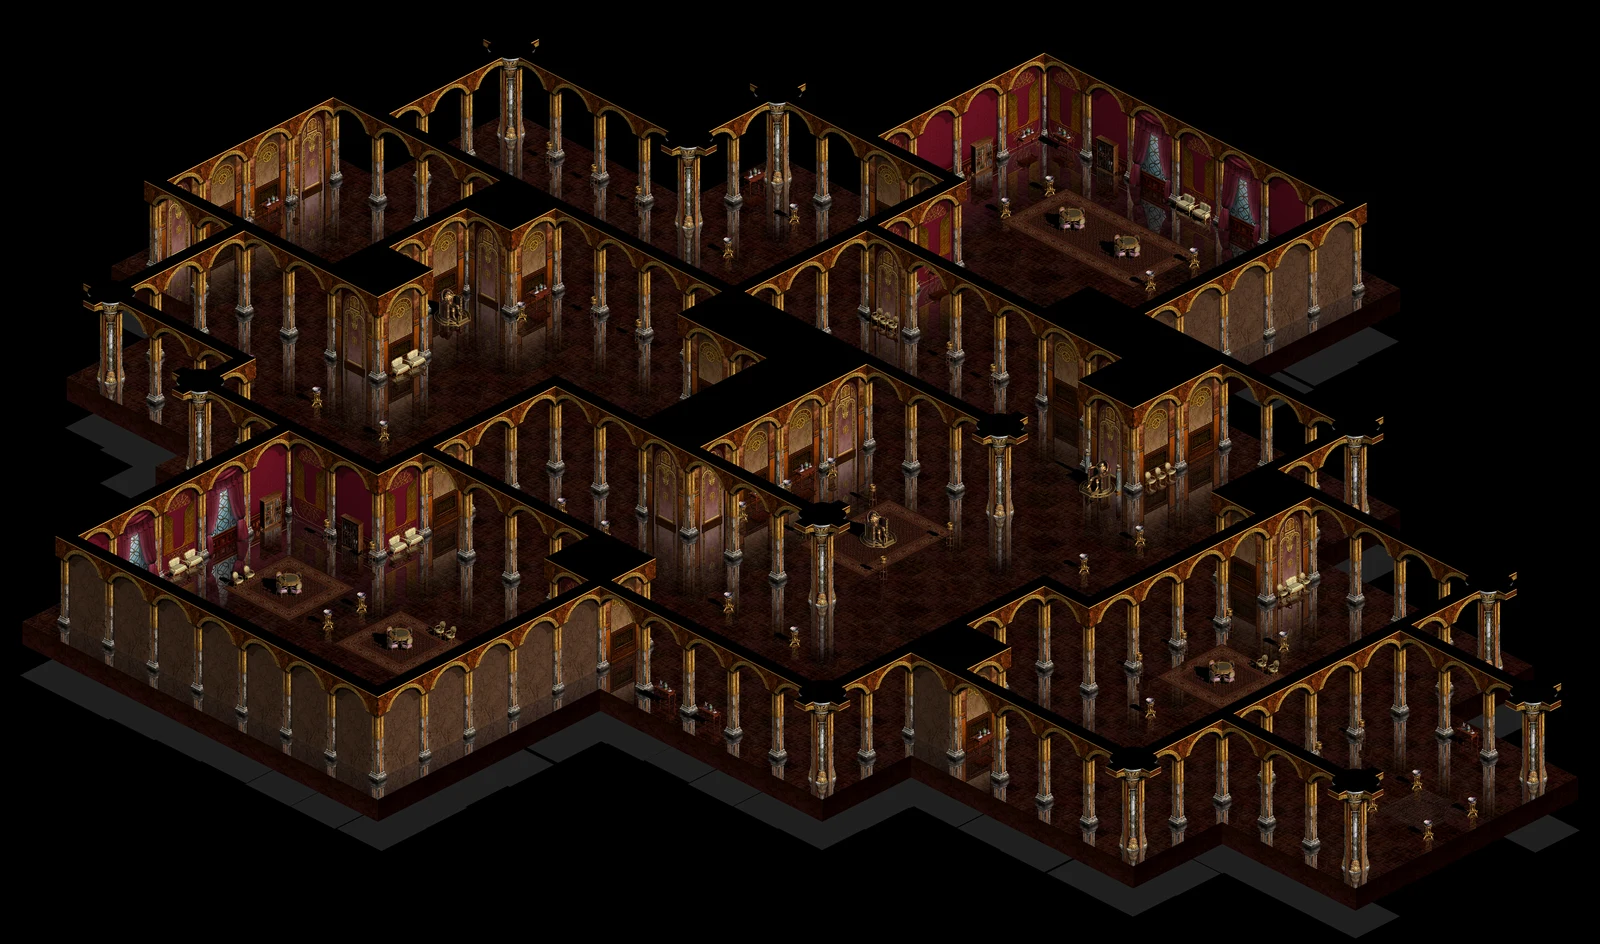
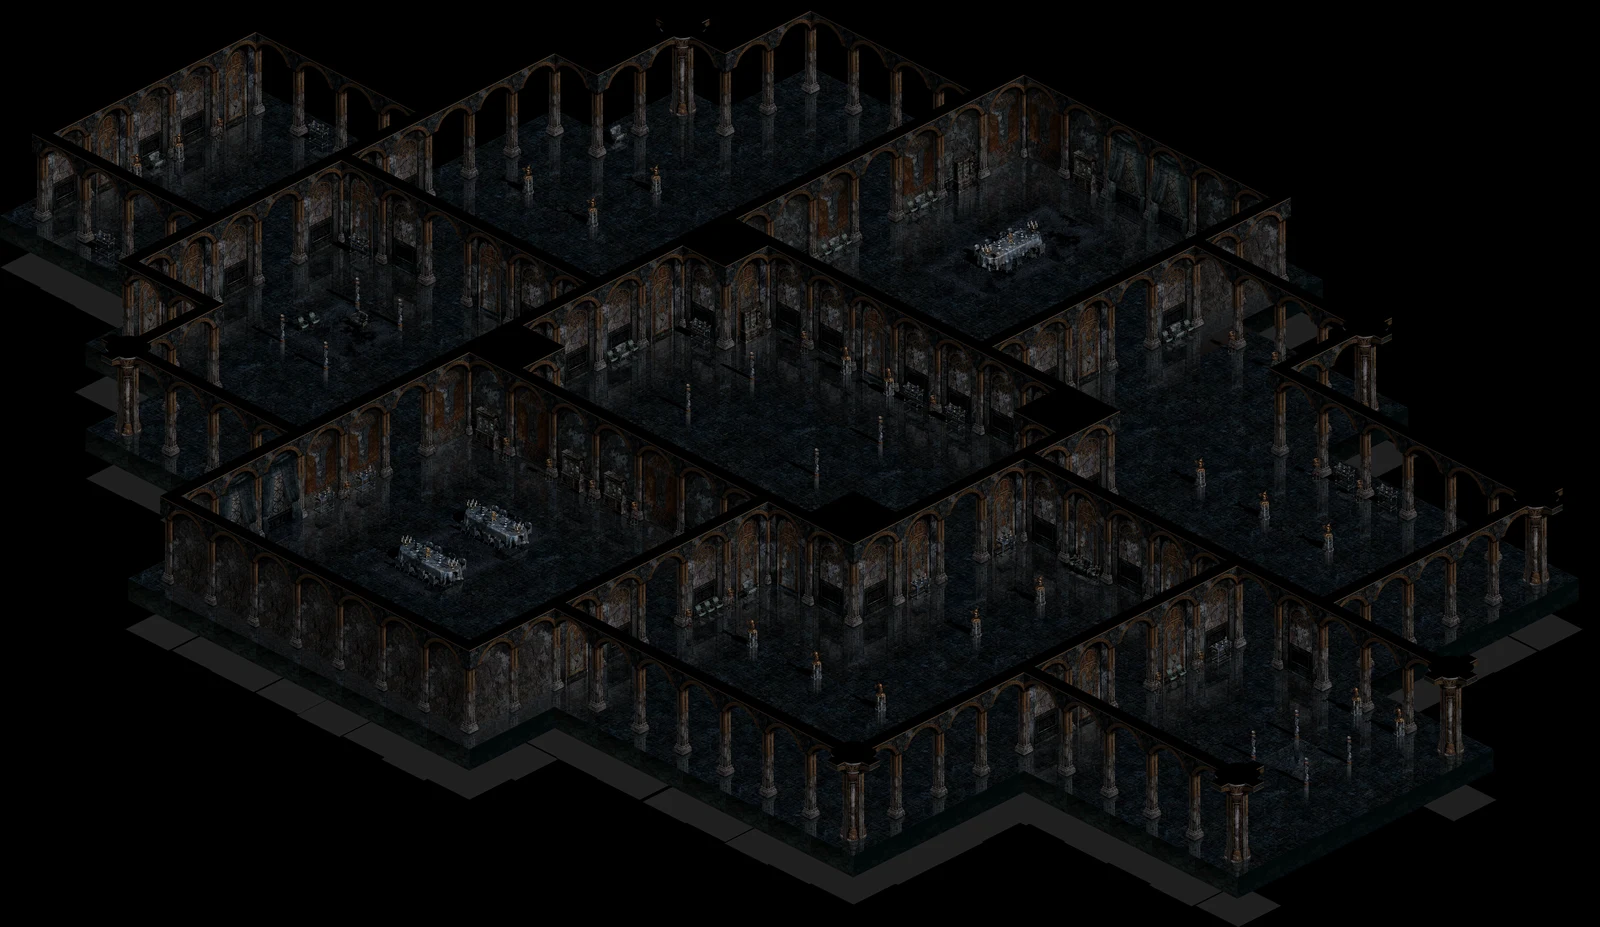
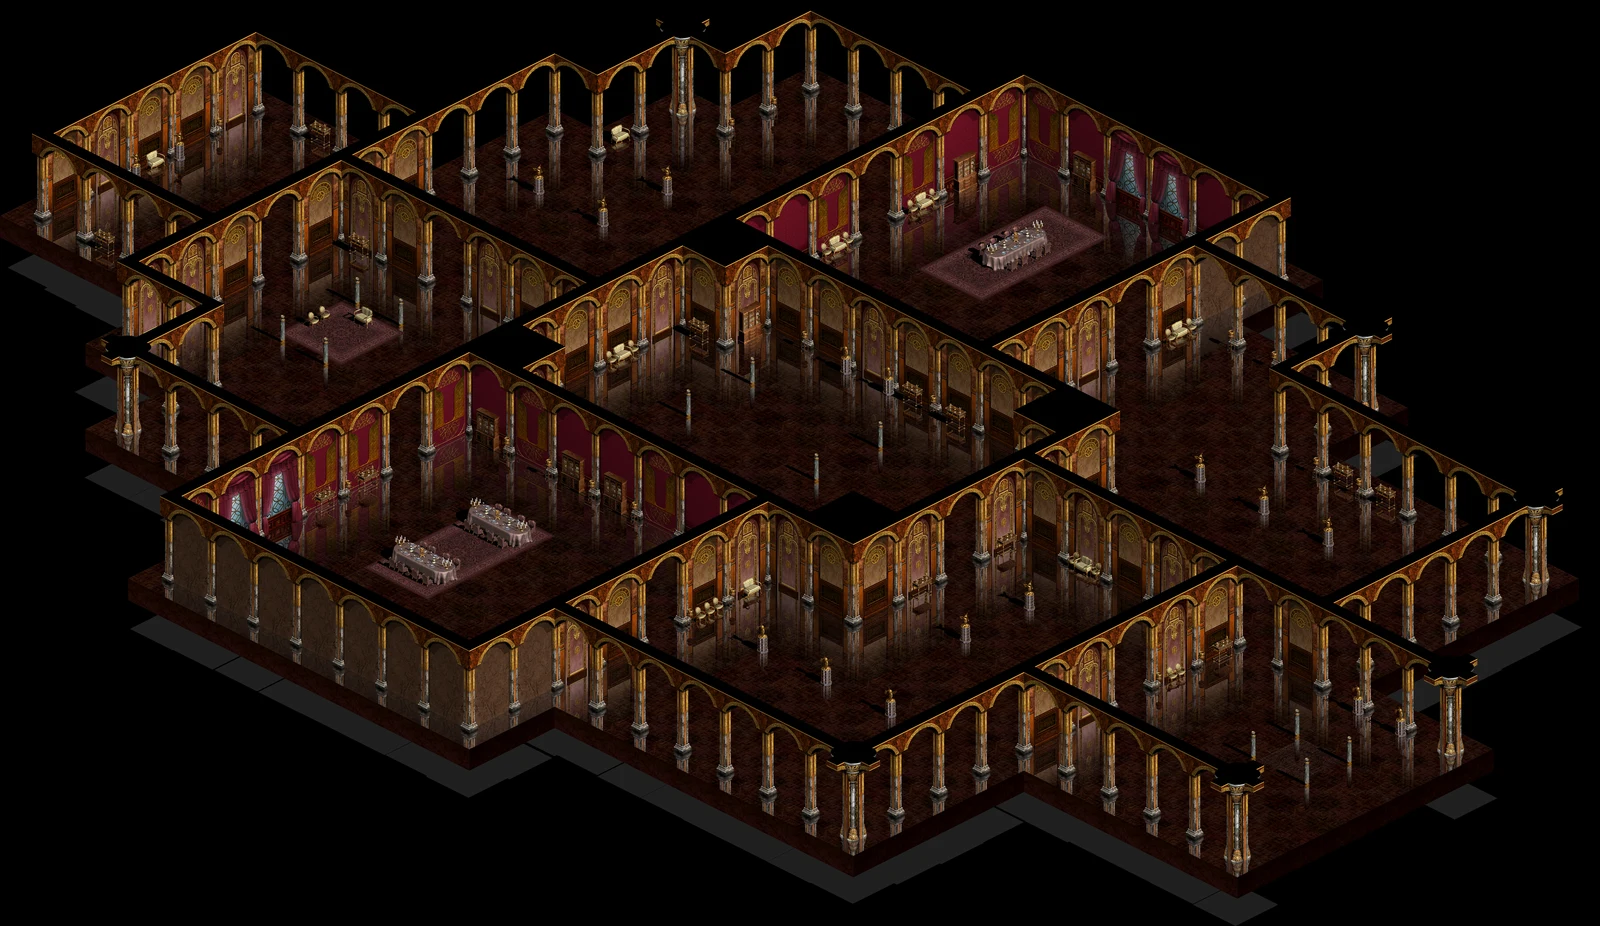
Rasen Yard and the castle interior have distinct layouts. Before entering, note the route you used and check your supplies. Choose the next area by how safely you can fight and recover there, rather than following an old guide’s level range as a server rule.
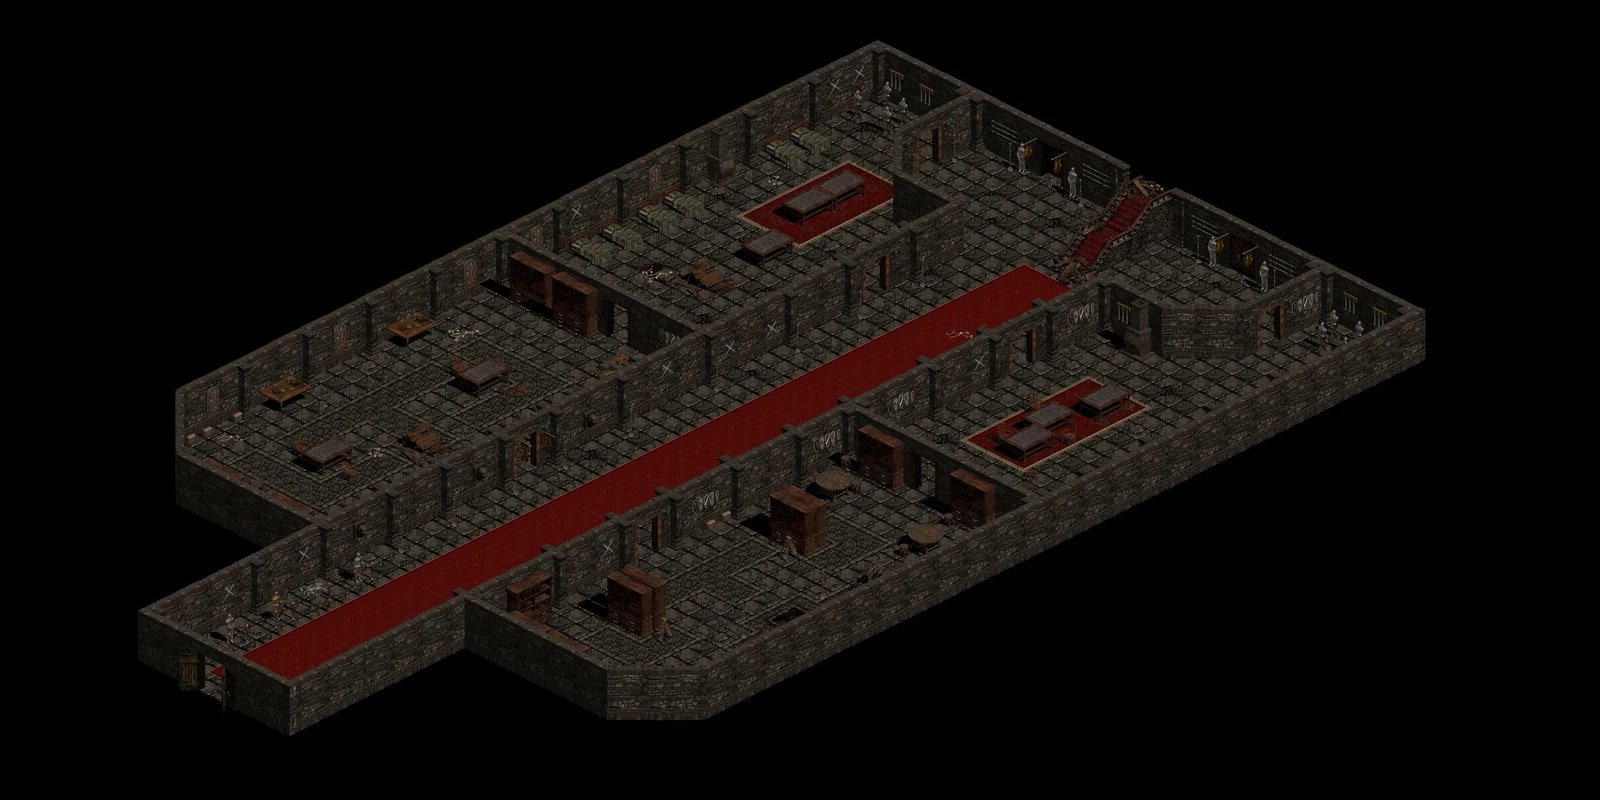
Overview of Rasen Castle Hall · Teen
Rasen

Rasen Castle Hall · Teen

Client collection
Overview of Rasen Einamon
Rasen

Rasen Einamon

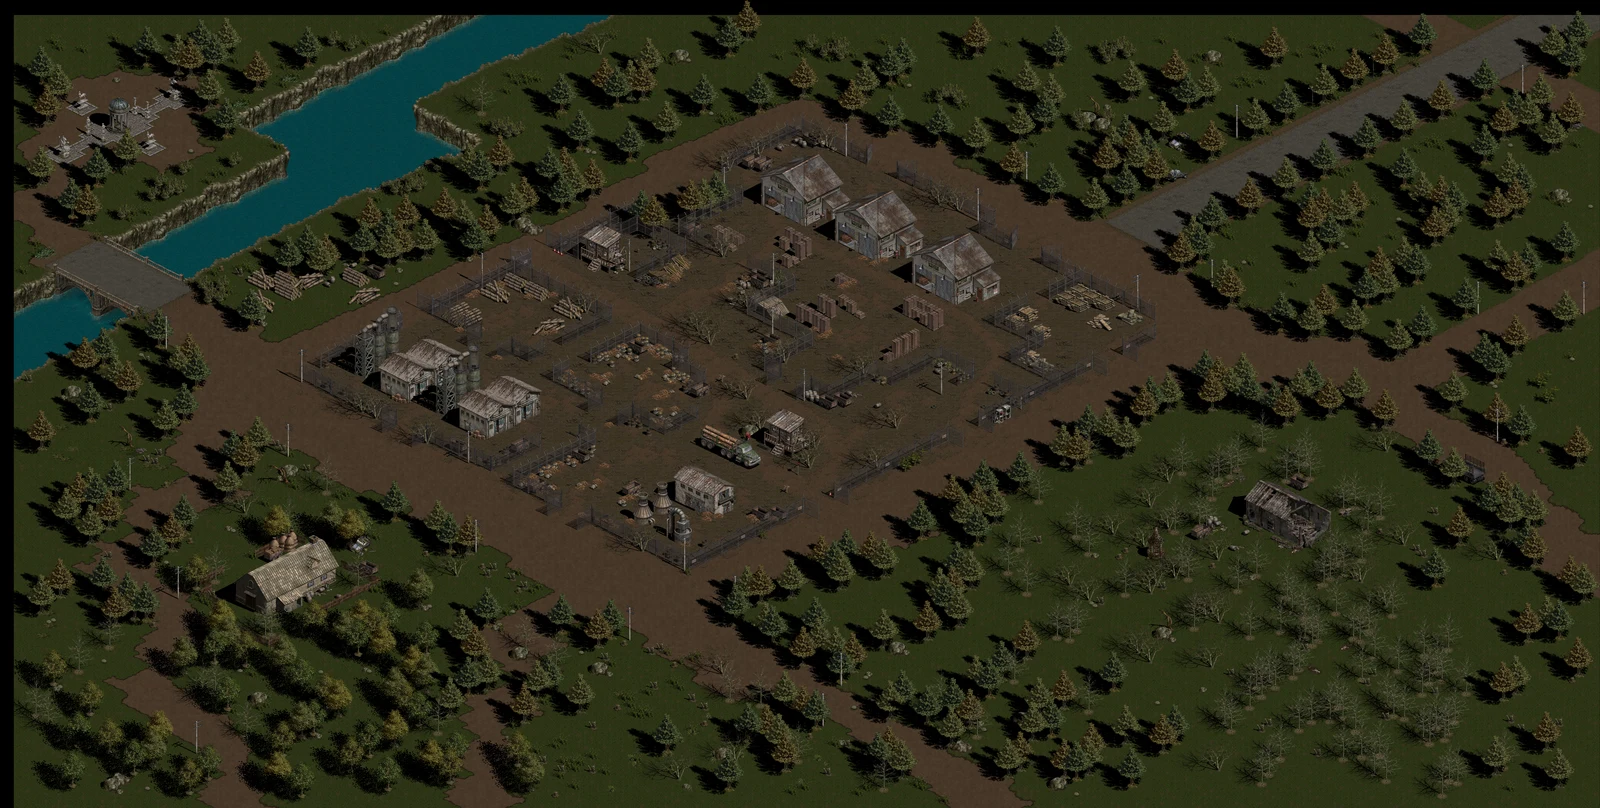
Overview of Rasen Yard
Rasen

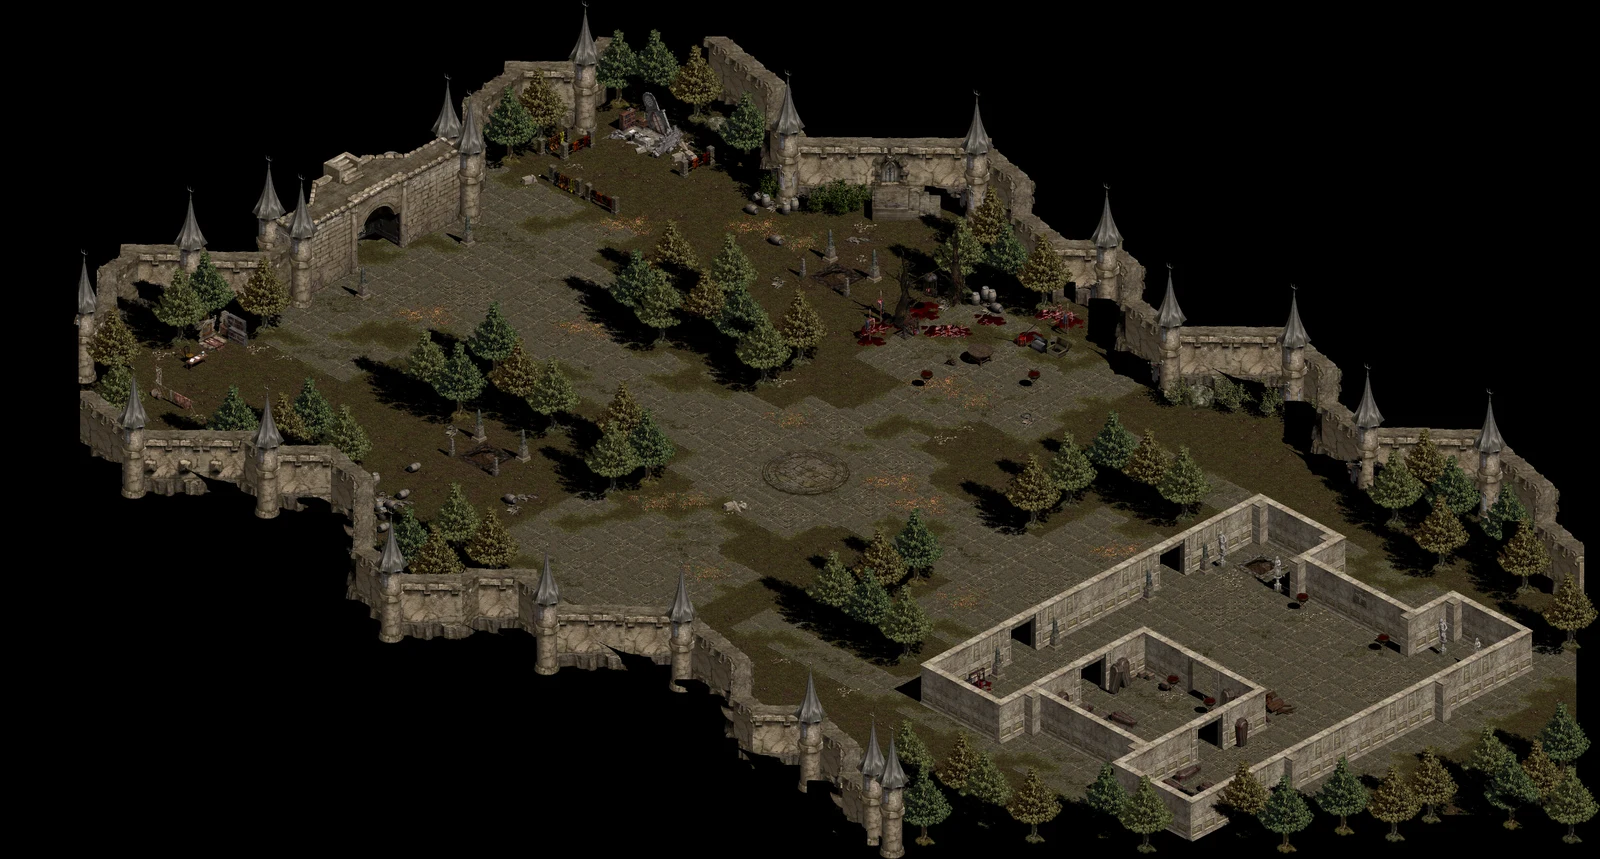
Rasen Yard

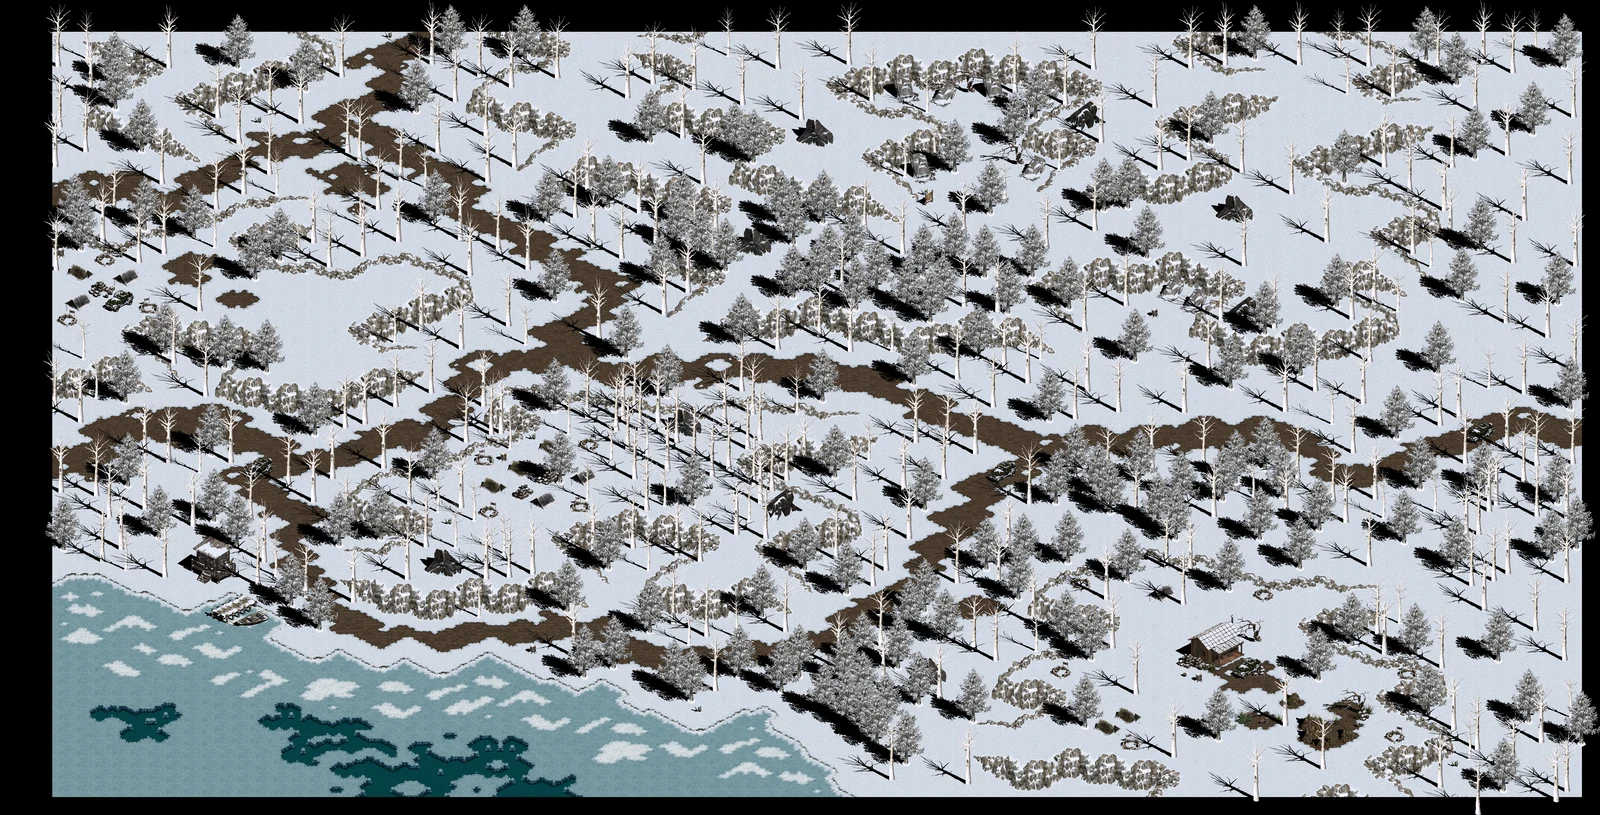
Rasen Yard and the castle interior have distinct layouts. Before entering, note the route you used and check your supplies. Choose the next area by how safely you can fight and recover there, rather than following an old guide’s level range as a server rule.
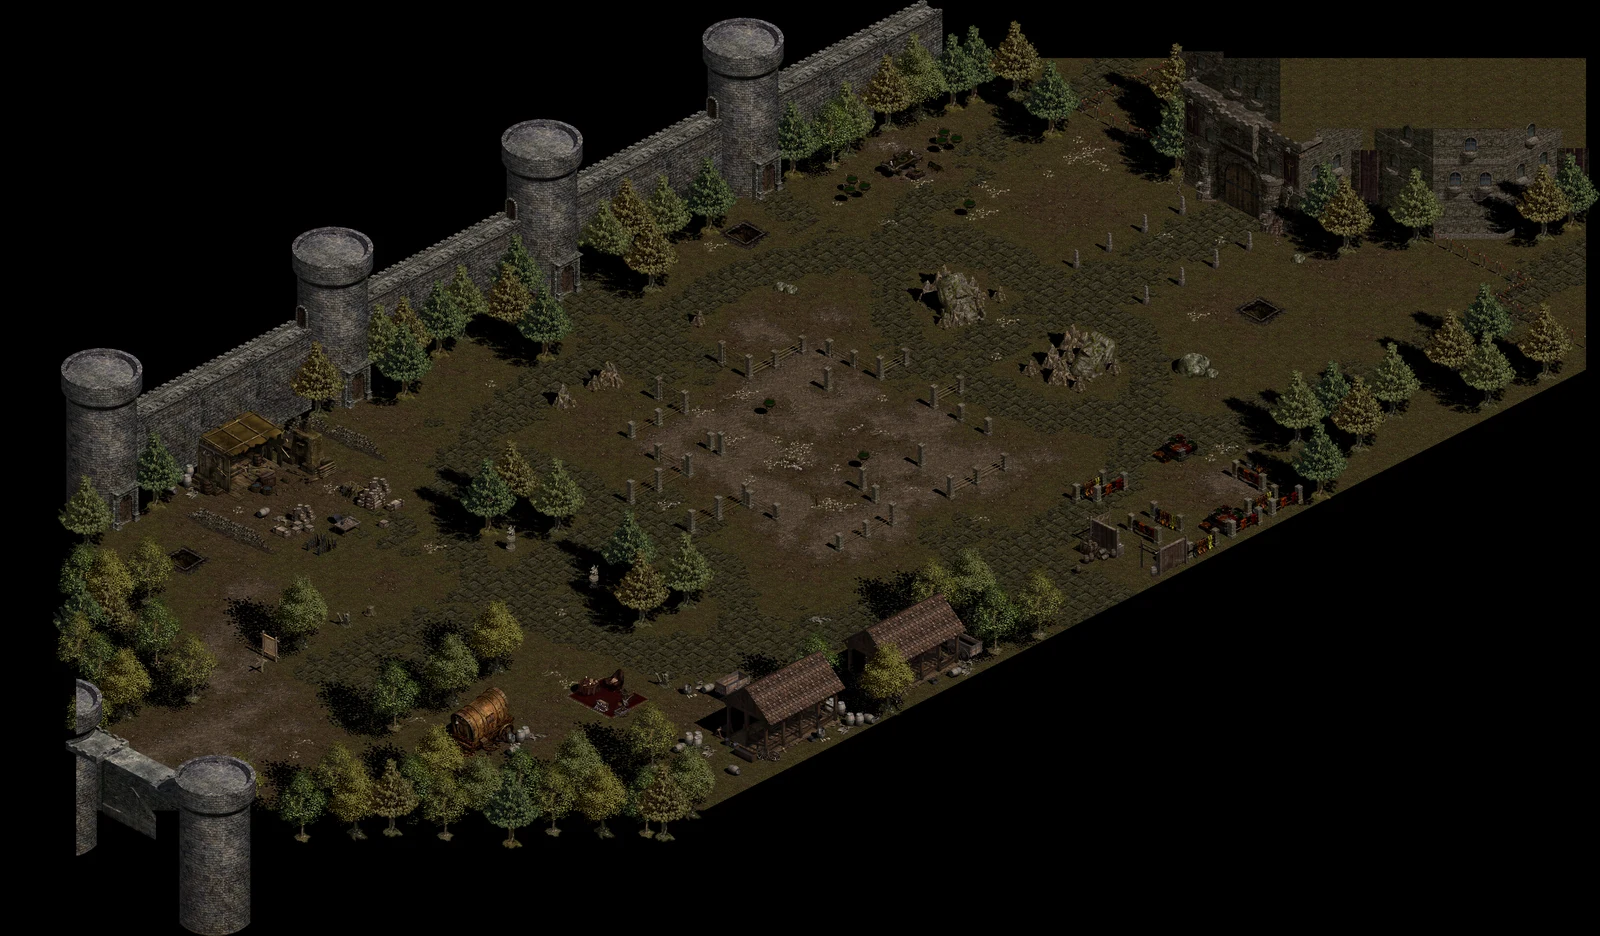
Overview of Rasen Yard · Teen
Rasen

Rasen Yard · Teen

Client collection
Overview of Tepesz Clon Lair
Rasen

Tepesz Clon Lair

Overview of Tepesz Clon Lair · Teen
Rasen

Tepesz Clon Lair · Teen

Client collection
Overview of Tepez Lair
Rasen

Tepez Lair

Overview of Tepez Lair · Teen
Rasen

Tepez Lair · Teen

Client collection
Overview of Refinium Stash
Refinium

Refinium Stash

No visual elements
Overview of Refinum Mine
Refinium

Refinum Mine

No visual elements
Overview of Trap Zone
Refinium

Trap Zone

No visual elements
Overview of Rodin NE
Rodin

Rodin NE

Overview of Rodin NW
Rodin

Rodin NW

Overview of Rodin SE
Rodin

Rodin SE

Overview of Rodin SW
Rodin

Rodin SW

Overview of Temerie
Temerie

Temerie

Overview of Tiffauges
Tiffauges

Tiffauges

Partial previewClient collection
Overview of Tiffauges Castle · 1F A
Tiffauges

Tiffauges Castle · 1F A

Partial preview
Overview of Tiffauges Castle · 1F B
Tiffauges

Tiffauges Castle · 1F B

Partial preview
Overview of Tiffauges Castle · 2F A
Tiffauges

Tiffauges Castle · 2F A

Partial preview
Overview of Tiffauges Castle · 2F B
Tiffauges

Tiffauges Castle · 2F B

Partial preview
Overview of Timor NE
Timor

Timor NE

Overview of Timor NW
Timor

Timor NW

Overview of Timor SE
Timor

Timor SE

Overview of Timor SW
Timor

Timor SW

Overview of Ghorgova Tunnel
Tunnels

Ghorgova Tunnel

Compare the Bathory B1/B2 layouts and the Ghorgova tunnel in the atlas before exploring them. Identify doors, corridors and the way back. Bathory’s scheduled master encounter has separate rules in the Master lairs guide.

Master lairs and schedules
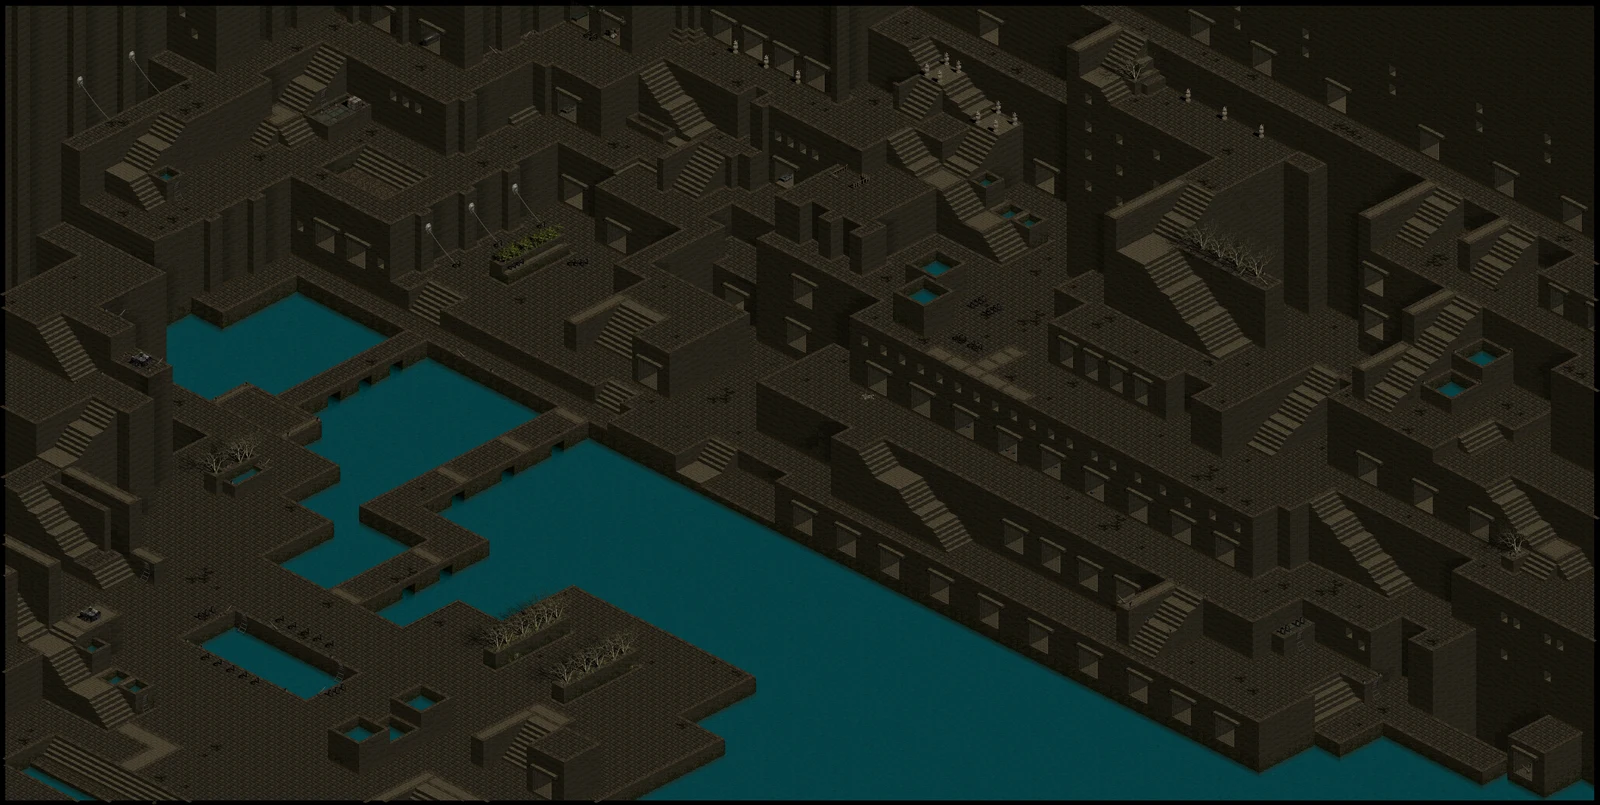
Overview of Ghorgova · Teen
Tunnels

Ghorgova · Teen

Client collection
Overview of Payarch Tunnel
Tunnels

Payarch Tunnel

Overview of Payarch · Teen
Tunnels

Payarch · Teen

Client collection
Overview of Tutorial Zone N
Tutorial

Tutorial Zone N

Overview of Tutorial Zone S
Tutorial

Tutorial Zone S

Overview of Underpass B1
Underpass

Underpass B1

Overview of Underpass B2
Underpass

Underpass B2

Overview of Vranco NE
Vranco

Vranco NE

Overview of Vranco NW
Vranco

Vranco NW

Overview of Vranco SE
Vranco

Vranco SE

Overview of Vranco SW
Vranco

Vranco SW

RAOHM ATLAS

Select a location, enlarge its map and compare its landmarks with your minimap. These images show the map layout; NPCs, monsters and current event status must be checked in the game. Check the live schedule before travelling to a master lair.